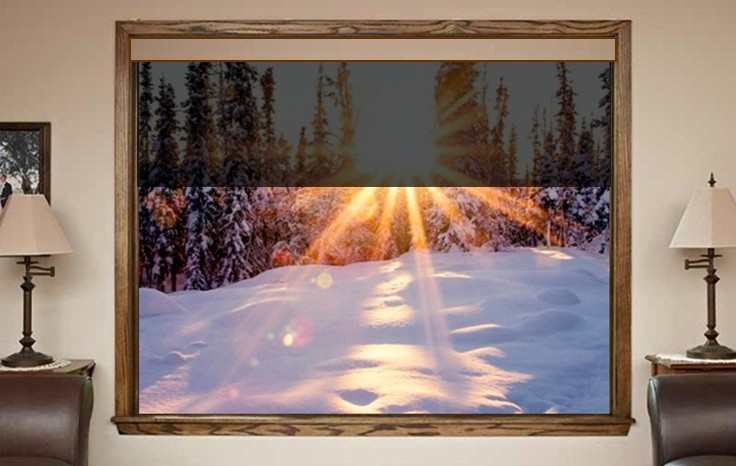
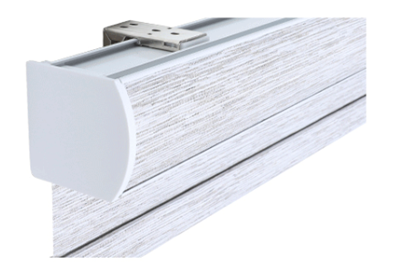
Enhance the appearance and performance of your window shade system with a durable snap-on aluminum fascia panel designed to conceal the roller and mounting hardware for a sleek, polished look. The streamlined design creates a professional finished appearance that complements both residential and commercial environments.
The aluminum fascia not only improves the aesthetics of your shade installation but also provides a clean, architectural finish that blends seamlessly with offices, homes, commercial buildings, and specialty applications. Its snap-on design allows for easy installation while maintaining a refined, low-profile appearance.
Our versatile mounting brackets provide flexible installation options, allowing shades to be securely mounted to the ceiling, side walls, or rear walls. This adaptable mounting system makes it easier to accommodate a variety of window configurations while ensuring reliable support and smooth shade operation.
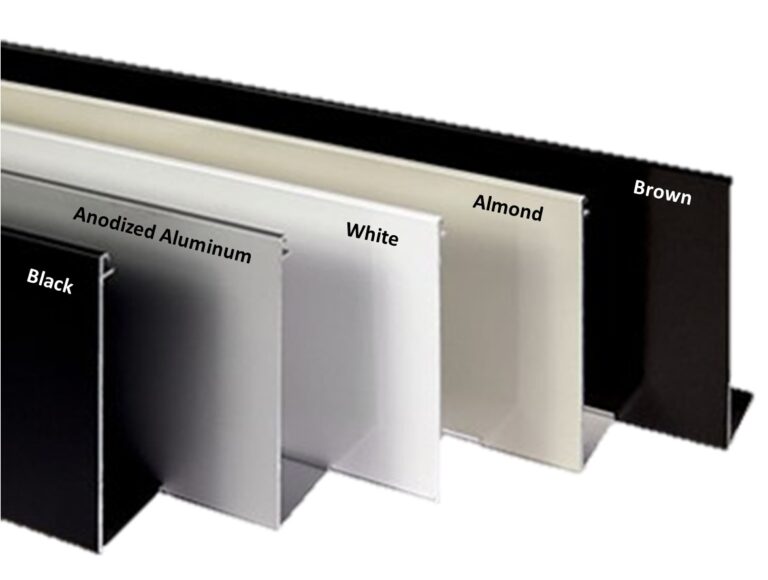
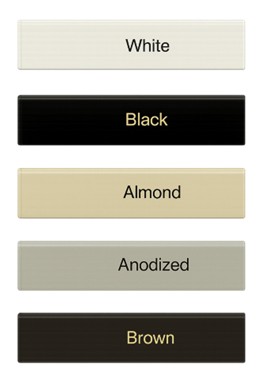
Available in standard finishes to coordinate with any interior design: Black, Anodized Aluminum, White, Almond, and Brown
Designed for durability, flexibility, and style, the Solar View aluminum fascia and mounting system delivers a professional-grade window shade solution with a clean appearance and dependable performance.
Standard Bottom Bar
Complete your window shade system with our standard bottom bar, designed to provide added stability and smooth shade operation. This durable bottom bar helps maintain proper fabric tension while giving your retractable window shades a clean, professional finish.
Available in standard finishes: White, Black, Brown, Anodized Aluminum, and Almond
Designed to complement Solar View shade systems, this high-quality window shade component delivers the perfect combination of function, durability, and finished appearance.
Sleek Bottom Bar
Upgrade your window shade system with our sleek bottom bar, designed to deliver a refined, modern look while enhancing the performance of your retractable window shades. This upgraded bottom bar adds a clean architectural finish, improves shade stability, and creates a polished look that complements residential and commercial spaces alike.
The sleek design offers a premium alternative to the standard bottom bar and is available as an upgrade based on the shade width. Its durable construction helps maintain proper fabric tension while supporting smooth, reliable shade operation.
Available finishes: White, Black, Brown, Anodized Aluminum, and Almond
Designed to enhance the appearance and functionality of Solar View shade systems, the sleek bottom bar delivers a custom, high-quality finish that elevates any window shade installation.
Nylon Chain
Engineered for demanding industrial applications, our high-performance nylon components deliver exceptional strength, durability, and reliability while remaining lightweight. Offering the performance benefits of traditional metal components at a fraction of the weight, these advanced nylon parts help reduce system inertia, improve operational efficiency, and support faster-moving automation and shade systems.
Built to withstand challenging environments, our nylon components provide excellent resistance to oils, fuels, solvents, and elevated temperatures, ensuring dependable performance in a wide range of industrial conditions. Their naturally low-friction, self-lubricating properties help minimize maintenance needs, reduce wear, and extend the service life of your equipment.
Designed for modern industrial applications, these durable nylon components provide a reliable, efficient, and cost-effective solution where performance, longevity, and reduced maintenance are essential
Almond Brown White Black Gray
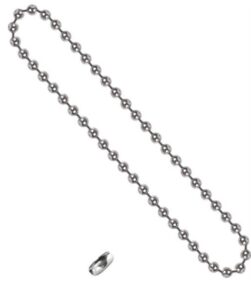
Metal Chain
Links are formed by bending the wire into loops (or, in ball chains, individual balls are formed and connected).Our metal chain links are precision-formed by bending high-quality wire into strong, connected loops, creating a durable and dependable operating component for window shade systems. For ball chain applications, individual metal or reinforced balls are formed and securely connected to provide smooth, consistent movement.
Designed for strength and long-lasting performance, these metal chain components provide reliable operation while supporting the everyday demands of residential and commercial window shade applications. Their durable construction helps ensure smooth shade adjustment, dependable performance, and extended service life.
Ideal for replacement or new installations, our metal chain solutions deliver the quality, reliability, and professional finish expected from a premium window shade system.
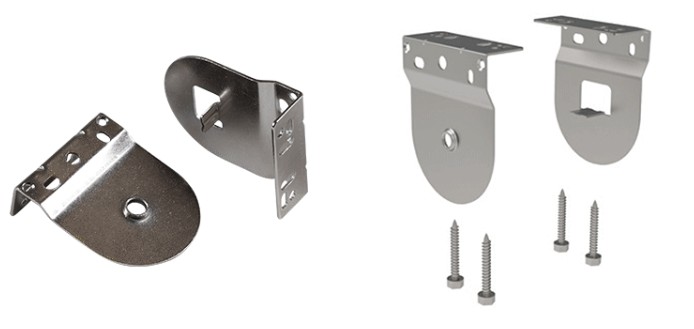
Standard Open Roll Universal Bracket
The Standard Open Roll Universal Bracket provides a secure and versatile mounting solution for open roll roller shades. Designed for easy installation and reliable support, this durable bracket accommodates a variety of mounting applications while maintaining a clean, professional appearance.
Ideal for residential and commercial window shade systems, the universal bracket ensures proper shade alignment, smooth operation, and dependable performance for long-lasting use.
Rollease Bracket
Woven Accessories
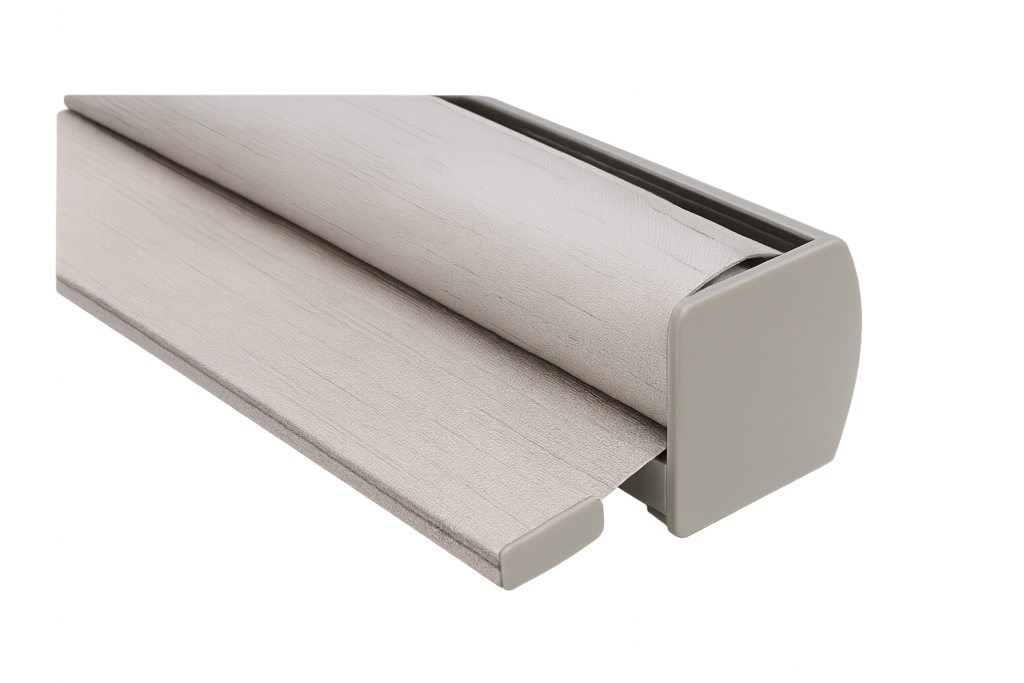
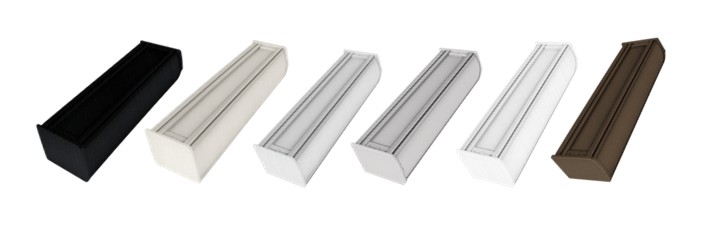
Fabric Wrap Bottom Bar
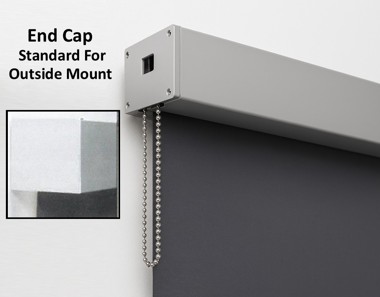
Square Fascia
Black Beige Grey Warm Grey White Bronze
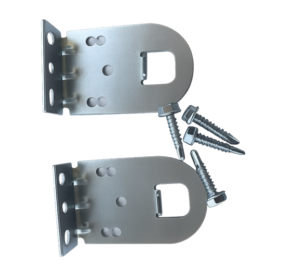
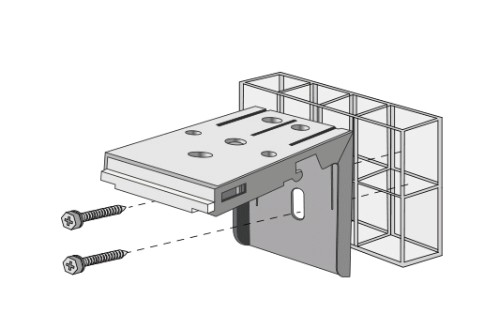
Fascia Brackets
These are universal brackets and can be placed on top or back of the for mounting.
Eight-Grid Spacer
Place it on the side or top of the installation code, use it when there is a wooden frame or obstruction, so that it protrudes from the window frame or obstruction.
Thin Spacer
Place it on the side or top of the installation to prevent the shade from slipping when the wall is uneven.
Eight-Grid and Thin Spacer
When the wall surface is uneven and the depth is too great, the eight-grid spacer and the thin spacer can be used together, acting on the side or top of the installation code.
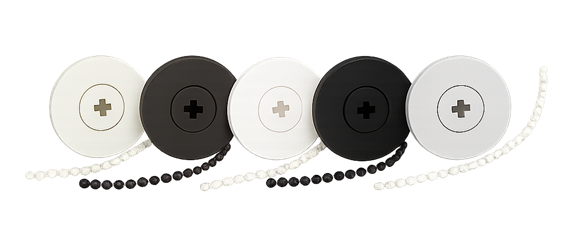
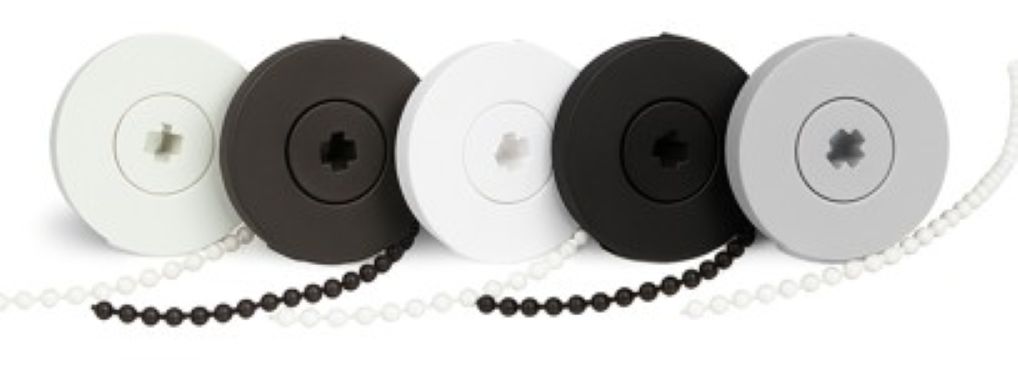
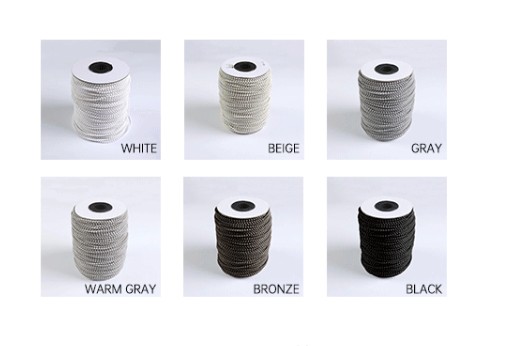
Chain Color
Continuous cord loop:
Clutches and plastic bead chain loops are available in six coordinating colors: white, beige, gray, warm gray, bronze, and black.
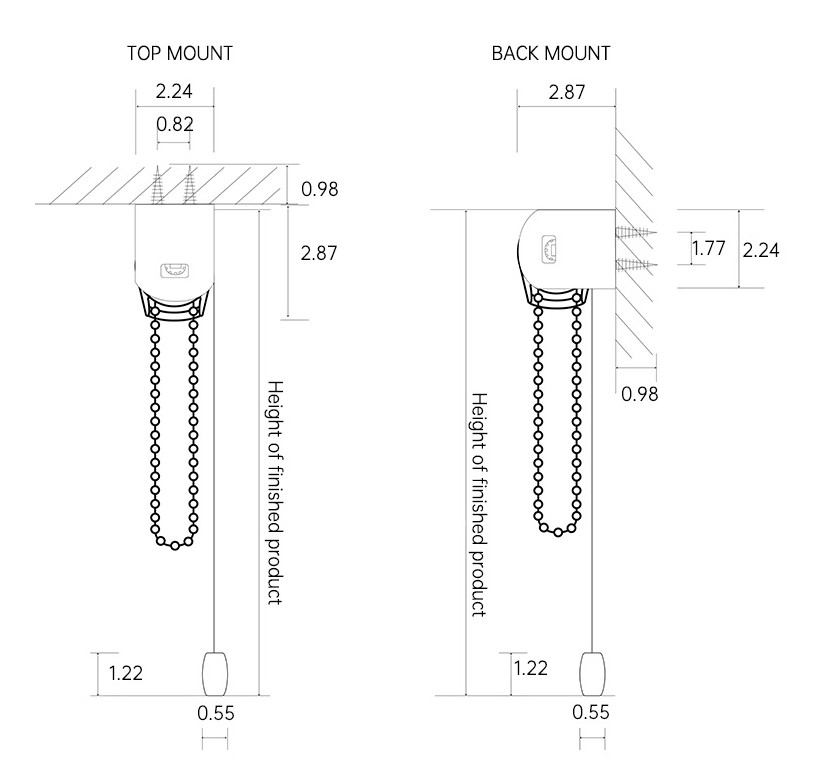
The standard chain length is 3/4 of the shade’s length.
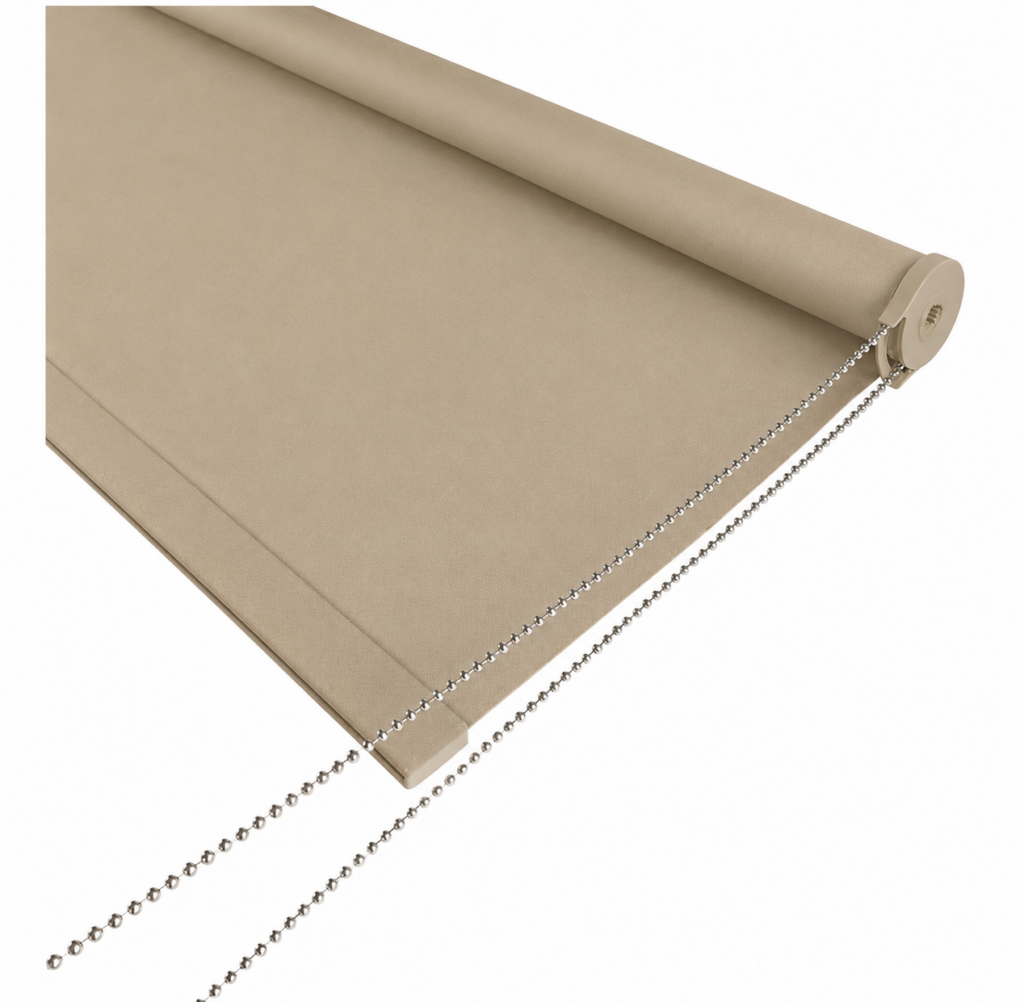
Solar Woven Open Roll
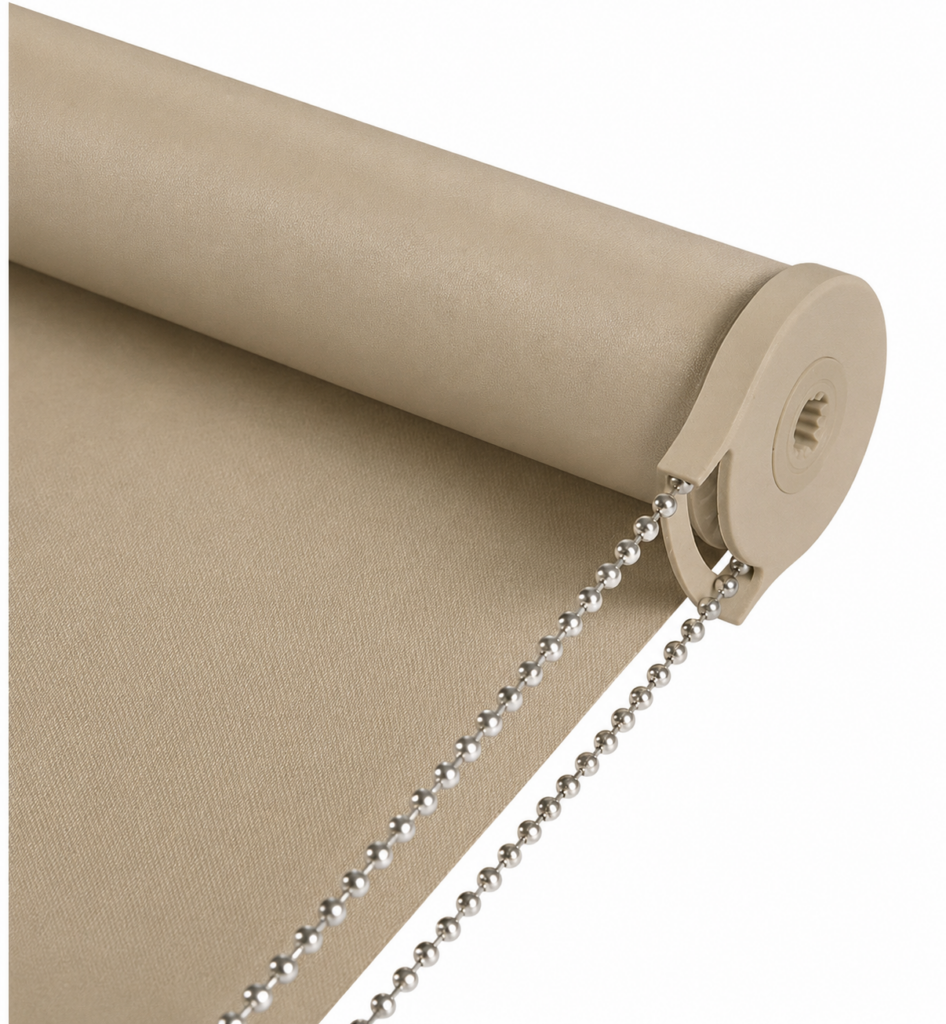
An open-roll roller shade is a streamlined window covering in which the fabric rolls directly onto an exposed tube, leaving the roller and operating mechanism visible. Its simple design provides a clean, modern appearance and an economical solution, though it does not offer the fully concealed, finished look of a cassette-style shade.
Open Roll Universal Bracket
Solar View – Roll Shade Measurement Guidelines
SolarView will provide custom roll shades made to the measurements that the customer records.
1. Understanding Measurements
All measurements must be recorded in inches, rounded down to the nearest 1/8 inch.
Width = Left to right
Height = Top to bottom
Depth = Front to back (inside the window casement)
2. Important Requirements
Measure at the bracket installation points. The width must be taken at the exact location where the brackets will be mounted. → Do NOT measure based on the desired shade fabric size.
Use a steel measuring tape only. Cloth or flexible tapes are not accurate enough.
Accepted units: Inches with fractions (rounded down to nearest 1/8″). → Feet, decimals, and metric measurements will not be accepted.
Record exact window measurements. Do not add or subtract anything—Solar View will make appropriate manufacturing adjustments.
2 flat‑head screws for clutch side (inside/jamb mount)
Mollies/toggles for plaster, drywall, or concrete are not included.
Bracket Notes:
Faber/Benthin universal brackets may be mounted left or right, inside, outside, or on the ceiling. Brackets must be installed perfectly level for proper shade operation.
Standard bracket length: 1 3/8″. Extended length: 2 3/8″.
Inside Measurement (IM) Guidelines
What is an Inside Measurement (IM)?
Inside Measurement refers to ordering a shade to be installed inside the window casement. When you provide an IM width, you are giving the exact space within the opening. The factory will then take precise deductions to ensure the shade, brackets, and rotating control mechanism fit properly.
Factory Deductions & Side Gaps
Round down to the nearest 1/8 inch. Examples:
35 3/16″ → record 35 1/8″
27 5/32″ → record 27 1/8″
42 7/16″ → record 42 3/8″
Because of these required deductions:
IM shades will ALWAYS have a gap of up to 5/8” on both sides
(± 1/8” depending on tolerances)
This gap is necessary so the shade can raise, lower, and rotate freely.
Example
If you order a shade at:
IM Width: 70”
The shade will be manufactured to fit within that 70” space. However, due to bracket/mechanism allowances:
Approximate material width (including bottom bar): 68 ¾”
This remaining space is the functional “gap” required for operation.
When IM Gaps Are Not Acceptable
If the side gap is visually unacceptable or you need more complete coverage:
Consider an Outside Bracket Mount (OB)
Mounting the shade on the wall, trim, or mullion allows you to add width beyond the window opening and cover more area.
When IM Gaps Are Not Acceptable
If the side gap is visually unacceptable or you need more complete coverage:
Consider an Outside Bracket Mount (OB)
Mounting the shade on the wall, trim, or mullion allows you to add width beyond the window opening and cover more area
Important Ordering Rules
Do NOT use fabric/material width or bottom bar width as measurements. These are not accepted for ordering and will result in incorrect shade sizing.
Record only true window opening dimensions. The manufacturing team will apply all appropriate deductions.
Check for obstructions. Trim, molding, handles, sensors, and other protrusions must be measured and accounted for before ordering.
Photos or additional measurements may be required to ensure a proper custom fit.
Outside Measurement (OM / OB) Guidelines
What Is an Outside Measurement (OM)?
Outside Measurements—also referred to as Outside Bracket (OB) measurements—are used when mounting the shade outside the window casement. This includes mounting on:
The outer window casing
Wall surface
Ceiling
Trim or molding
Mullions
When you provide an OM/OB measurement, you are giving the exact dimensions you want the shade to cover, based on where the brackets will be installed.
Factory Deductions
OB measurements are manufactured with NO factory deductions.
The shade will be made exactly to the width and height you order.
This gives you complete control over the final coverage area.
Improved Light Gap Coverage
For Outside Mount installations, you can eliminate or reduce light gaps by:
Simply adding extra width to your bracket mounting measurement.
Because the shade sits outside the opening, you can widen the shade beyond the window frame to improve privacy and light control.
Golden Rule for OB Measurements
Always measure to and from the exact points where the brackets will be installed.
This ensures:
Correct overall width
Proper bracket alignment
Accurate shade fit
We use cookies to ensure that we give you the best experience on our website. If you continue to use this site we will assume that you are happy with it.


