
Solar View Roller Shade Installation Manual
How to Measure
Following these simple instructions will save you from an expensive mistake.
All orders are final. The WIDTH (left to right) is the most critical measurement for custom shades. ALWAYS take the width measurement at the point where the brackets will be installed.
Deductions for inside mount will be made to fit into the opening.

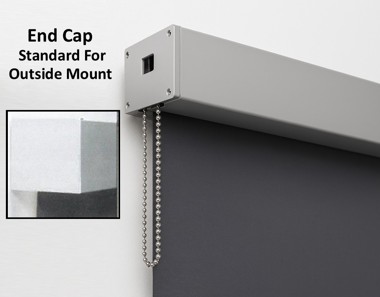
Inside Mount vs. Outside Mount


Inside Measurement (IM)
(IM) Measurements refer to ordering a shade that will be installed within the window casement. When an IM measurement is provided, the factory automatically makes the necessary deductions to ensure the brackets, shade, and rotating control mechanism will fit inside the opening.
Because of these deductions, inside‑mounted shades will ALWAYS have a light gap of up to 5/8″ on both sides of the shade (± 1/8″).
Example:
A shade ordered at 70″ IM will be manufactured to fit inside a 70″ opening.
However, the fabric width plus bottom bar will be approximately 68 ¾”, creating the standard operational gaps.
Outside Measurement (OM)
(OB) Measurements are for mounting the shade brackets on the outer casing, on the ceiling, trim, molding, or mullion. This measurement will be manufactured with NO factory deductions. When ordering OB measurements, you can customize the opening for no-light gap coverage by simply increasing the mounting width size. The final rule is Measure to and from the point of the bracket installation. Material width or bottom bar width is never considered as a viable measurement in and of itself.
The mounting depth for fully recessed shades should be at least 3″. The tubes and mechanisms become larger for shades that measure beyond 76” wide. The large shade will need a 4” minimum depth to be fully recessed
The factory always adds length to each shade as a “safety wrap”. This insures that the material will hang securely to the tube. The material safety wrap remains around the tube when the shade reaches the ordered length.
The default length of the chain is 60% of the shade’s ordered height. A roll shade positioned over a door or a tall window where the windowsill is greater than 48” from the floor will need an extended chain length. The extended chain will lower the drop length to allow reach and access to the roll shade. An extra chain must be requested at the time of order.
Mollies/toggles for plaster, drywall, or concrete are not included.
Faber/Benthin universal brackets may be mounted left or right, inside, outside, or on the ceiling. Brackets must be installed perfectly level for proper shade operation.
Standard bracket length: 1 3/8″. Extended length: 2 3/8″.
Inside/Jamb Mount
Clearance Requirement: The hex screw will keep the chain mechanism 1/8″ from the bracket.
Outside Mount (Surface, Wall, Ceiling)
Optional RollEase Control Brackets
Using the 1 1/8″ and 1 3/8″ tubes.
Notes:
Standard Spring Control Shades
Always installed on left side, unless waterfall/front roll.
Required where applicable. (See Accessories Section #8.)
Faber/Benthin universal brackets may be mounted left or right, inside, outside, or on the ceiling. Brackets must be installed perfectly level for proper shade operation.
Standard bracket length: 1 3/8″. Extended length: 2 3/8″.
For 1 1/8″ and 1 3/8″ tubes Faber/Benthin spring idler:
After the shade is installed, the idler locks into position so it cannot be accidentally compressed and the shade falls.
Spring idler must be fully compressed when reinstalling.
For 1¾” heavy‑duty rollers: Rotate grooved idler ring toward window, then remove shade.
Before Installing:
To Mount Shade:
Required
Child Safety Chain Hold‑Down (Standard)
Chain Stops (Standard)
Improper limits may detach fabric—not covered by warranty.
Optional
Chain Weights
Bracket Covers
Owner’s Information
Operation
Appearance (Mylar)
Cleaning
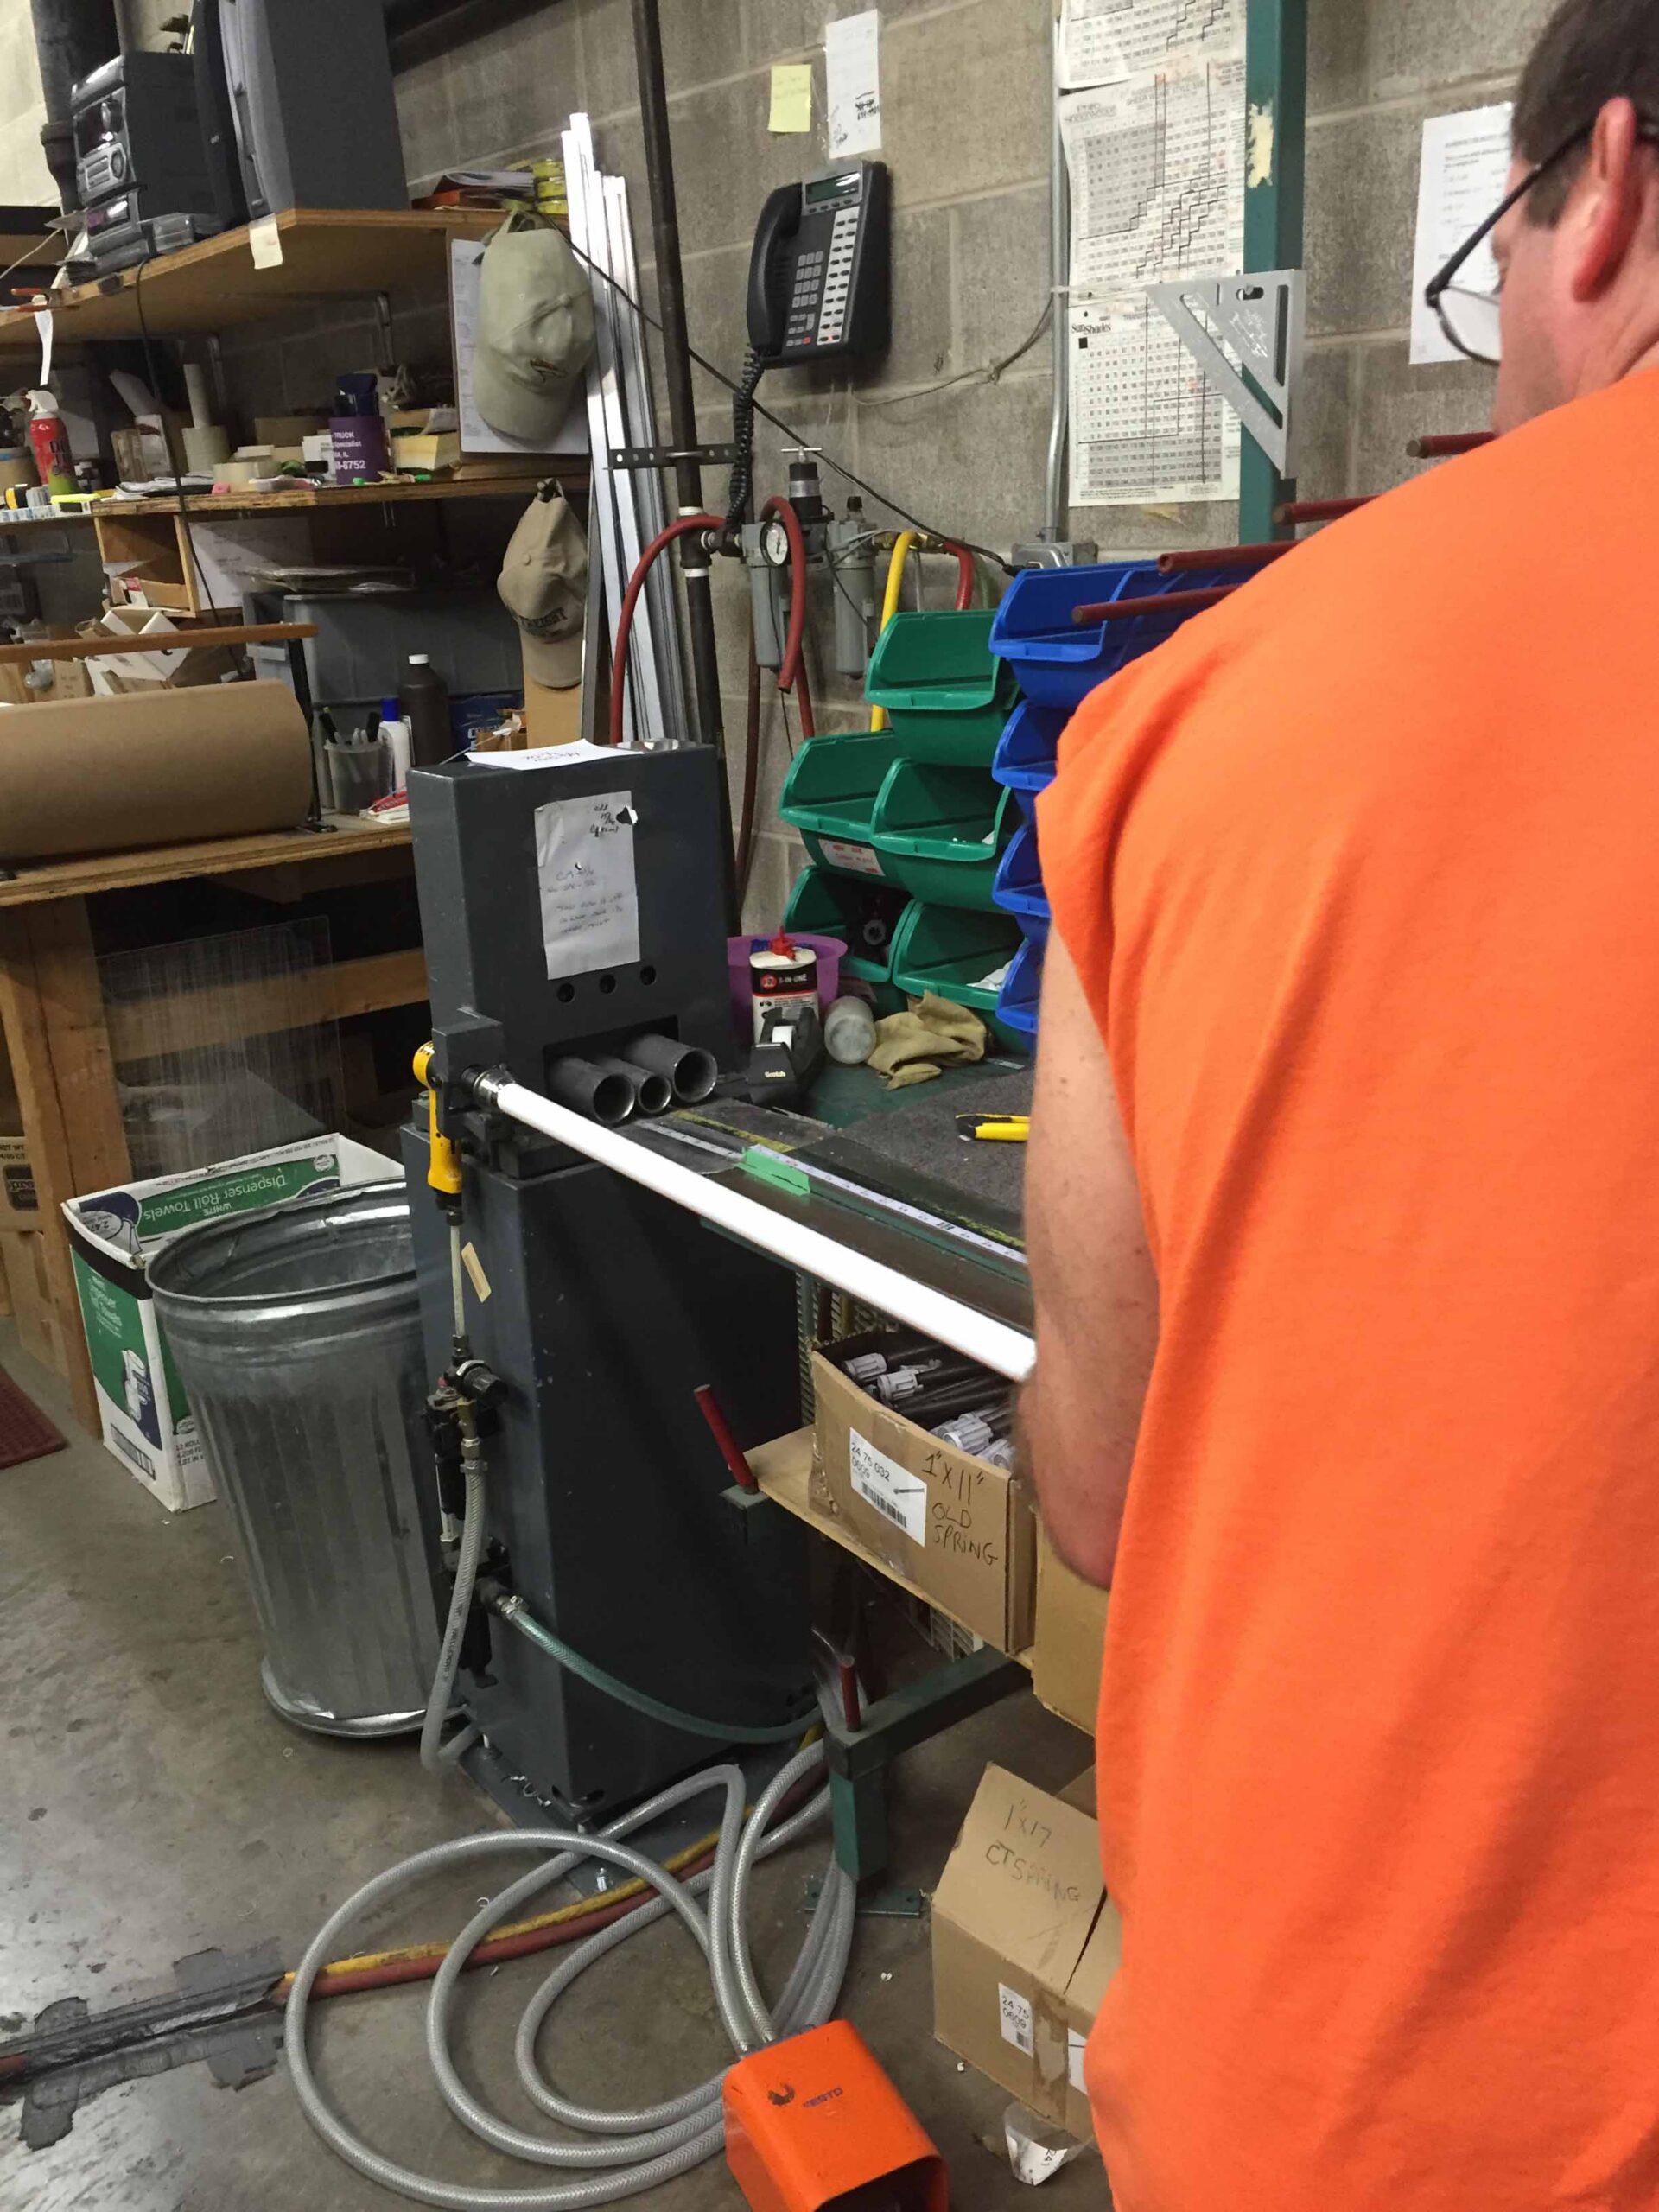
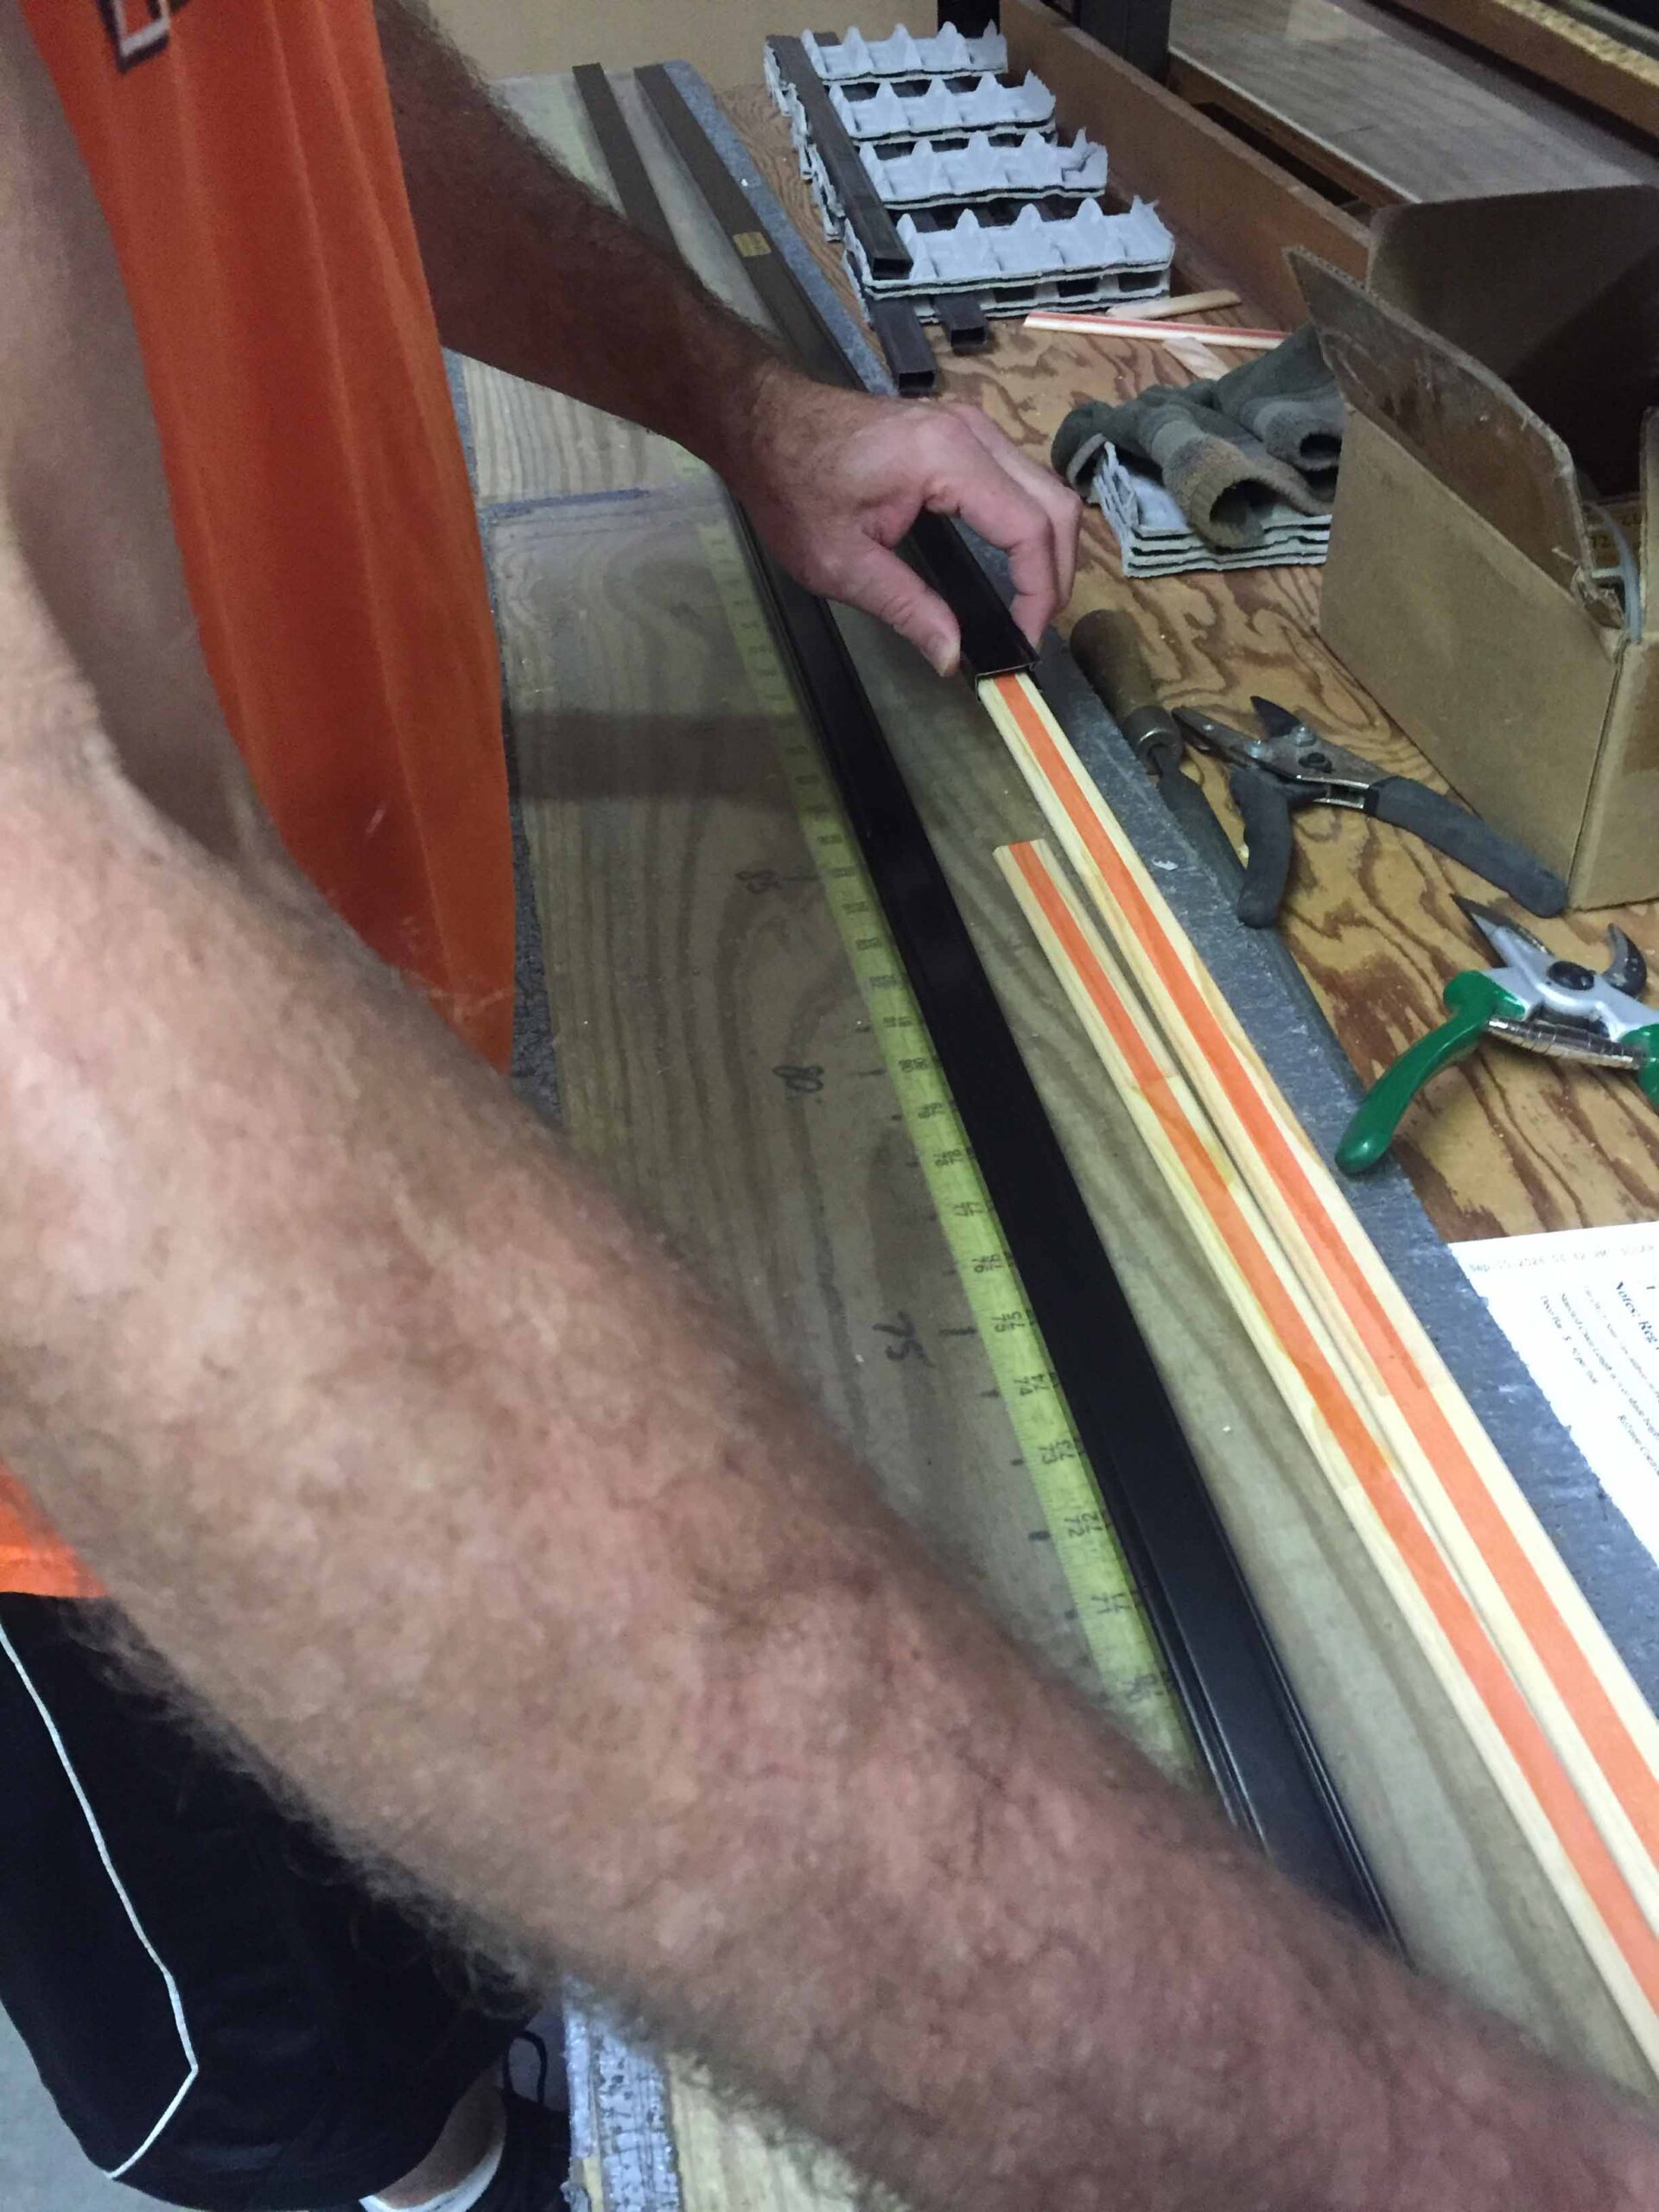
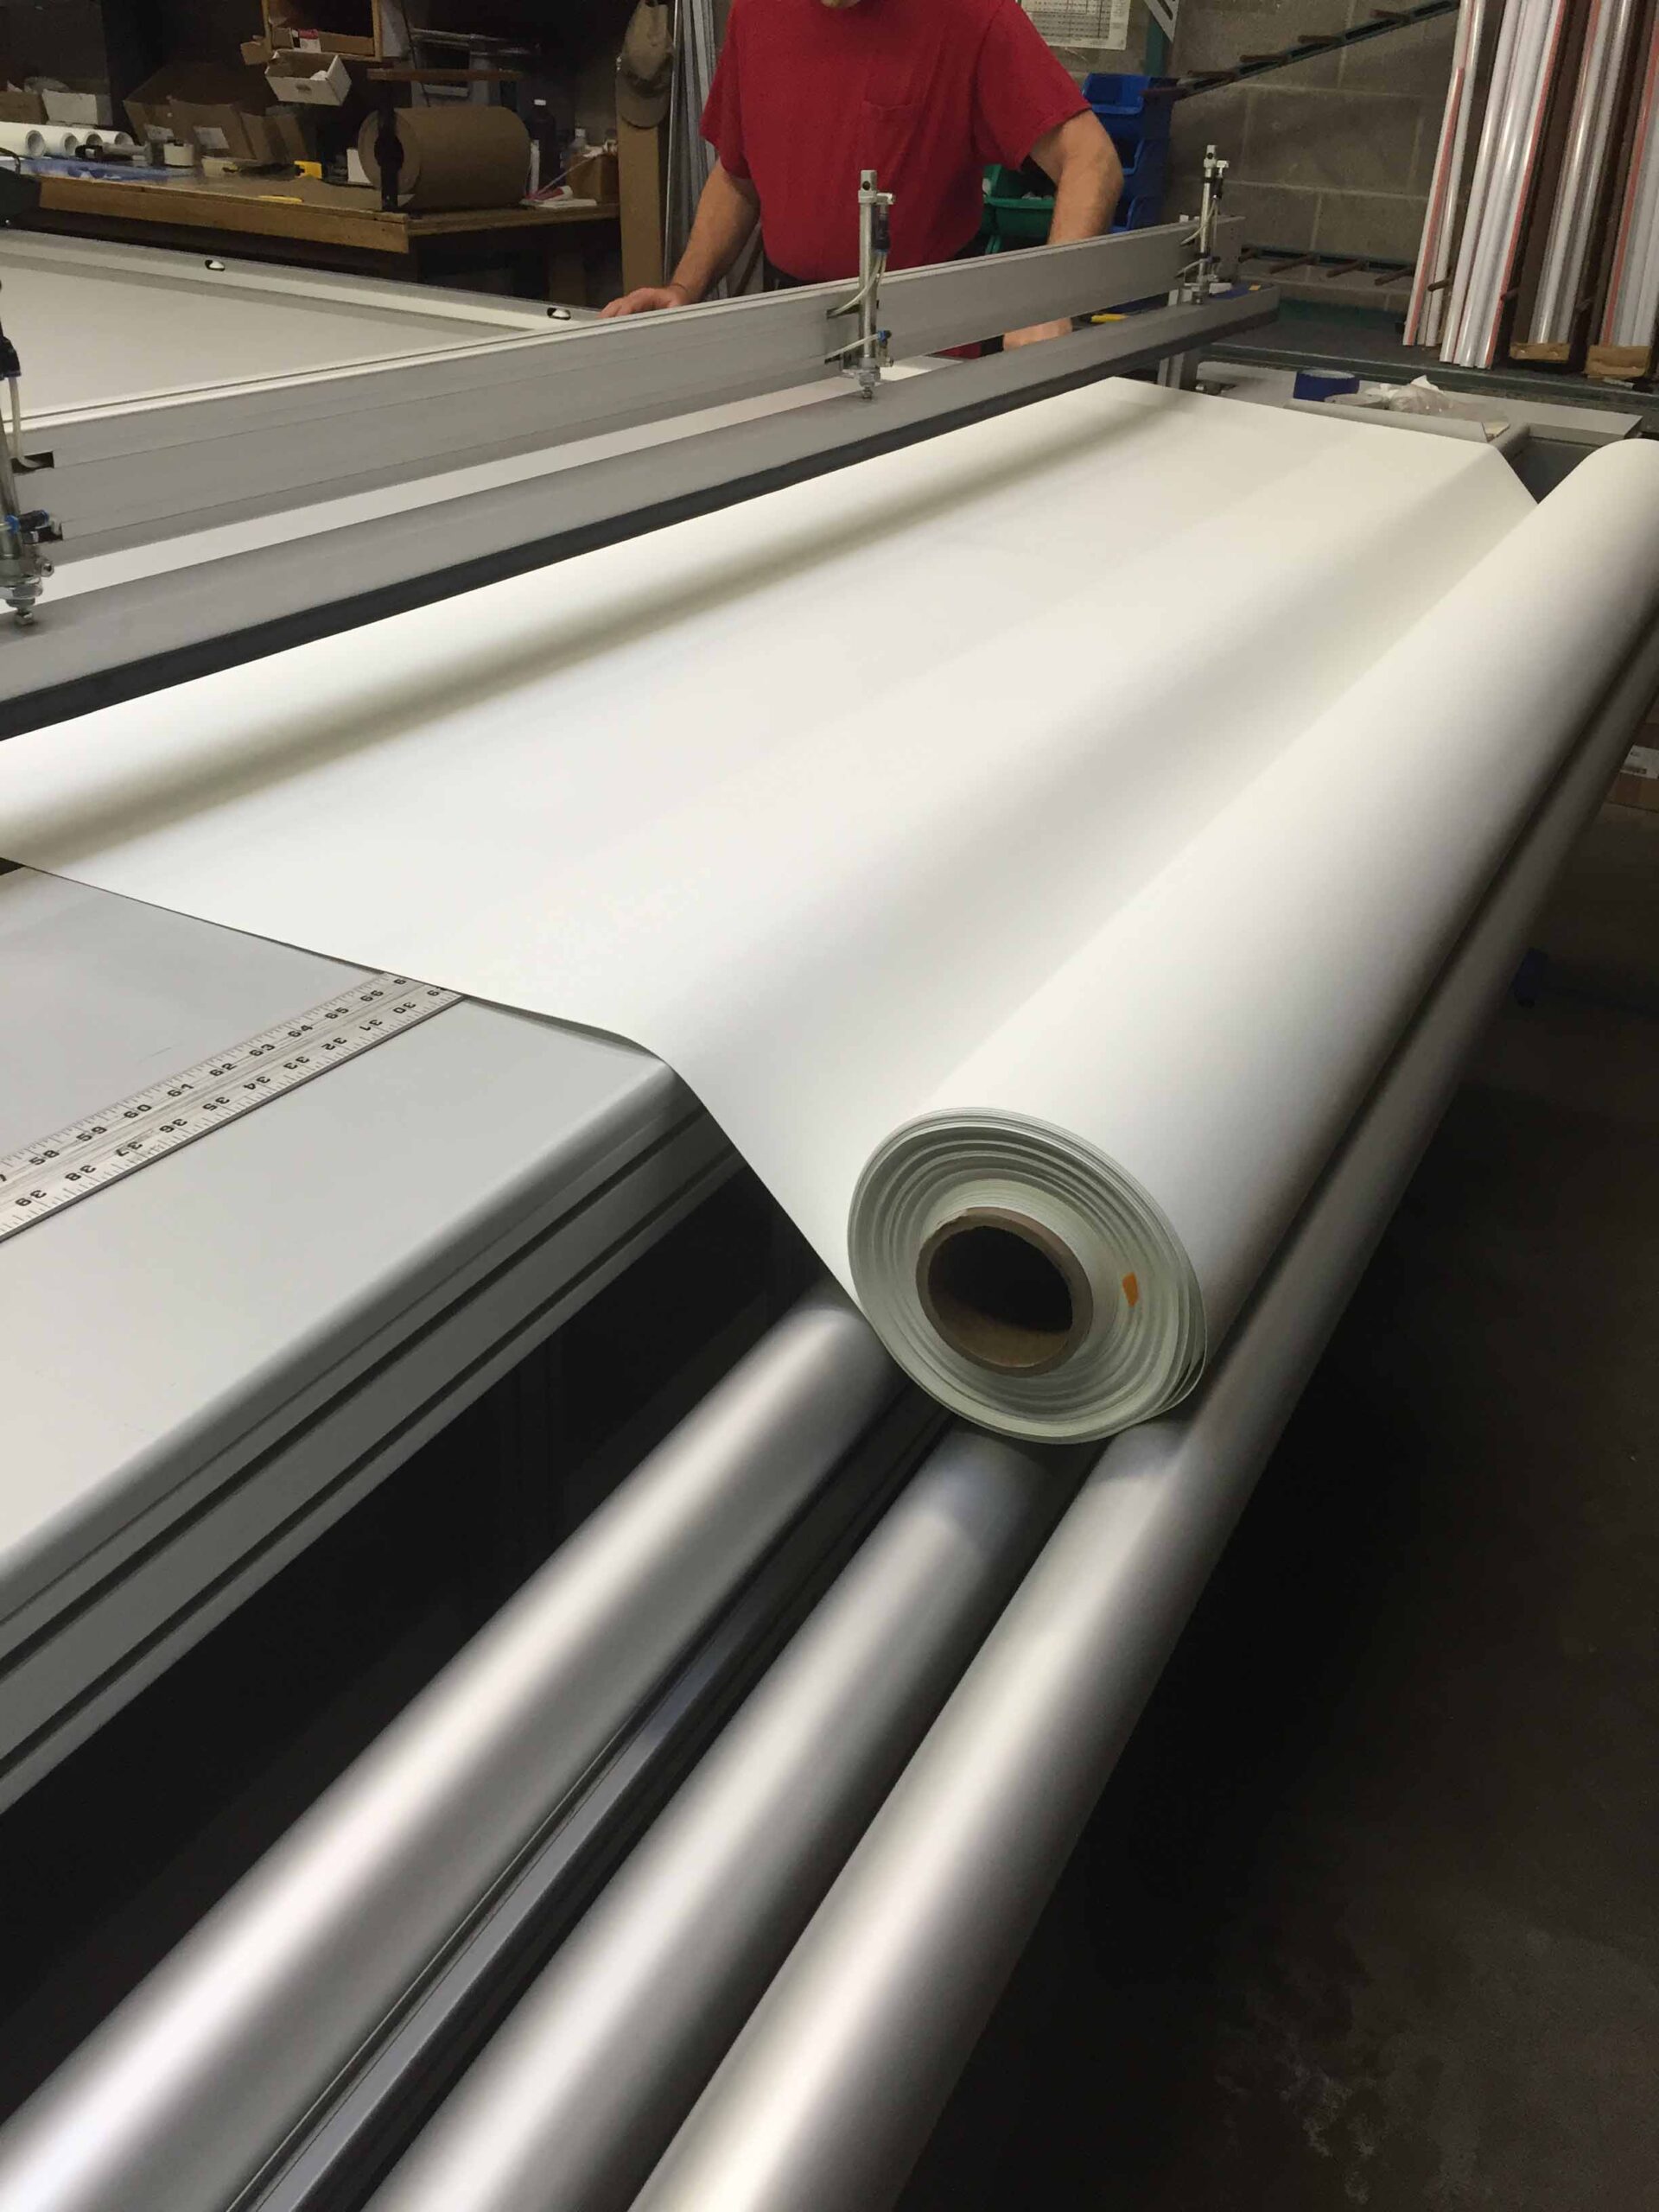
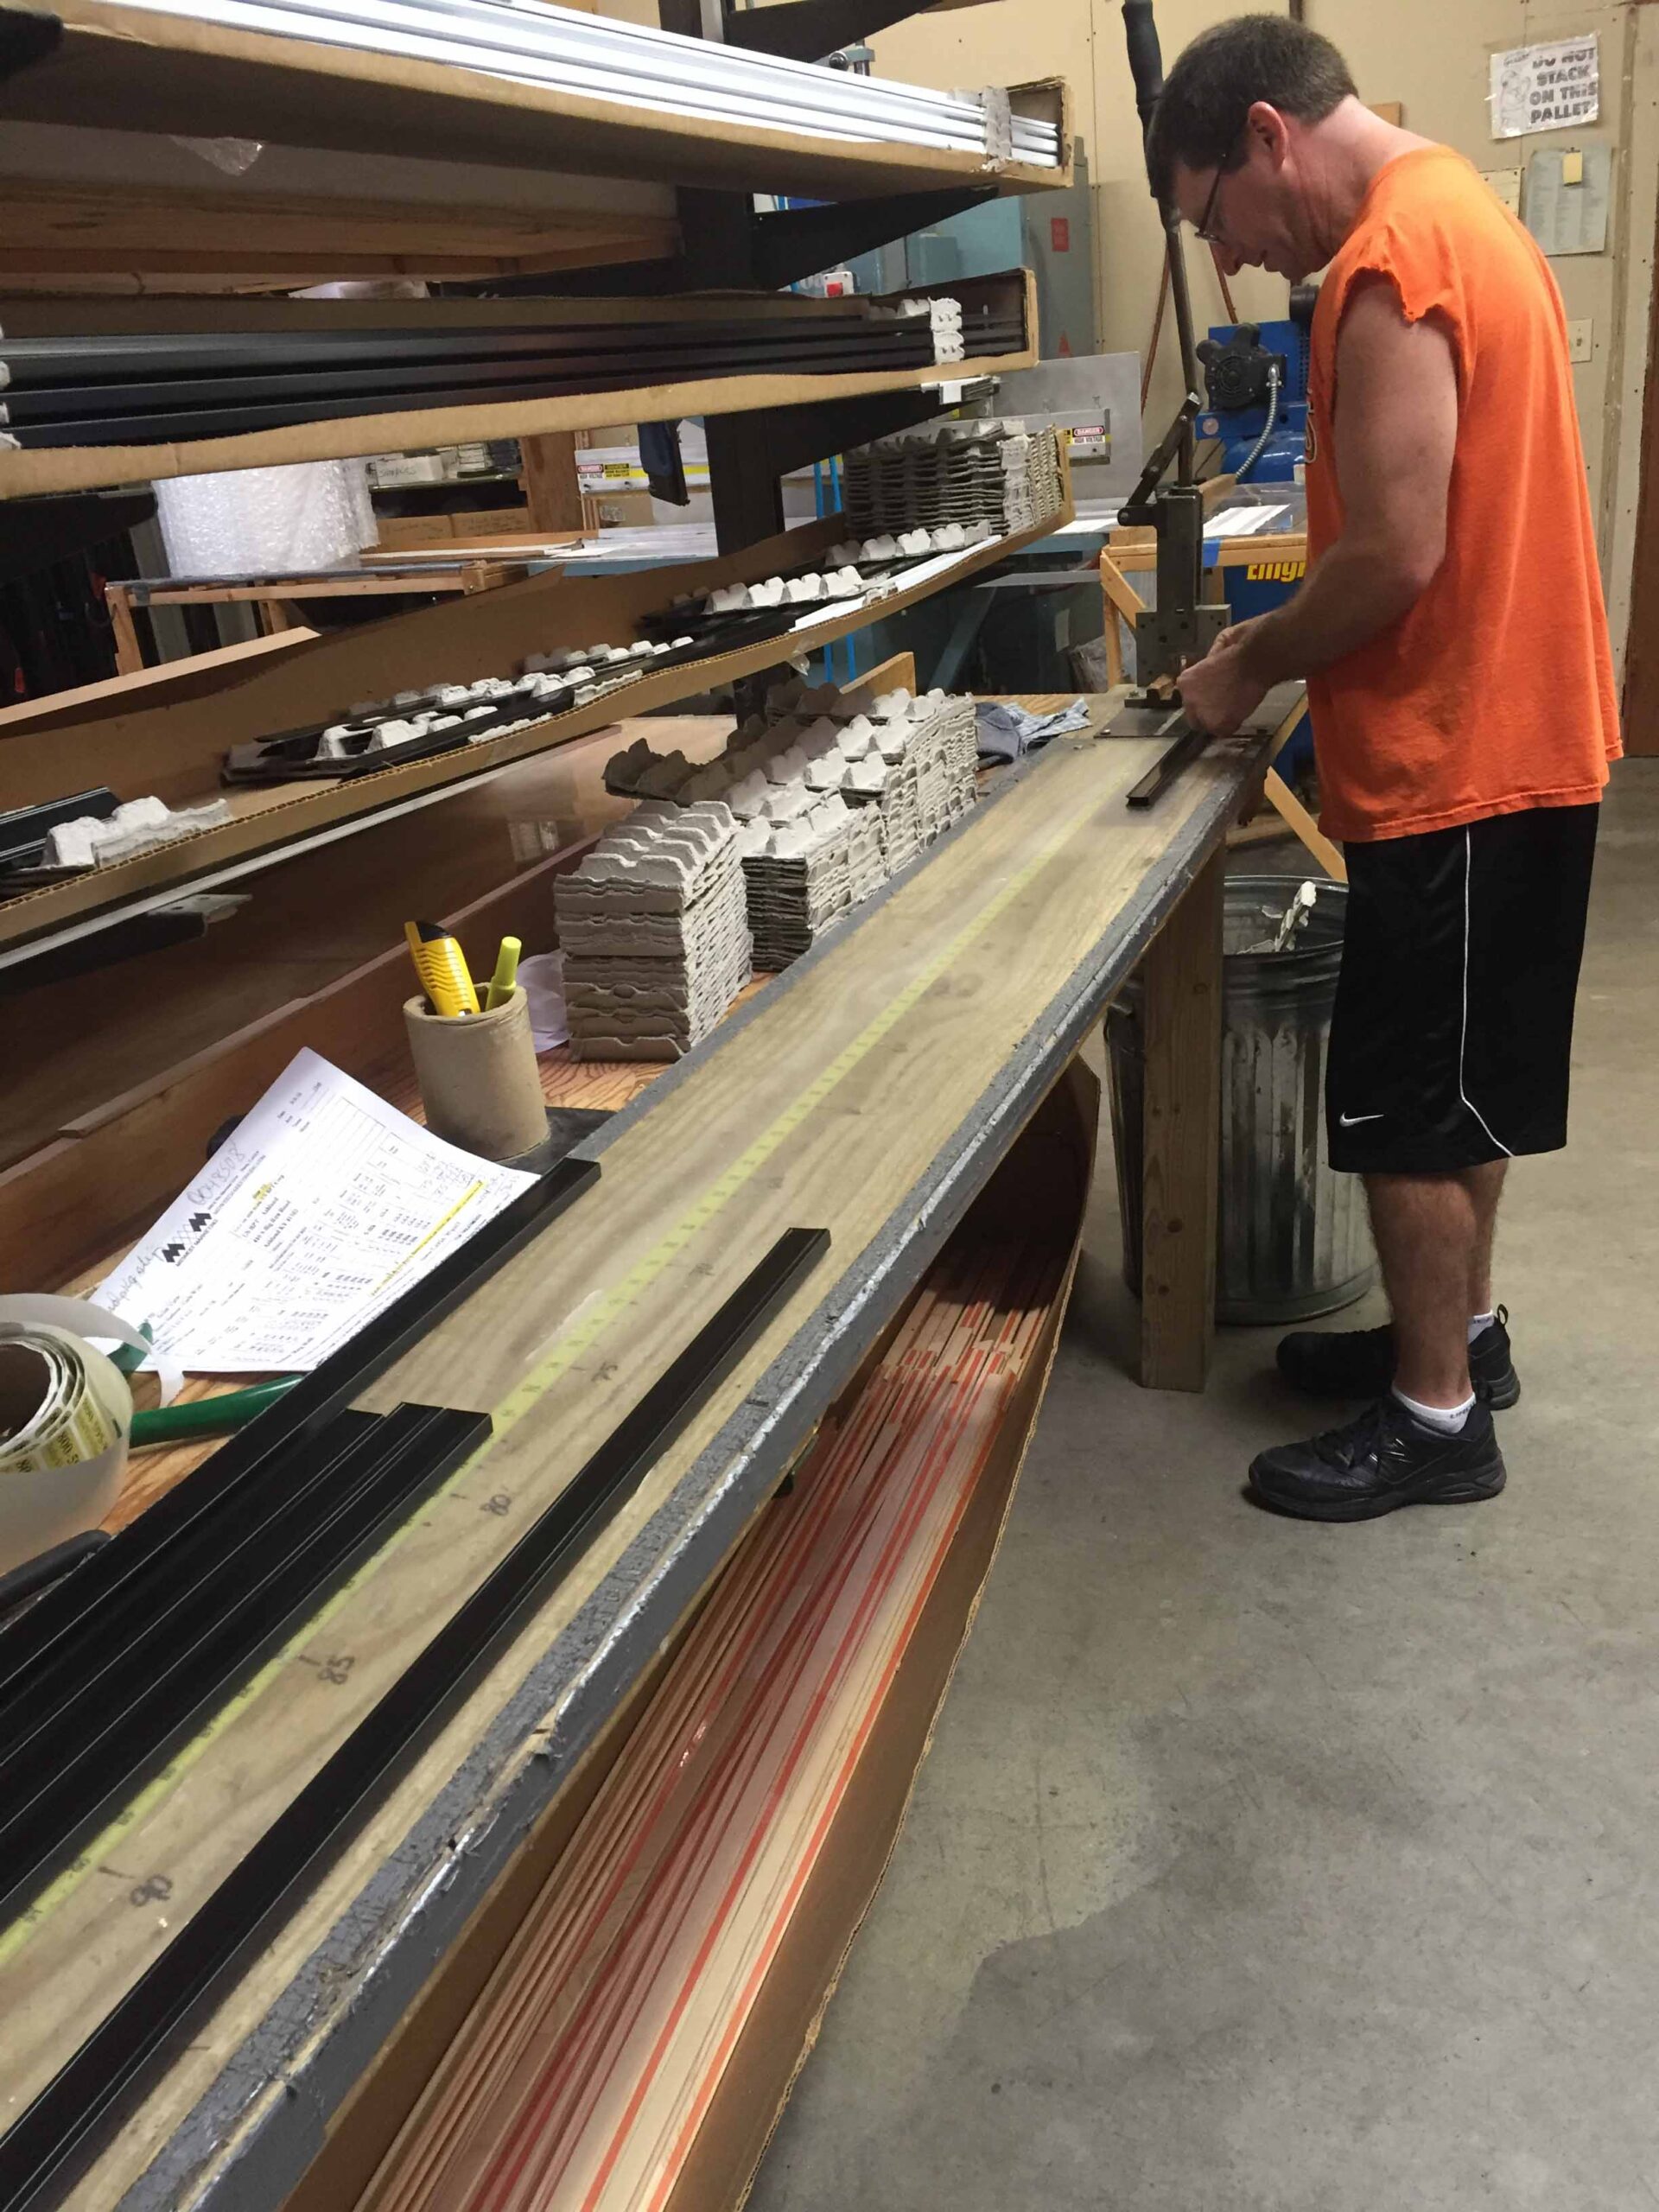
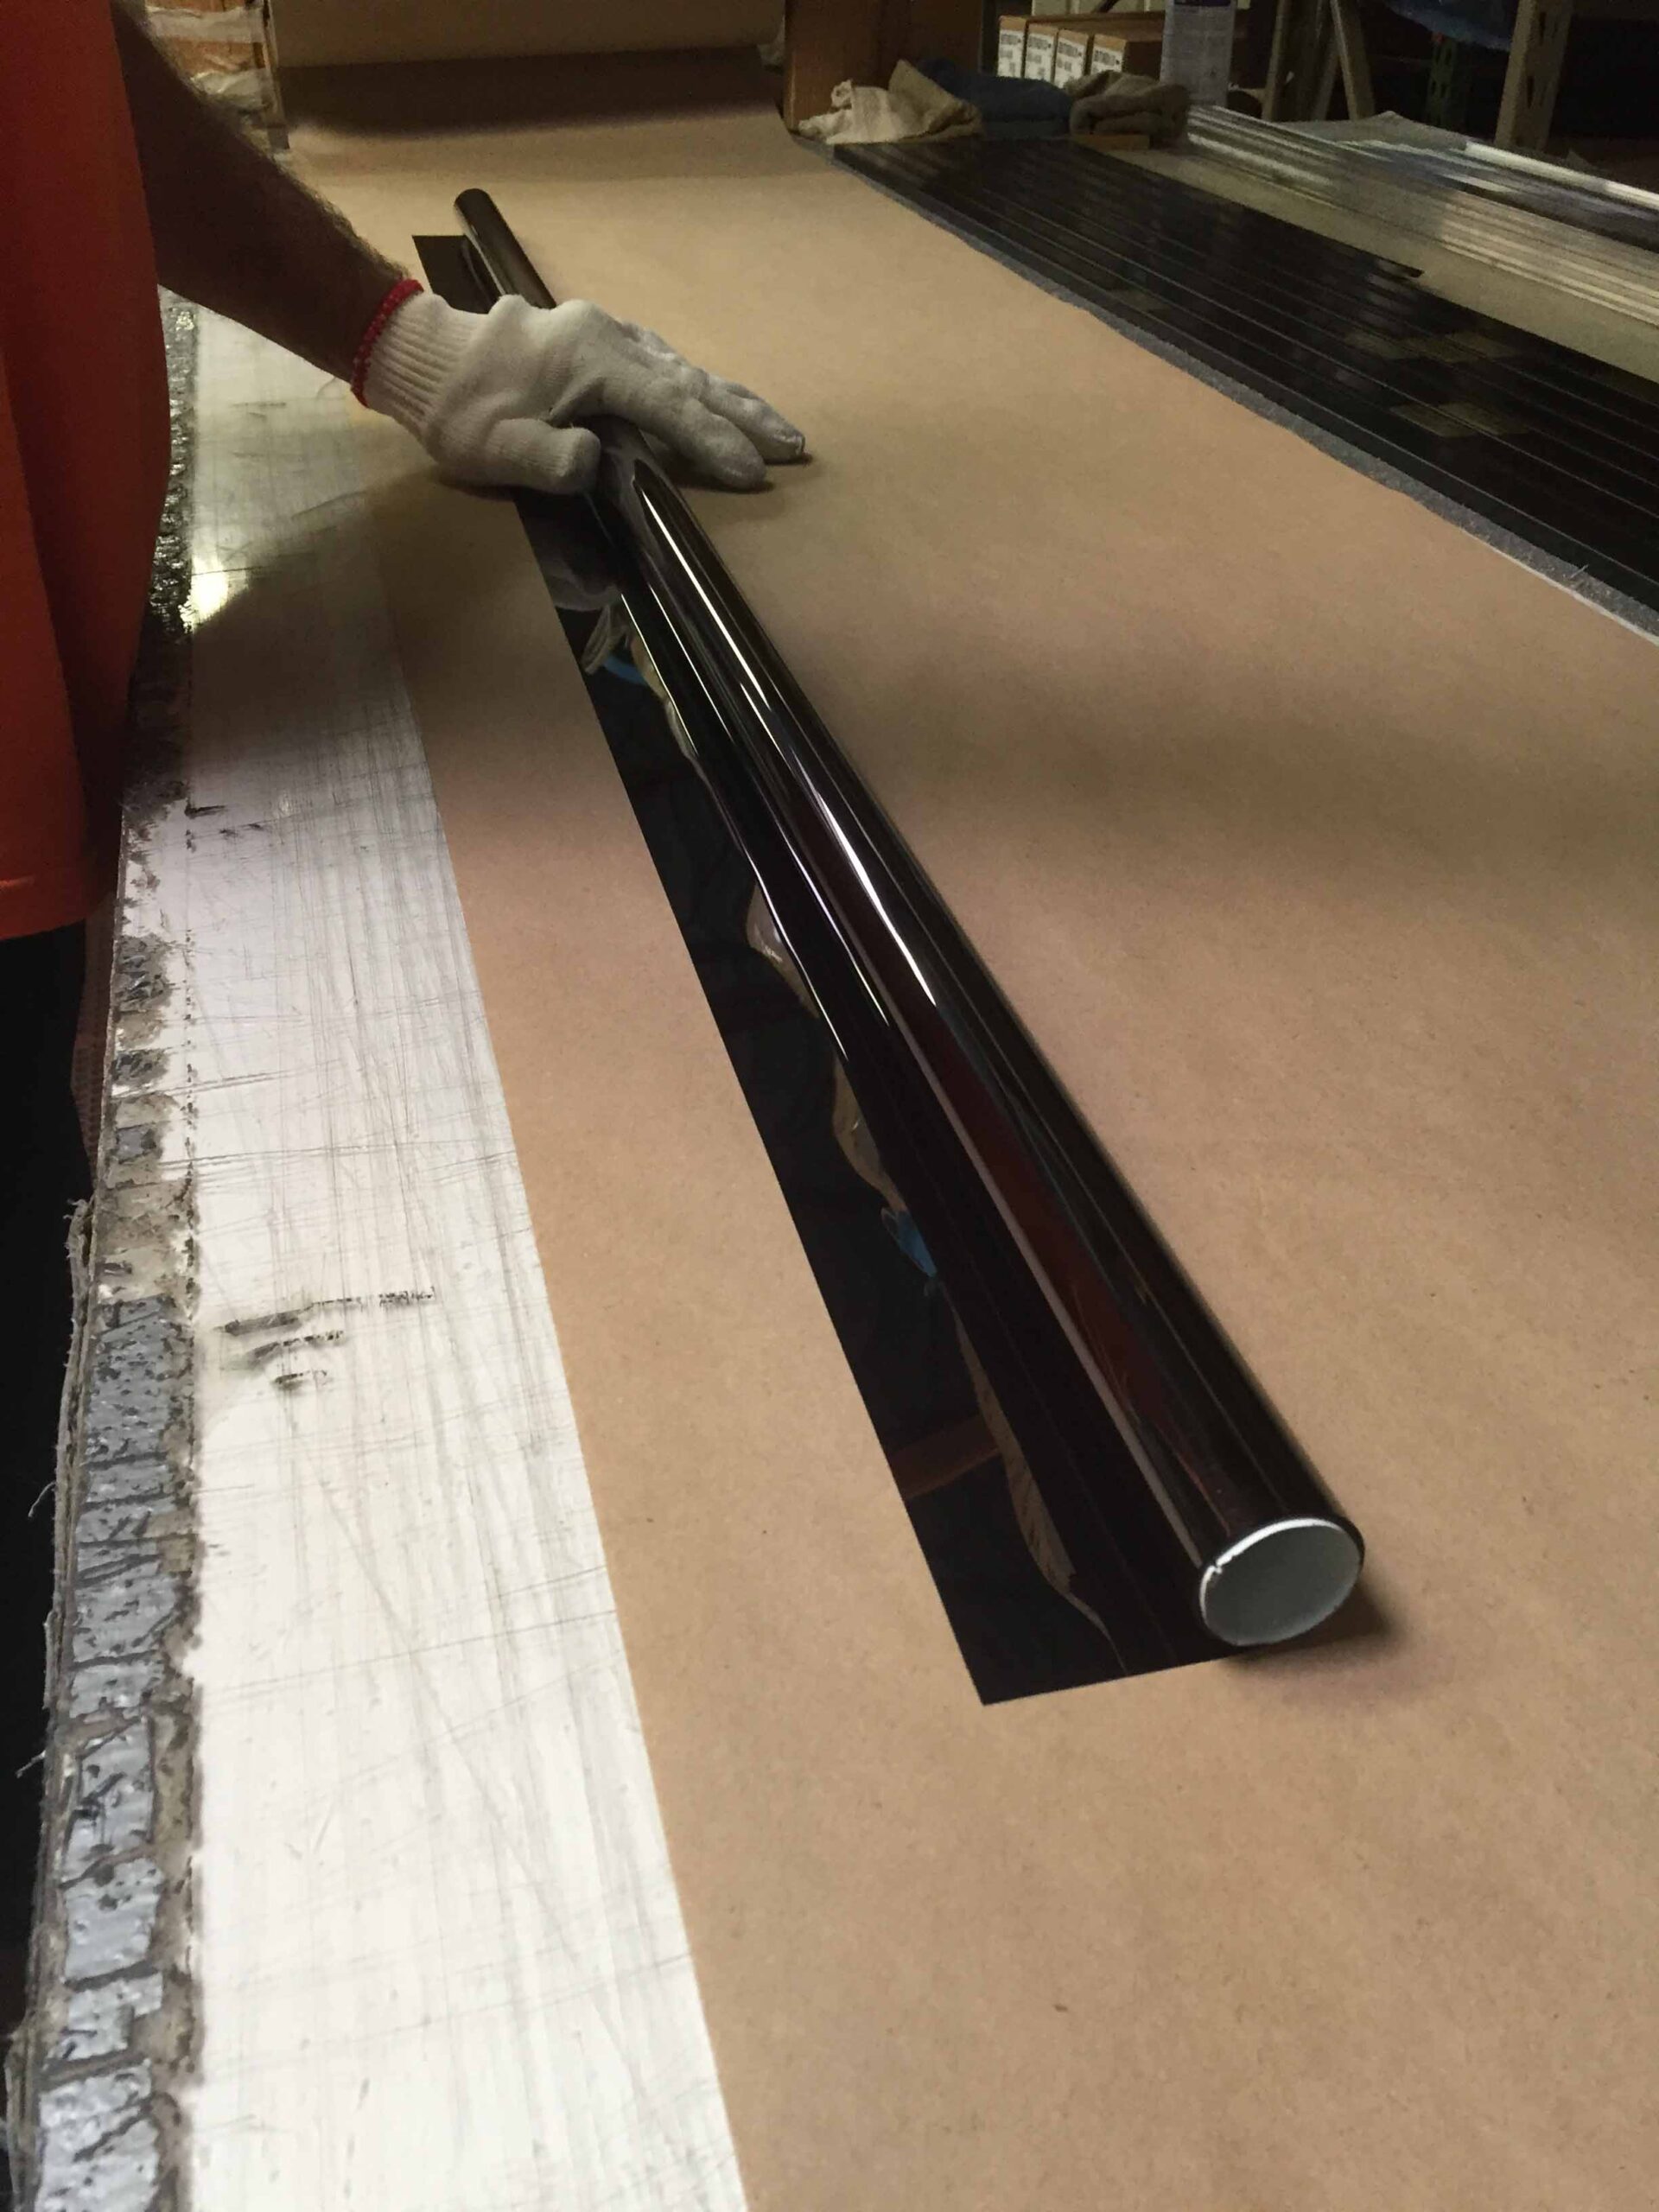
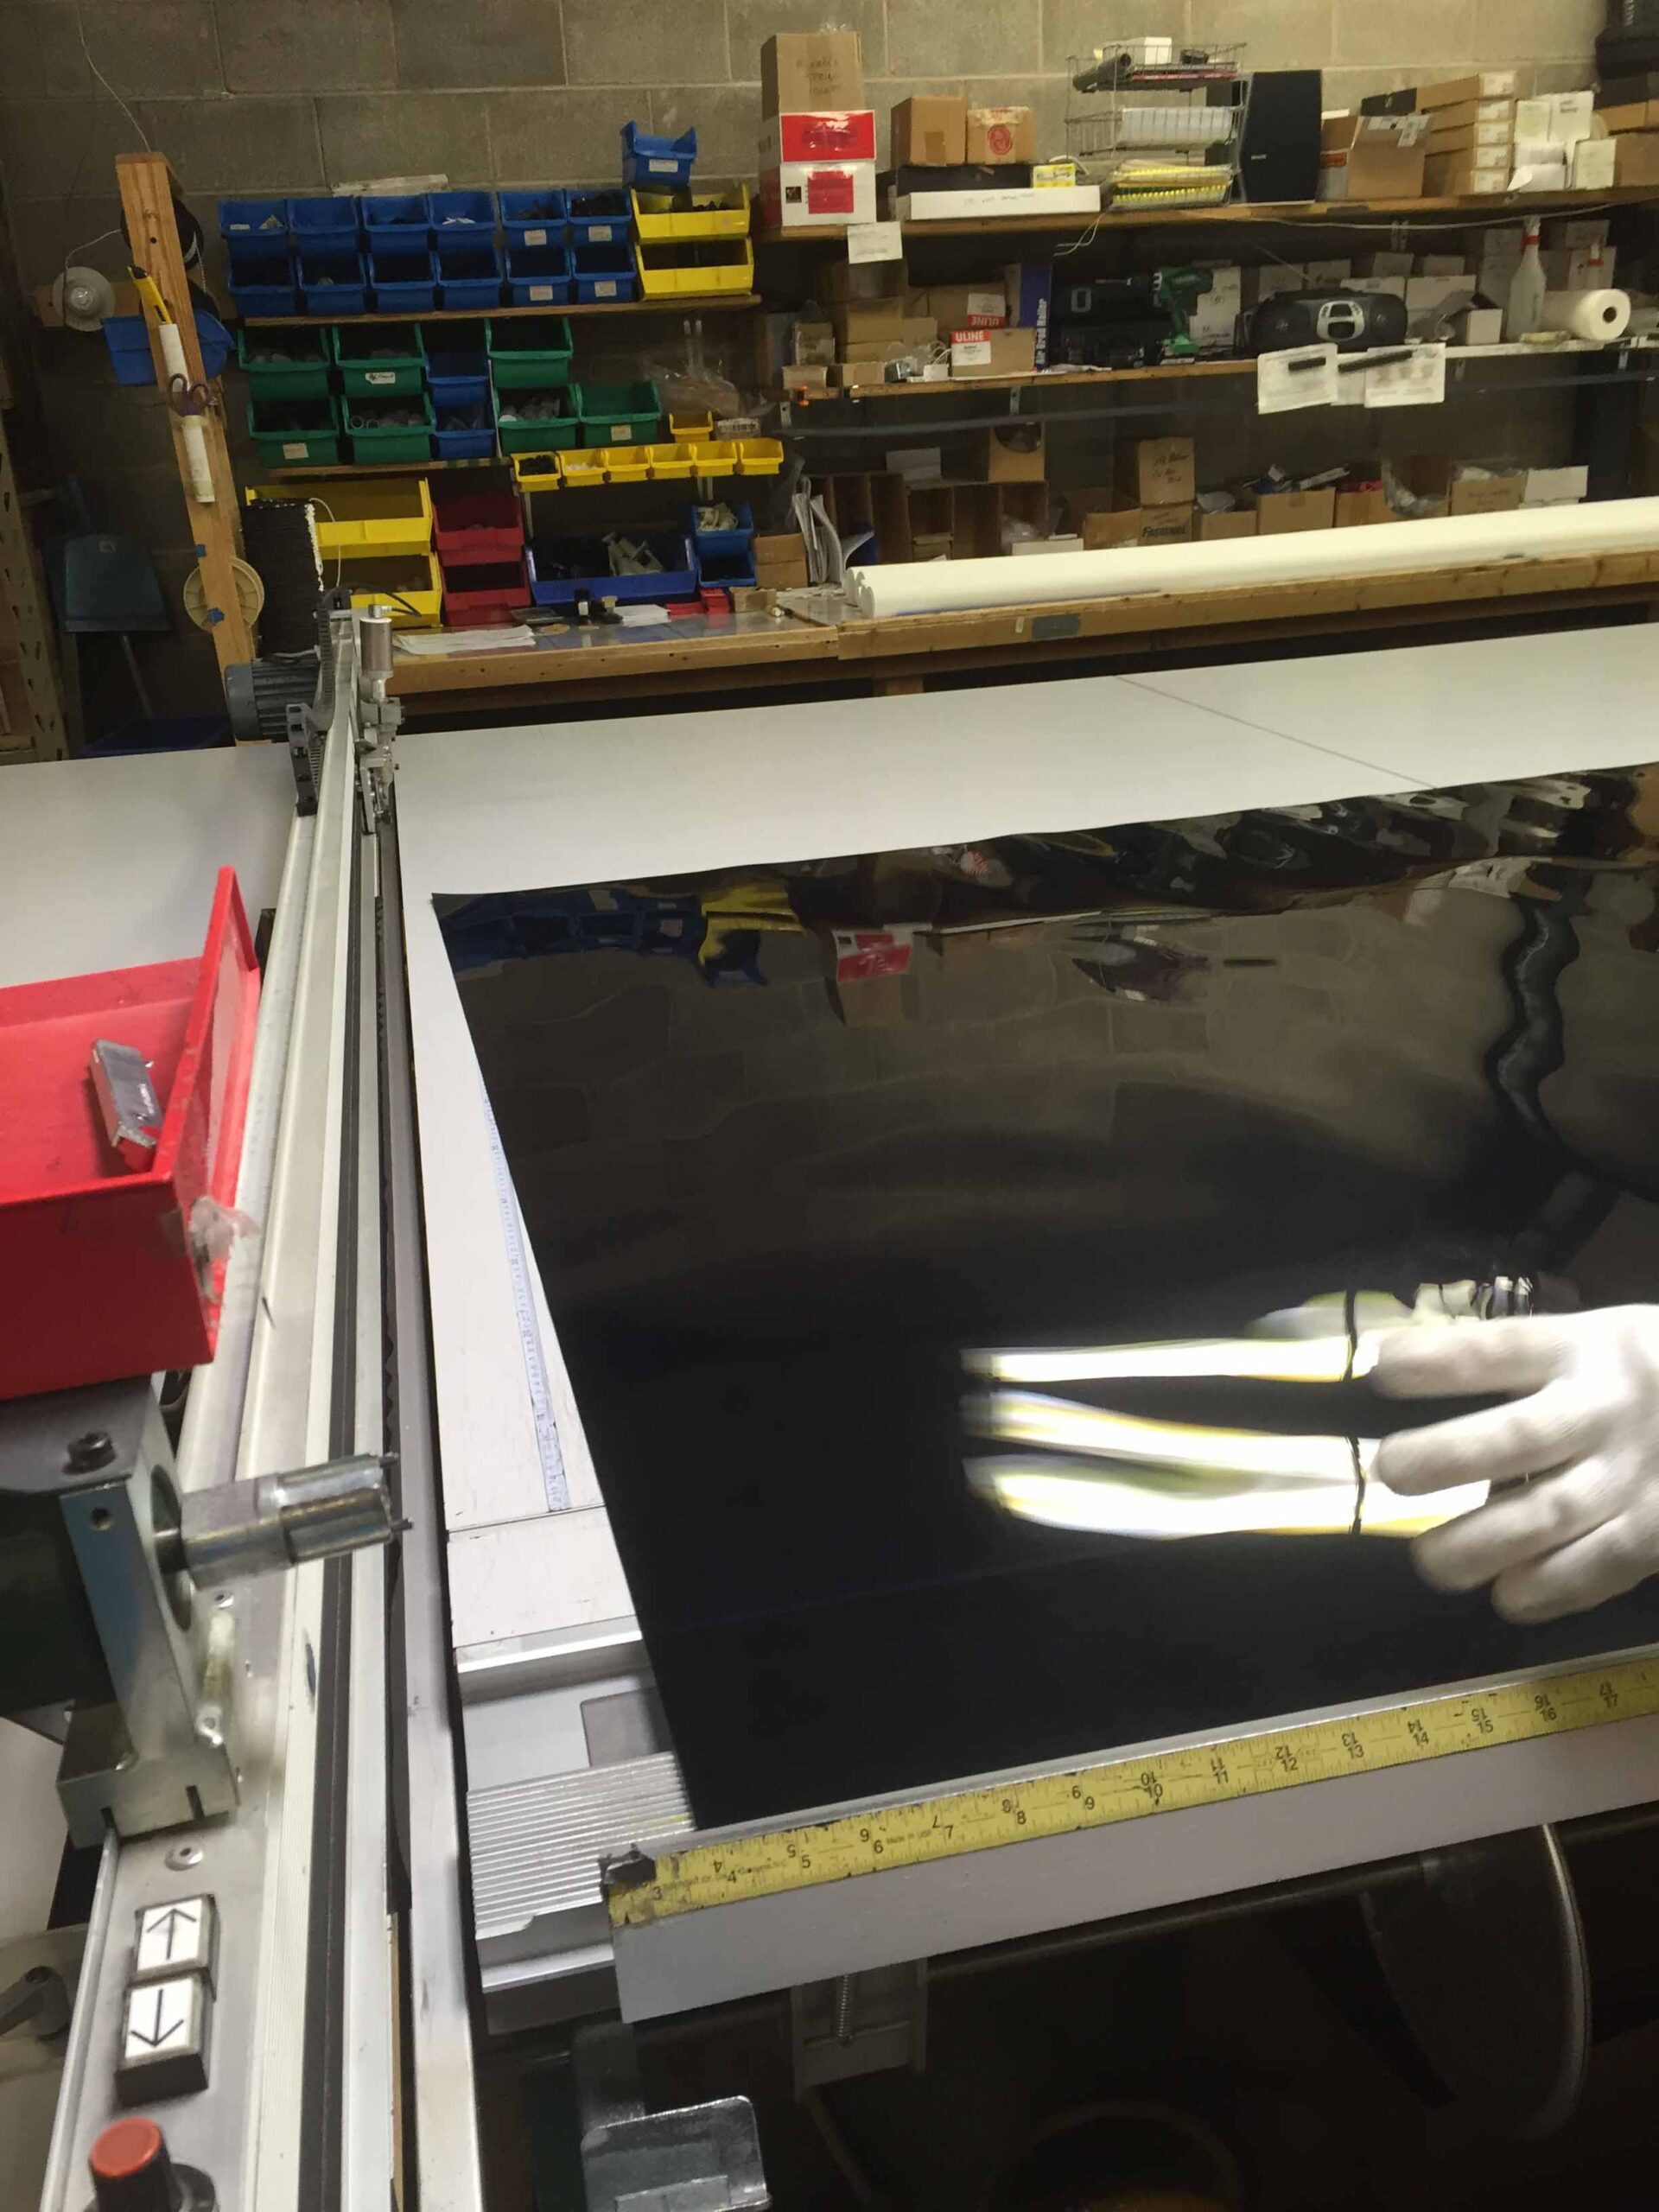
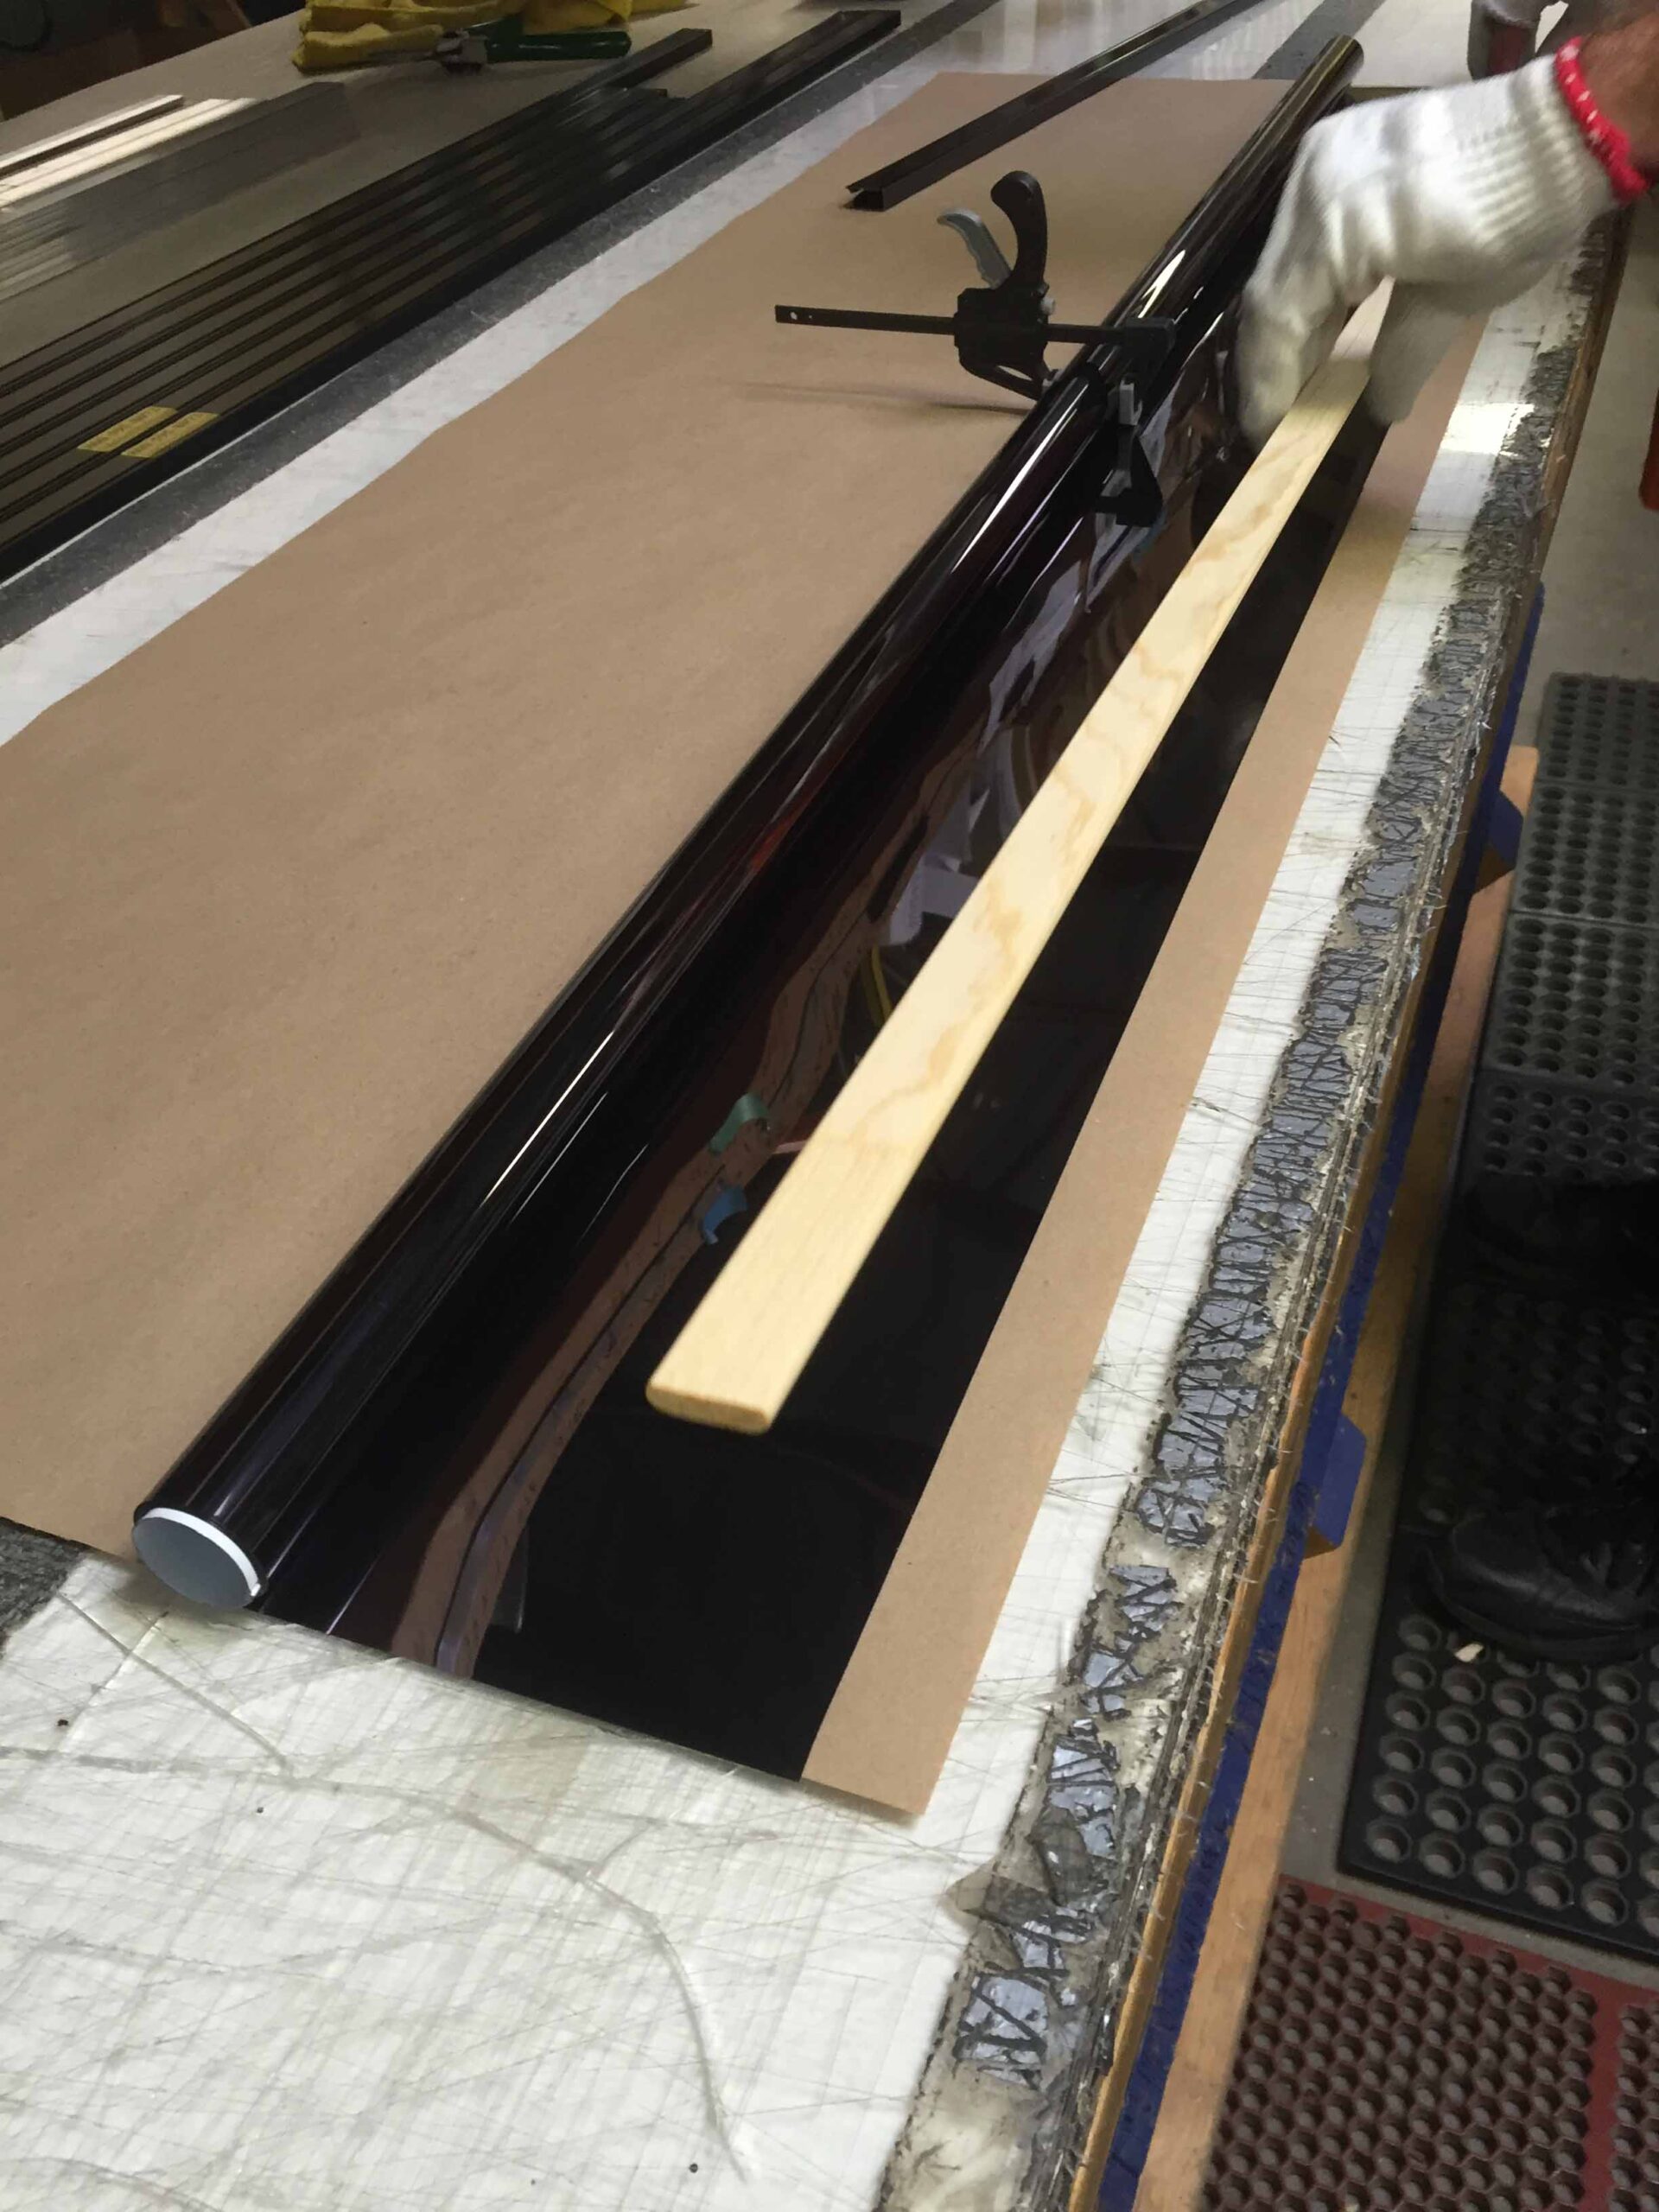
How it’s Made
Our roller shades have little to no maintenance or repair compared to other types of shades or blinds. Painted baked enamel steel rollers add greater strength and are used to control warping or sagging. Available in 1 1/8” – 1 3/8” – 1 3/4″ diameter. Shade components have a limited lifetime warranty.
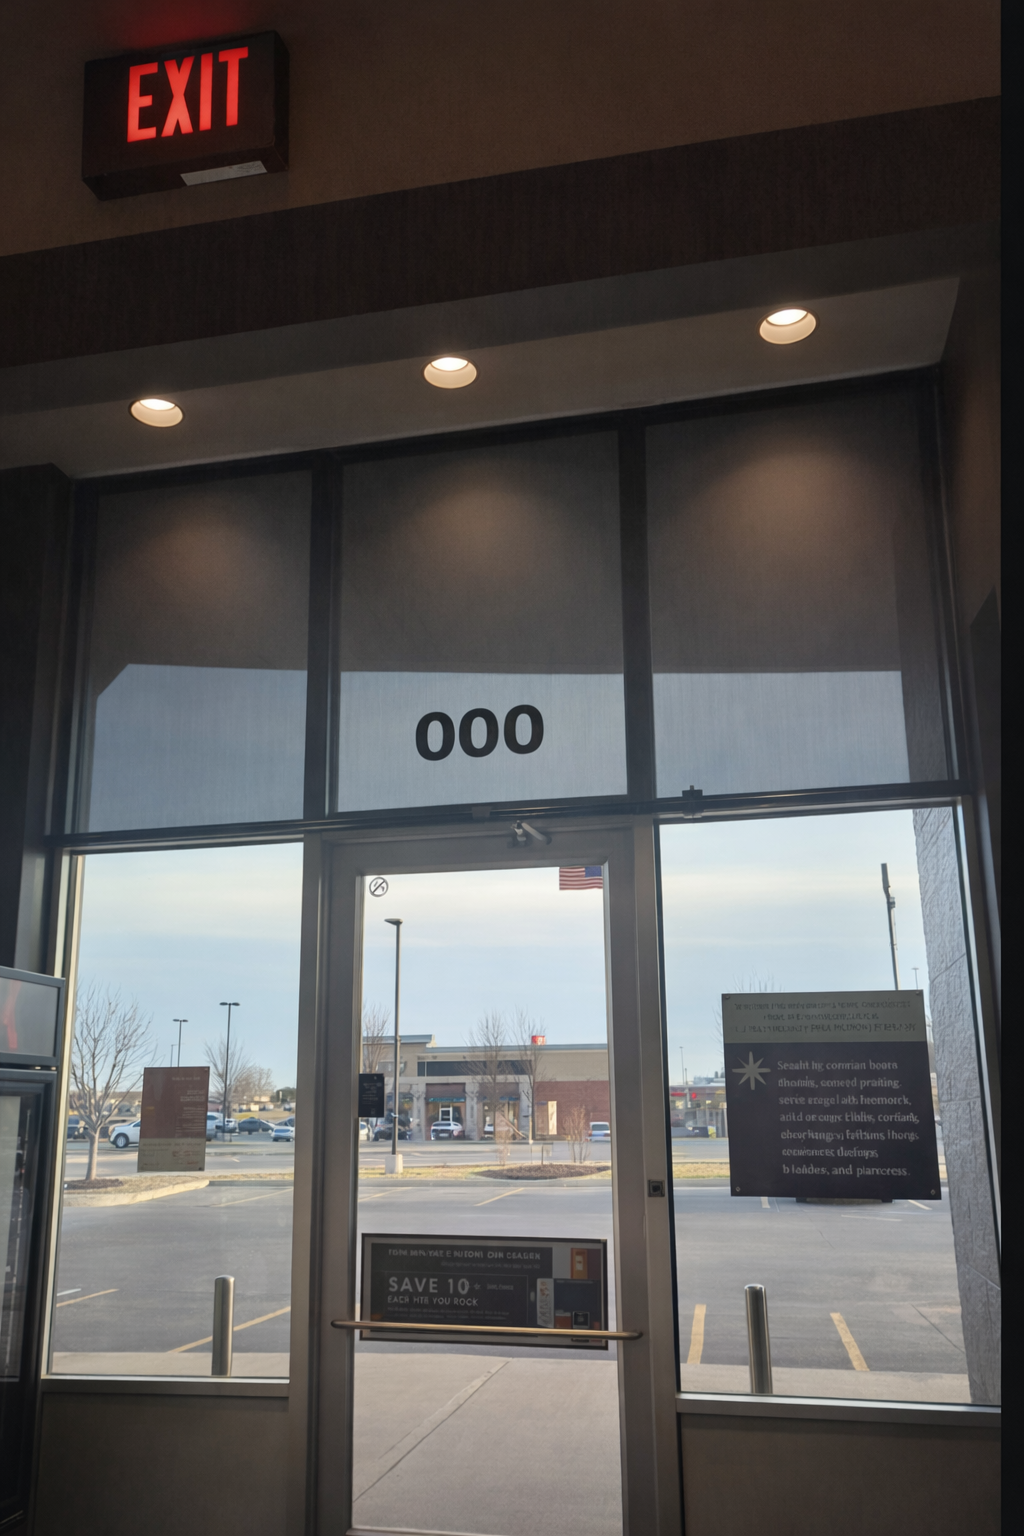
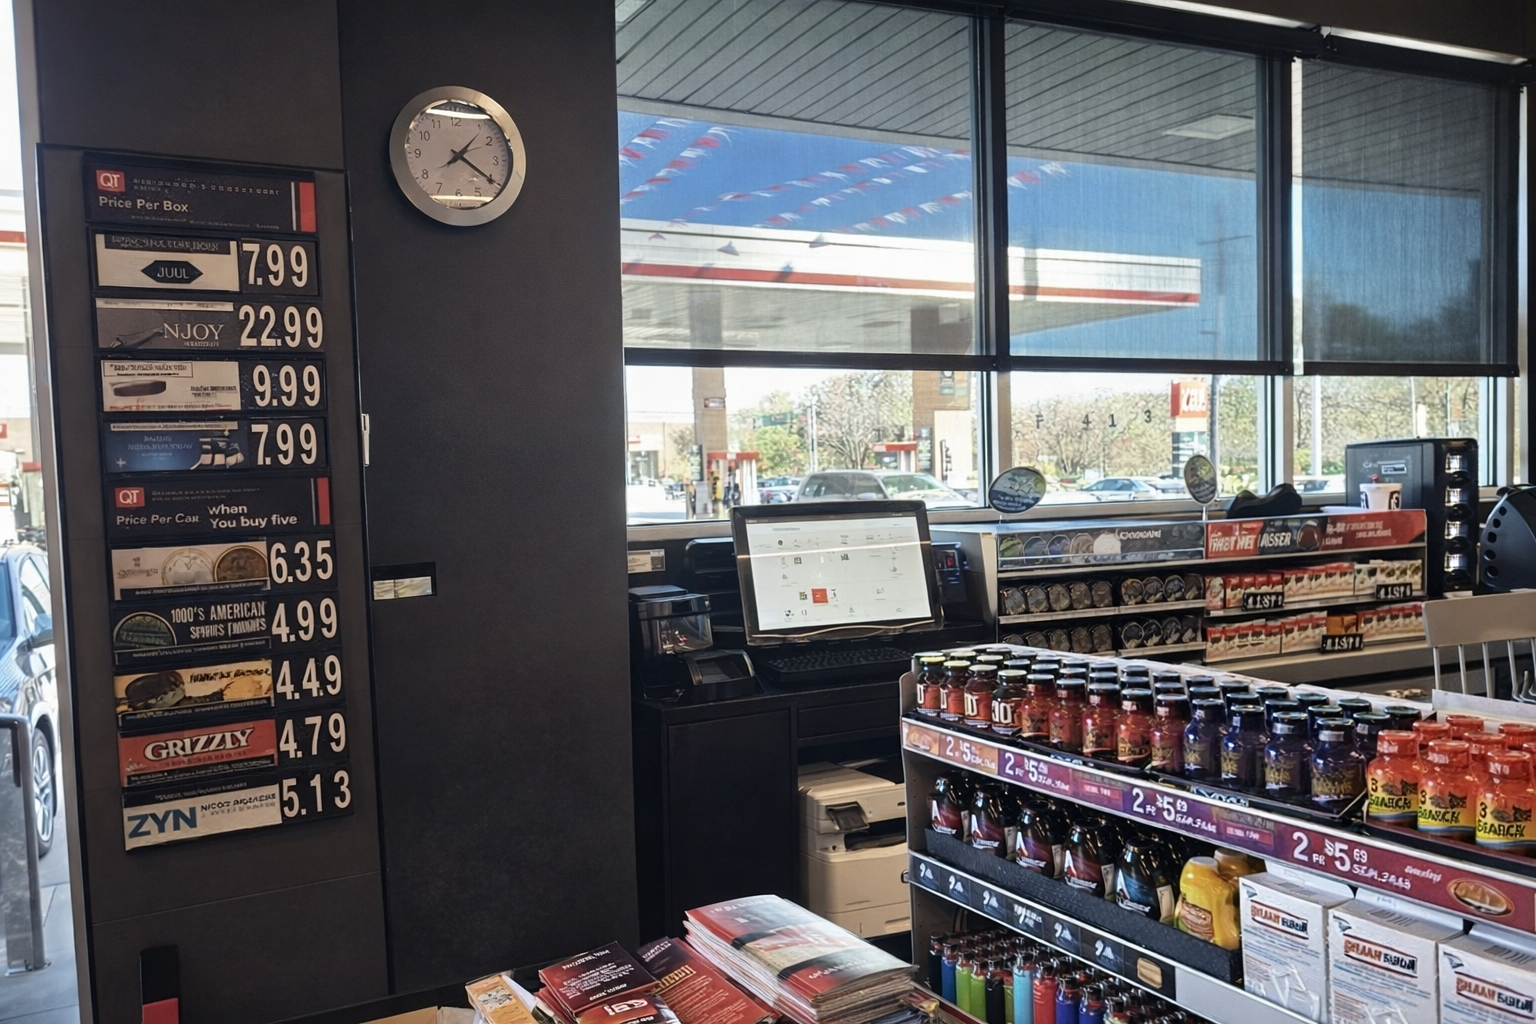
Woven technology allow the view out, and lets adequate light in without the glare. They also do an excellent job of controlling the sun’s heat and fading of interiors.
SolarView shades are used extensively in most franchise restaurants like; McDonald’s, Starbucks, Panera, Cracker Barrel etc. They have also replaced most mini and vertical blinds in new and remodeled office spaces.
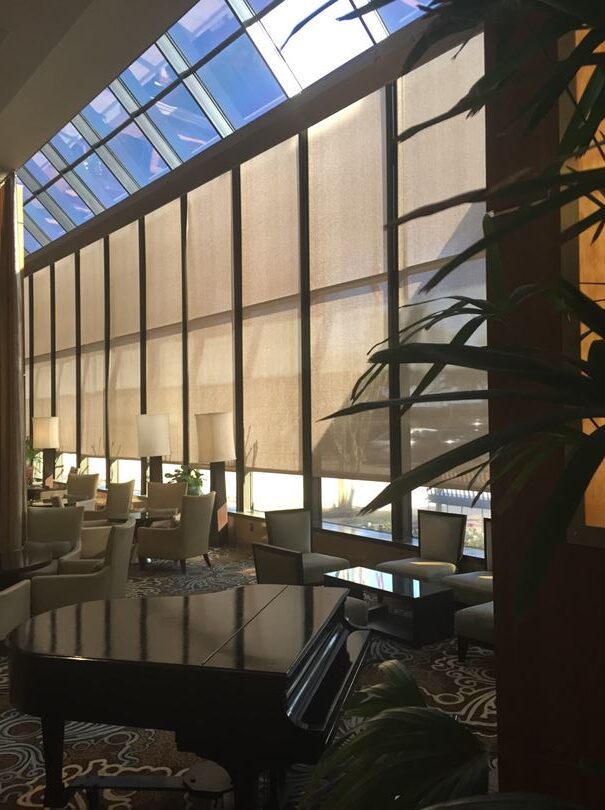
SolarView interior sun control fabrics provide the perfect balance of light, comfort, and beauty, making them the ideal window covering solution for residential and commercial spaces alike. A sleek and functional alternative to Ordinary window coverings SheerWeave effortlessly and elegantly manages the sun’s harsh heat and blinding glare.
…conserving energy and helping to create a more comfortable environment. SolarView also helps reduce the fading of interior furnishings and flooring by protecting these surfaces from the sun’s harmful effects. And unlike many window treatments, SolarView allows excellent outward visibility – even when shades are lowered – to maintain optimal views.
… and transmit diffused natural light toward the interior. These colors are excellent for reducing overall solar heat gain, lowering energy costs associated with air conditioning, and reducing the need for artificial lighting for additional energy savings. Due to high reflectivity, light colors will limit outward views.
Benefits include improved clarity of electronic devices, diminished eye strain and excellent outward views. While the overall impact on solar heat gain is not as significant with dark colors, this heat will be more evenly distributed into the room, improving comfort and eliminating hot spots created by direct sun light.
… and, combined with color, determines the fabric’s overall performance. The more open a fabric the more heat and light will transmit to interior spaces and the more outward views are maintained. With openness factors ranging from zero to 25 percent, selecting the right combination of color and openness will ensure your goals for energy savings, light management and outward visibility are achieved.
Troubleshooting
1. The round steel pin in the end plug is designed to be pulled out up to 1/8” using pliers.
2. FABER end caps are also designed for adjustment on the job. A notch is provided on both ends to insert a flat screwdriver and pry out 1/8”. If ends are pried out, secure in place by indenting the metal tube into the plastic plug by using a nail or center punch.
3. For in jamb installation, the brackets can be moved closer together with the use of a wood shim, penny, or washer behind the brackets.
4. Relocate the universal brackets and mounting locations from in jamb, to outside, wall or ceiling mount.
1. Reposition the brackets to a ceiling or outside mount. DO NOT FILE THE PINS.
2. To return a shade to the manufacturer for cut down, A RETURN AUTHORIZATION NUMBER must be assigned before the shade will be accepted back. If the cut down is not the fault of the manufacturer, a service charge will be added
1.Always use a carpenter’s bubble level to make sure the shade is level. It does not necessarily have to be eye level or parallel with the window frame.
2. If the tube is level, pull down a shade or unroll material until the metal tube is exposed. Stack or shim several pieces of tape (not a thin Scotch tape) 3” – 4” along the tube on the end opposite the direction that the material is tracking towards.
3. Repeat or thicken shims if necessary.
4. When using Sheer Weave material, there may be existing shims. You may want to remove them and start over.

Solar View – Roll Shade Measurement Guidelines
All measurements must be recorded in inches, rounded down to the nearest 1/8 inch.
Round down to the nearest 1/8 inch.
Examples:
Tools Needed
Included Hardware
Mollies/toggles for plaster, drywall, or concrete are not included.
Bracket Notes:
Faber/Benthin universal brackets may be mounted left or right, inside, outside, or on the ceiling. Brackets must be installed perfectly level for proper shade operation.
Standard bracket length: 1 3/8″. Extended length: 2 3/8″.
Inside Measurement (IM) Guidelines
Inside Measurement refers to ordering a shade to be installed inside the window casement. When you provide an IM width, you are giving the exact space within the opening.
The factory will then take precise deductions to ensure the shade, brackets, and rotating control mechanism fit properly.
Round down to the nearest 1/8 inch.
Examples:
Because of these required deductions:
IM shades will ALWAYS have a gap of up to 5/8” on both sides
(± 1/8” depending on tolerances)
This gap is necessary so the shade can raise, lower, and rotate freely.
If you order a shade at:
The shade will be manufactured to fit within that 70” space.
However, due to bracket/mechanism allowances:
This remaining space is the functional “gap” required for operation.
When IM Gaps Are Not Acceptable
If the side gap is visually unacceptable or you need more complete coverage:
Consider an Outside Bracket Mount (OB)
Mounting the shade on the wall, trim, or mullion allows you to add width beyond the window opening and cover more area.
When IM Gaps Are Not Acceptable
If the side gap is visually unacceptable or you need more complete coverage:
Consider an Outside Bracket Mount (OB)
Mounting the shade on the wall, trim, or mullion allows you to add width beyond the window opening and cover more area
Important Ordering Rules
Outside Measurement (OM / OB) Guidelines
Outside Measurements—also referred to as Outside Bracket (OB) measurements—are used when mounting the shade outside the window casement. This includes mounting on:
When you provide an OM/OB measurement, you are giving the exact dimensions you want the shade to cover, based on where the brackets will be installed.
OB measurements are manufactured with NO factory deductions.
The shade will be made exactly to the width and height you order.
This gives you complete control over the final coverage area.
For Outside Mount installations, you can eliminate or reduce light gaps by:
Simply adding extra width to your bracket mounting measurement.
Because the shade sits outside the opening, you can widen the shade beyond the window frame to improve privacy and light control.
Golden Rule for OB Measurements
Always measure to and from the exact points where the brackets will be installed.
This ensures: