Measuring Instructions
Installation Instructions
Accurate measurements are essential for a perfect fit. Following these simple measuring instructions will help ensure your custom window shades fit properly and prevent costly ordering mistakes.
Please Note: All custom shade orders are made to your specifications and are final, so it is important to measure carefully before placing your order.
The width (left to right) is the most critical measurement when ordering custom window shades. Always measure the width at the exact location where the mounting brackets will be installed, as this determines the finished size of your shade.
An Inside Mount (IM) is the perfect choice for homeowners and businesses looking for a clean, custom-built appearance. Installed within the window frame (casement), inside-mount roller shades create a sleek, streamlined look that complements any décor while preserving the beauty of your window trim.
When ordering an Inside Mount shade, simply provide the exact width of your window opening. Do not make any deductions. Our manufacturing team will automatically calculate and apply the precise adjustments needed so the mounting brackets, roller tube, and operating mechanism fit perfectly inside the opening for smooth, reliable operation.


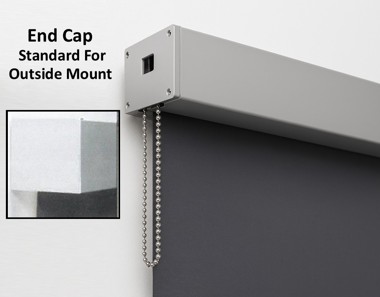
Outside Mount (OM) window shades are the ideal choice for homeowners and businesses looking for maximum window coverage, superior light control, and enhanced energy efficiency. Installed outside the window opening, these custom roller shades can be mounted directly to the wall, window trim, molding, ceiling, or mullion, creating a clean, custom appearance while accommodating a wide variety of window styles and installation needs.
Unlike Inside Mount shades, Outside Mount (OM) shades are manufactured to the exact width you order. No factory width deductions are made, giving you complete control over your window coverage and allowing you to customize the shade size for your specific application.
The width is the most important measurement for an inside mount shade.
Measure the window opening from top to bottom in three locations:
Record the largest height measurement to ensure full window coverage.
mounting brackets will be installed.
Measure the depth of your window frame from the front edge to the glass or any obstruction.
For a fully recessed installation:
Adequate mounting depth allows the roller tube and operating mechanism to be concealed within the window opening for a clean, finished appearance.
Because of these required deductions, inside mount shades will have small light gaps on each side, allowing the shade to operate smoothly without rubbing against the window frame.
Determine where your shade brackets will be installed. Outside mount brackets can be mounted to:
Choose a mounting surface that provides secure support and allows the shade to operate freely.
Measure from the exact location where the left bracket will be installed to the exact location where the right bracket will be installed.
Important: The bracket-to-bracket measurement is the width you should order.
For increased privacy and better light control, we recommend extending the shade beyond the window opening whenever possible:
Measure from the top of the planned bracket location to the desired bottom of the shade.
Many customers choose to extend the shade:
Record this measurement as your ordered shade height.
Before ordering, confirm that your wall, trim, ceiling, or mounting surface:
Create a sleek, built-in appearance with fully recessed custom window shades by ensuring your window opening has the proper mounting depth. A recessed installation conceals the roller tube and operating mechanism within the window frame, delivering a clean, modern look while maintaining smooth, reliable shade operation.
For the best fit and performance, the required mounting depth depends on the width of your shade:
Providing the recommended mounting depth allows your shade to sit neatly inside the window opening, creating a refined architectural finish while ensuring optimal performance and long-term durability.
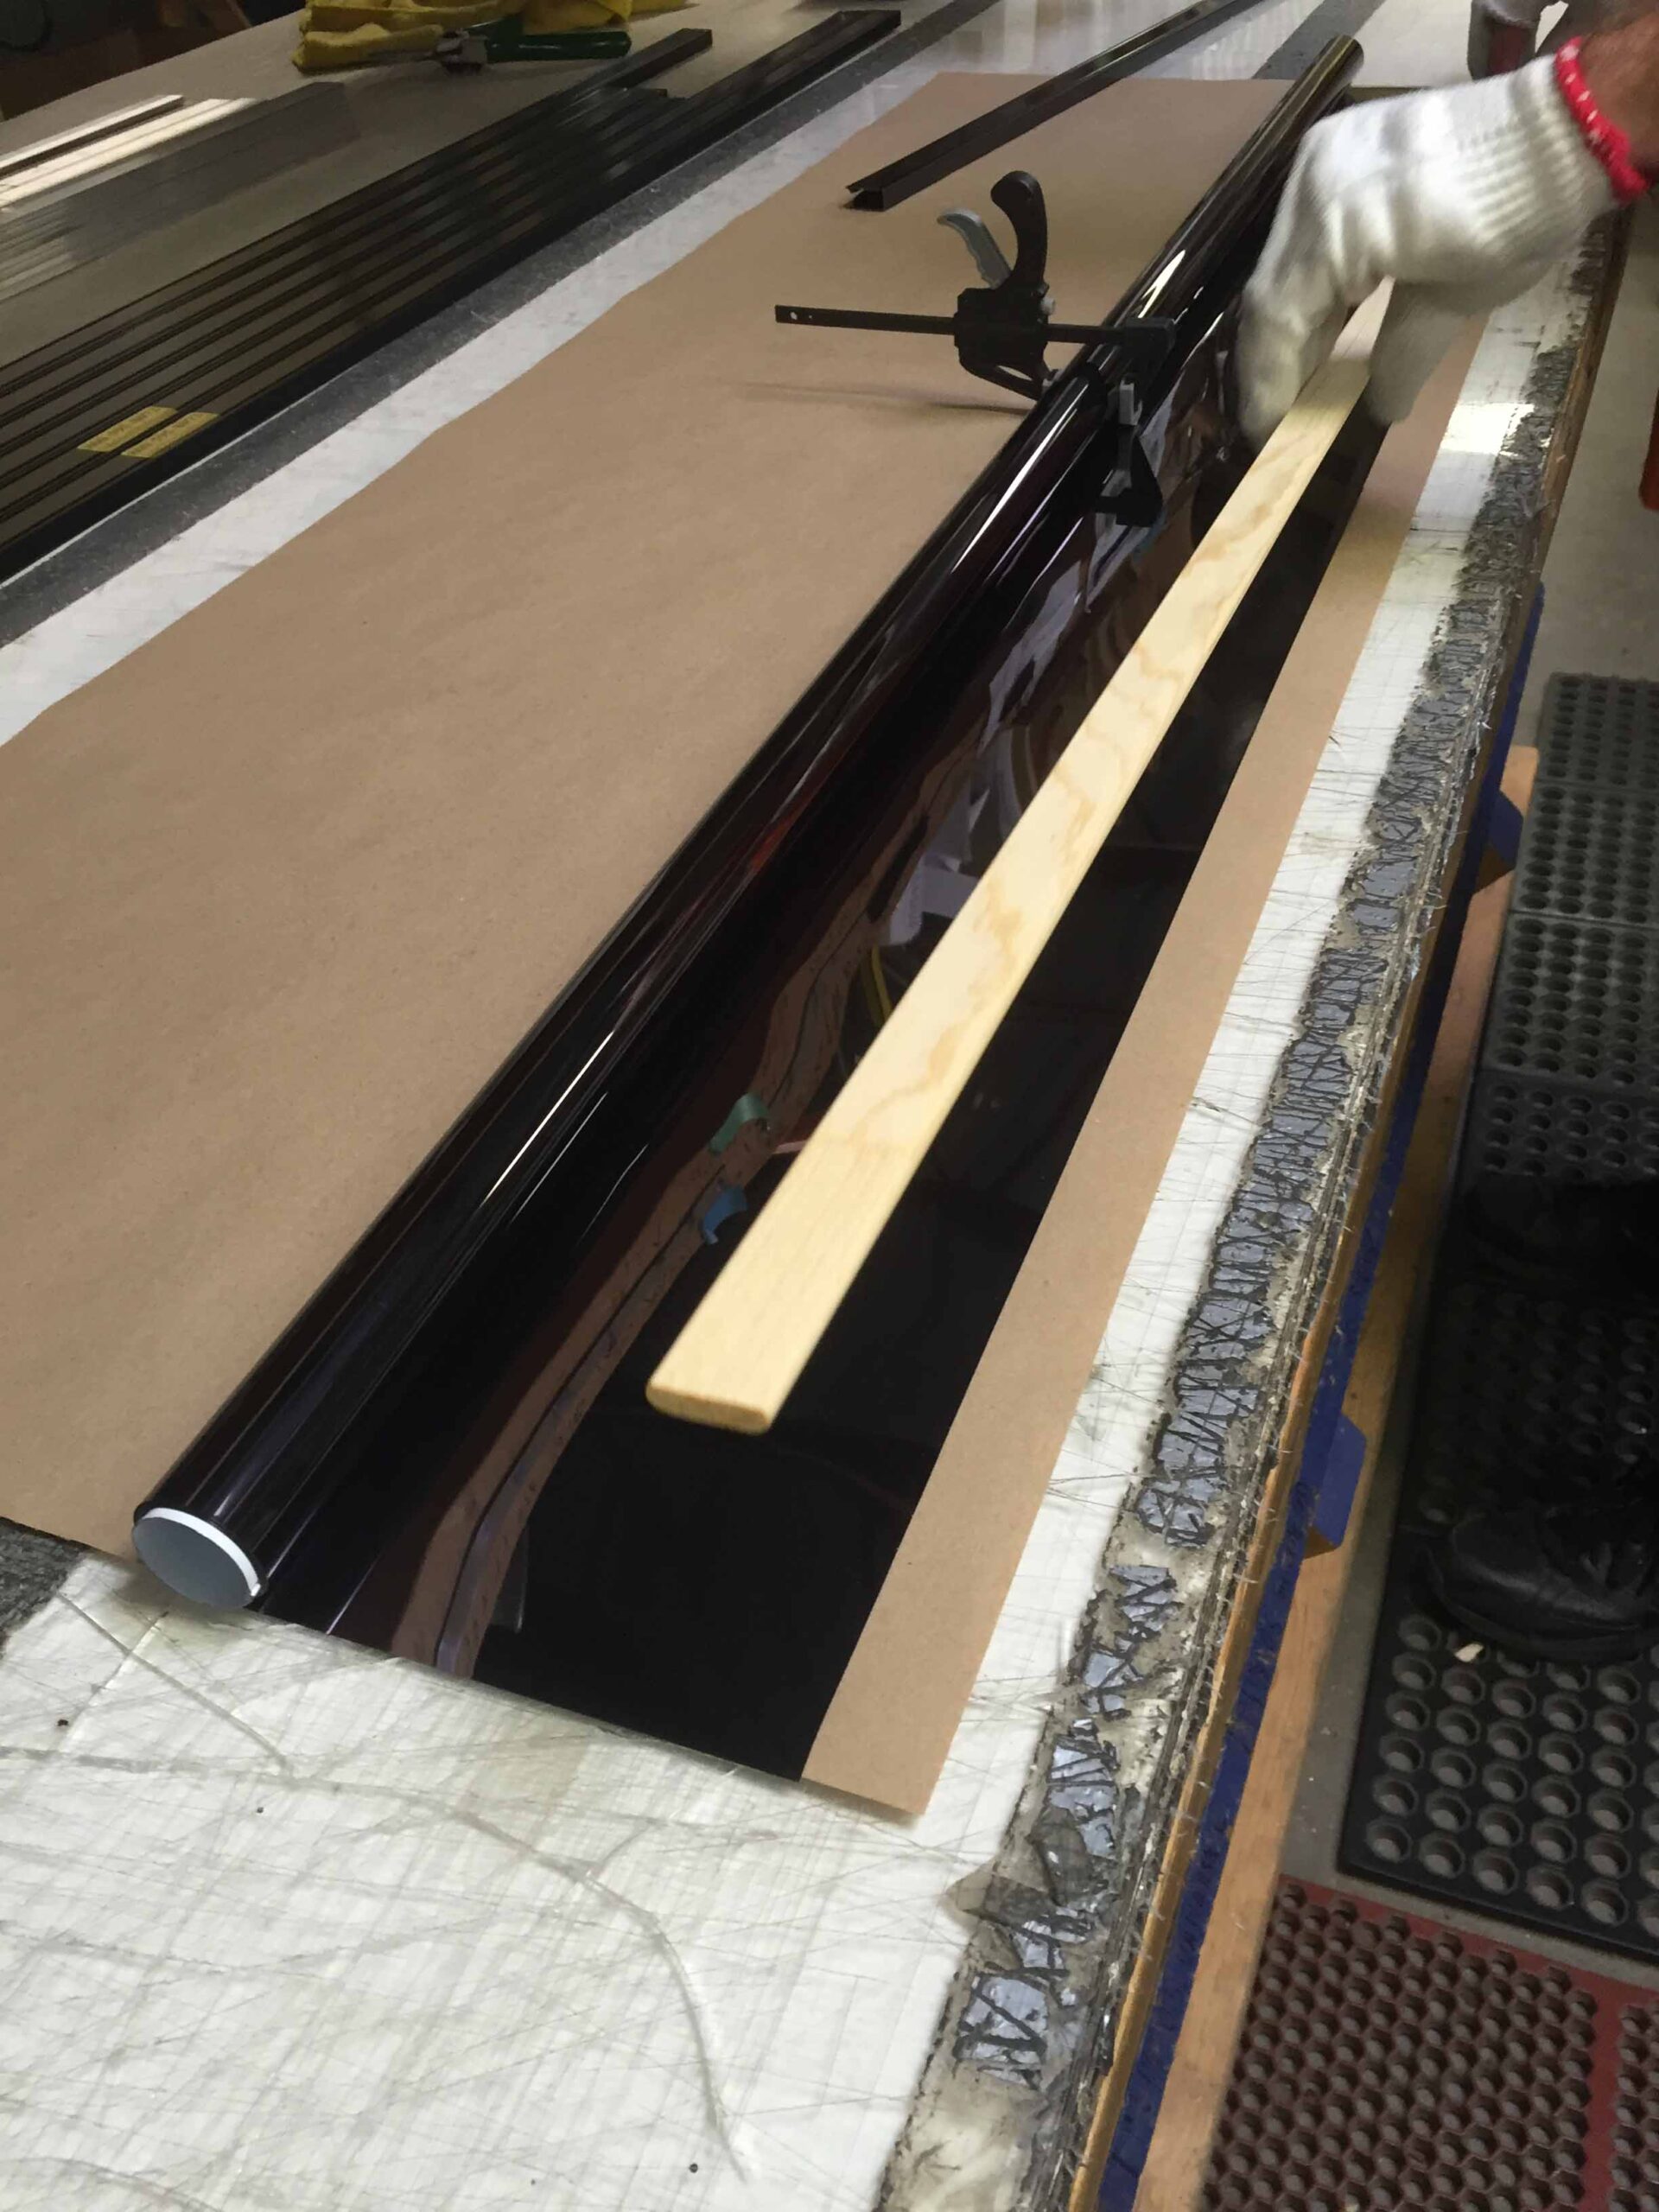
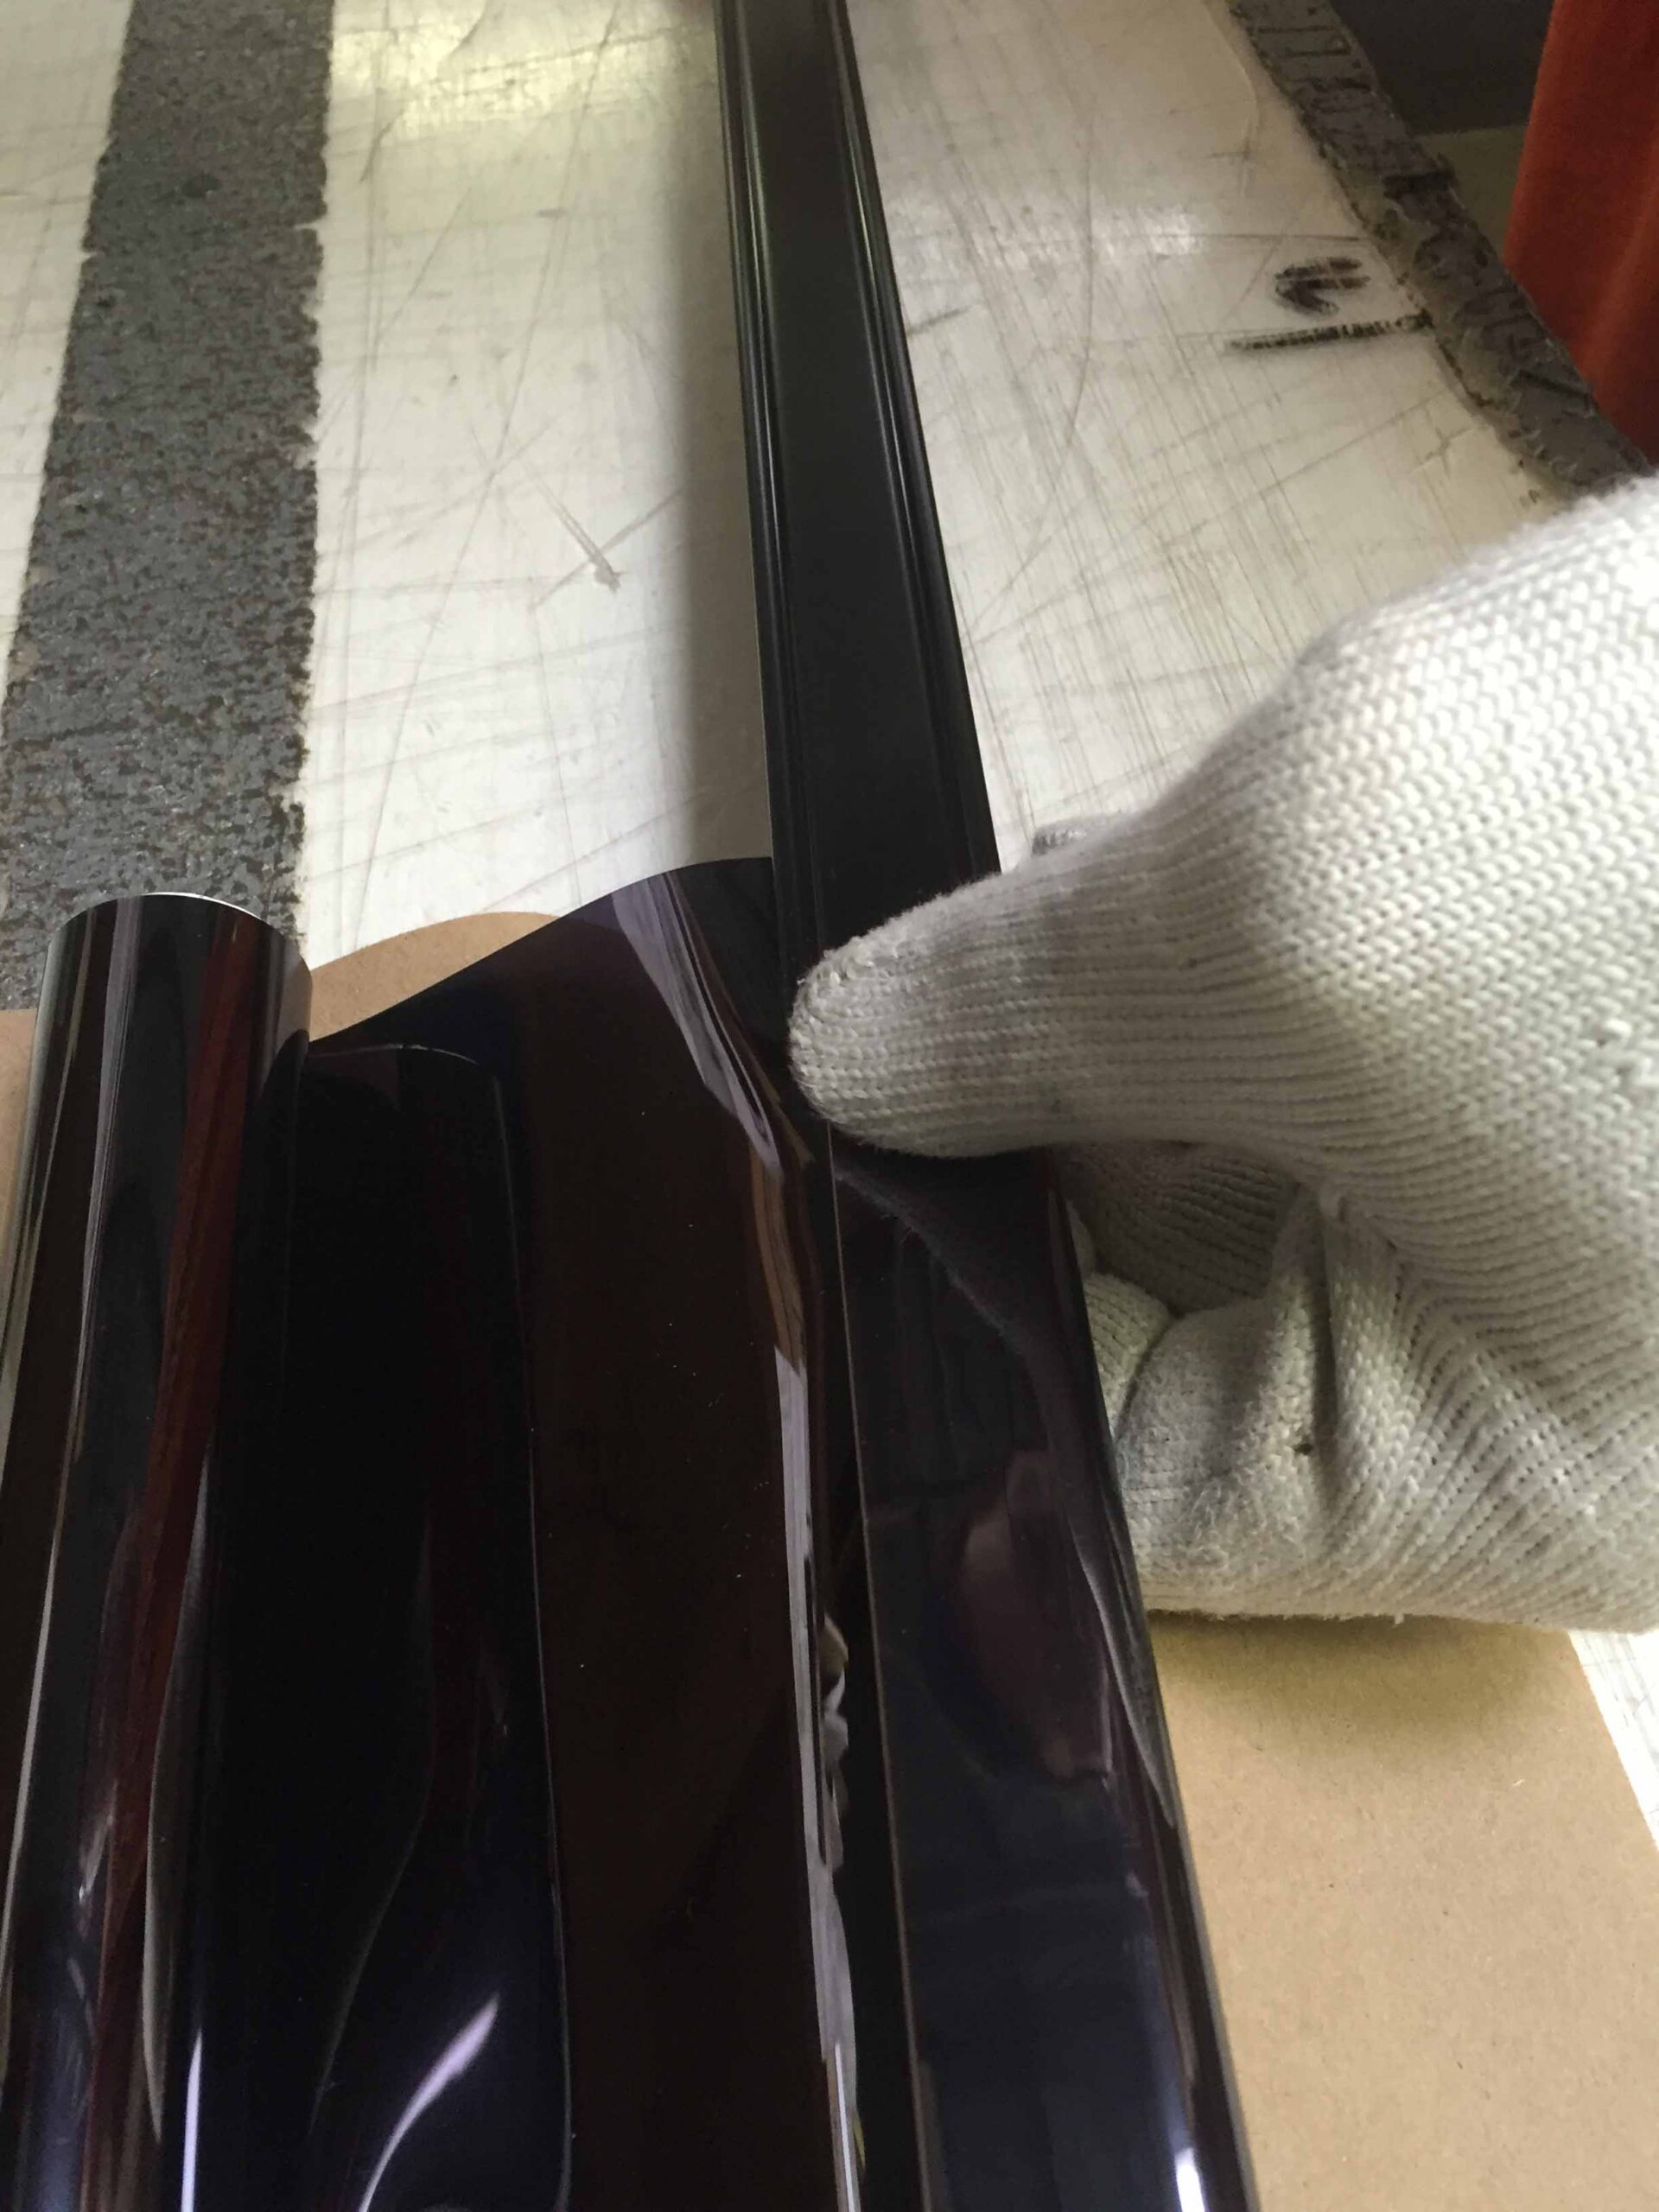
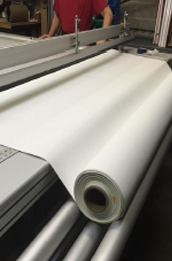
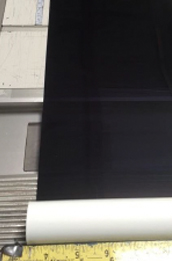
Every Solar View custom window shade is manufactured with an integrated factory safety wrap to enhance durability, reliability, and long-term performance. During production, additional shade material is securely wrapped around the roller tube to create a strong, dependable attachment between the fabric and the tube.
This safety wrap remains on the roller tube even when the shade is fully extended to its ordered length. By maintaining continuous contact with the tube, it helps prevent fabric separation, improves shade stability, and ensures smooth, consistent operation over the life of the shade.
Engineered for both residential and commercial window shade systems, this built-in feature provides added strength and peace of mind, helping your custom roller shades deliver dependable performance for years to come.
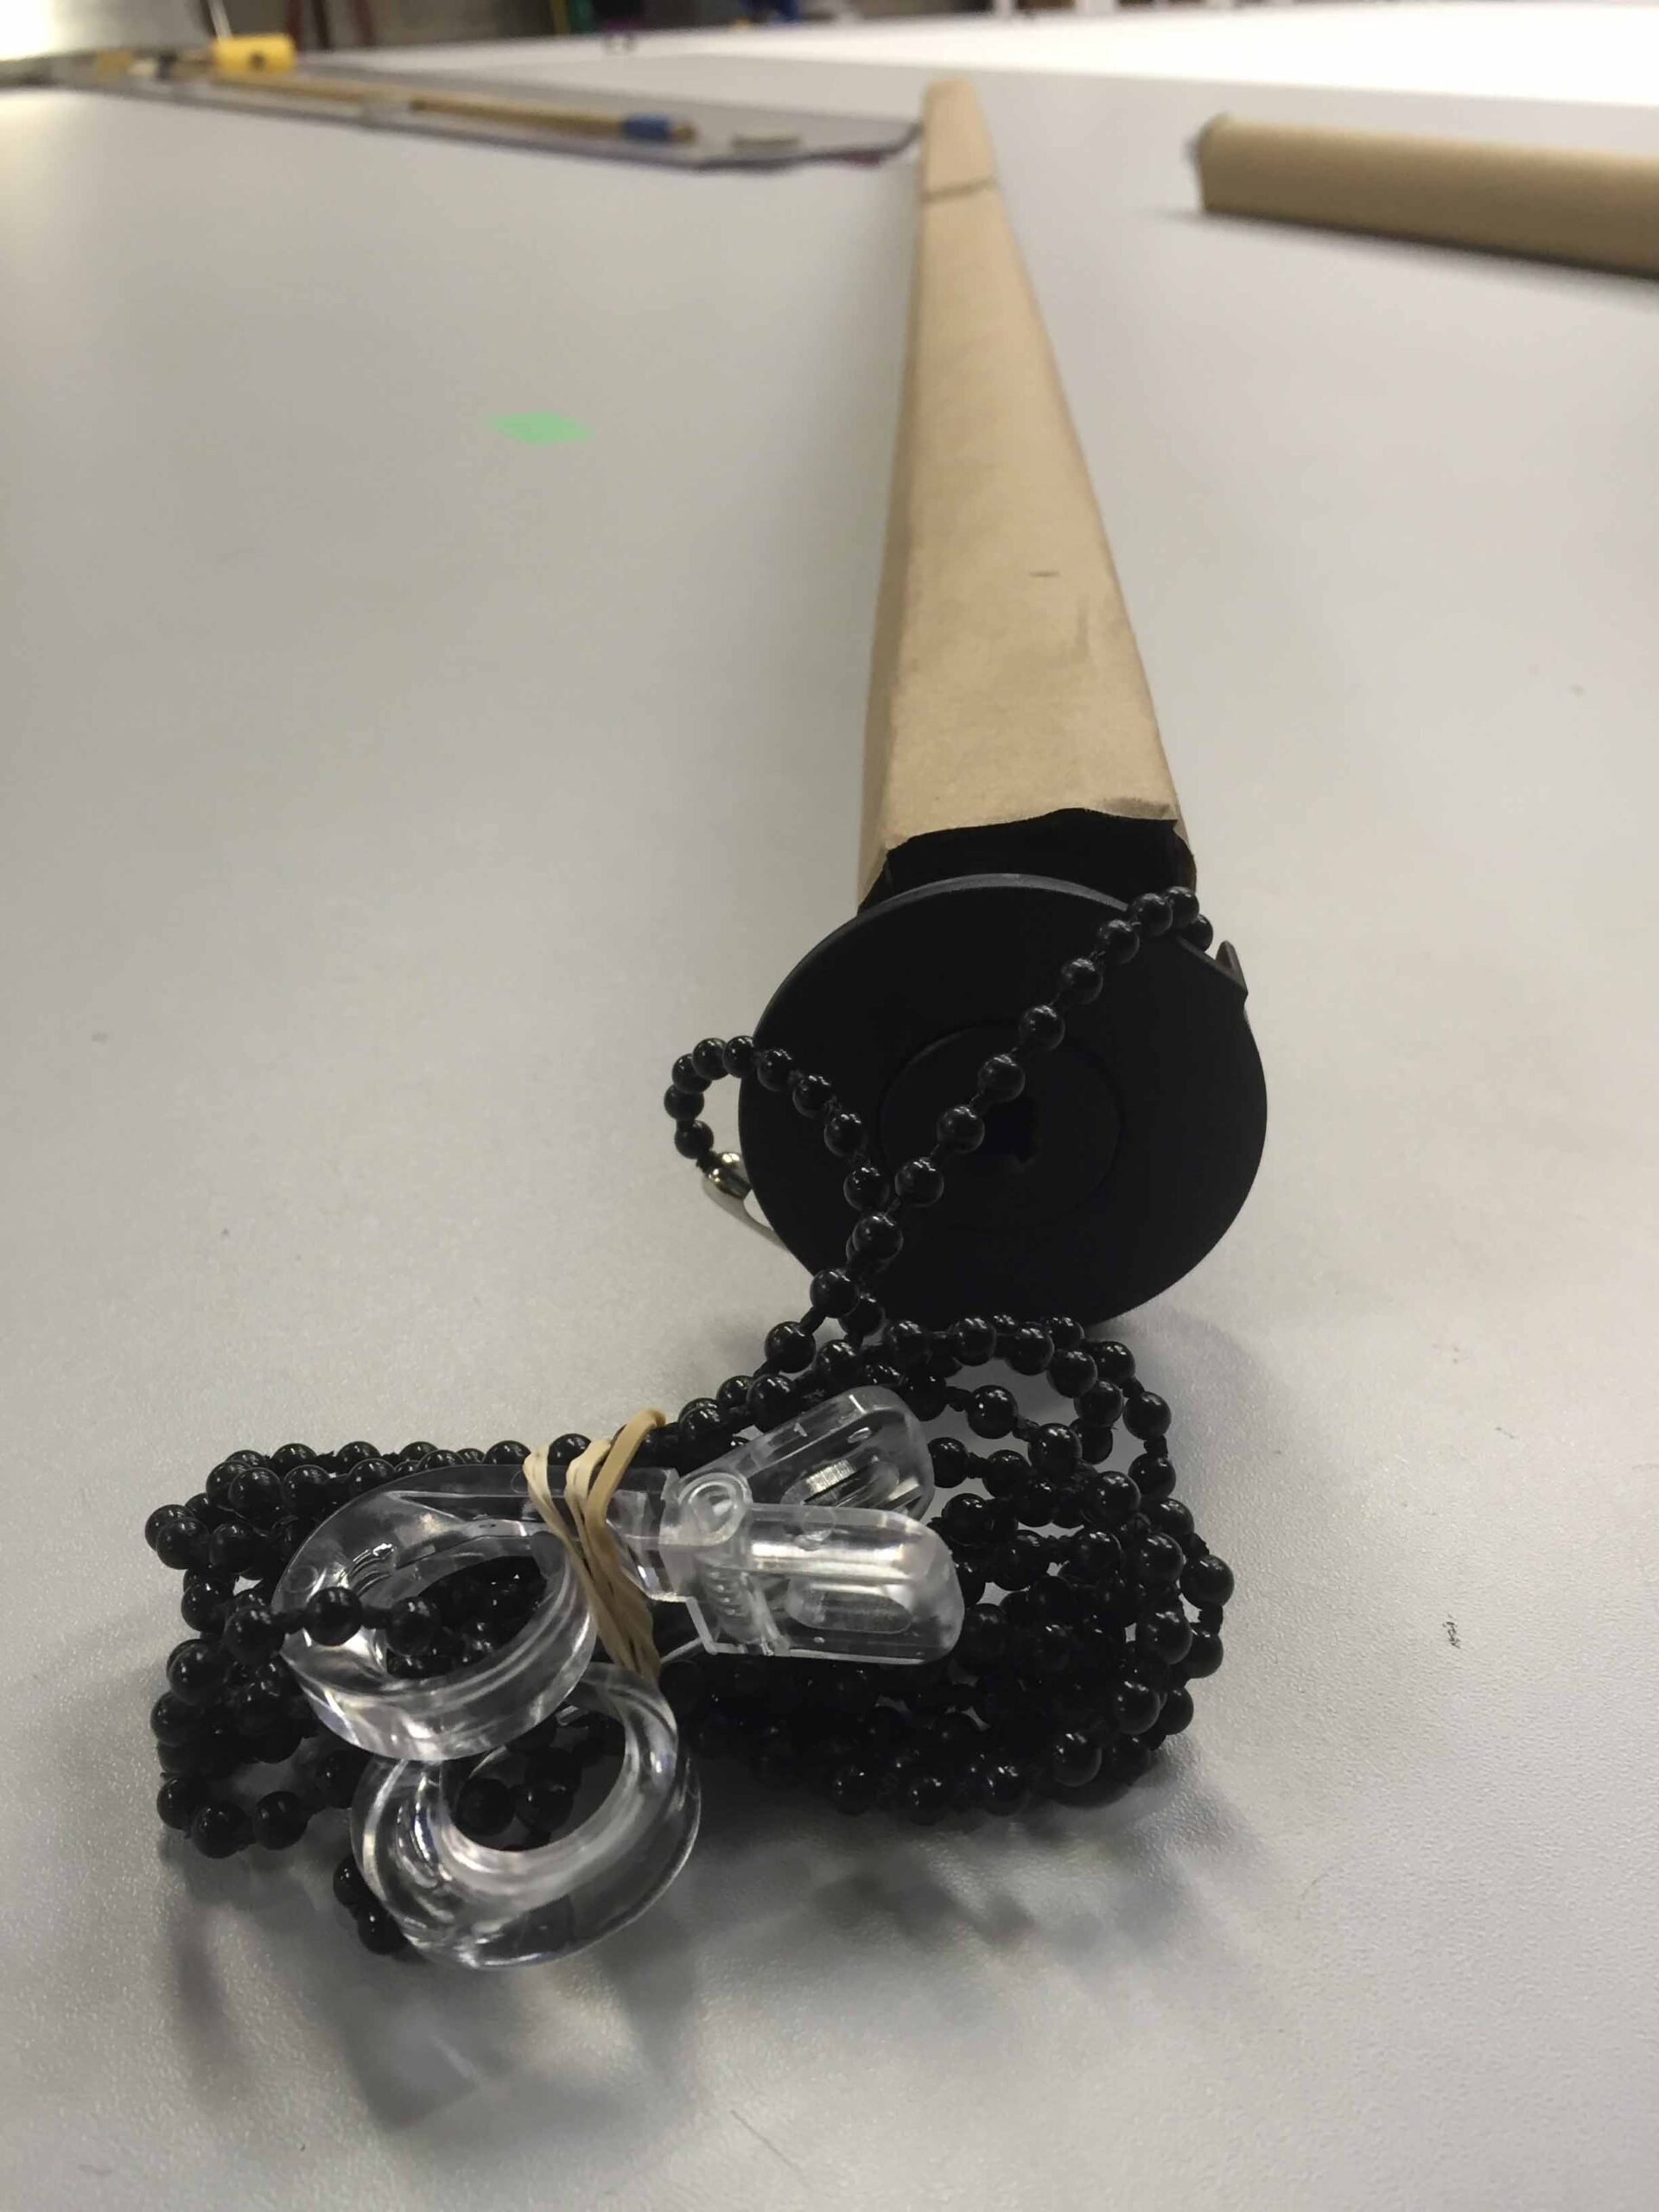
Our standard roller shade chain length is designed for convenient operation and is manufactured at approximately 60% of the shade’s ordered height. This standard length works well for most typical window applications.
For taller installations, such as doors, oversized windows, or windows with a sill height greater than 48 inches from the floor, an extended chain length may be required. The extended chain provides additional reach, making it easier to operate the shade without stretching or using additional assistance.
To ensure proper accessibility and comfortable operation, an extended chain must be requested at the time of order. Adding the correct chain length during the ordering process helps create a more user-friendly and functional window shade system.
Designed for both residential and commercial applications, Solar View chain options provide smooth operation, convenience, and a customized fit for every installation.
Mollies/toggles for plaster, drywall, or concrete are not included.
Faber/Benthin universal brackets may be mounted left or right, inside, outside, or on the ceiling. Brackets must be installed perfectly level for proper shade operation.
Standard bracket length: 1 3/8″. Extended length: 2 3/8″.
Clearance Requirement: The hex screw will keep the chain mechanism 1/8″ from the bracket.
Choose where the shade will be installed:
Ensure the mounting surface is flat, solid, and capable of supporting the weight of the shade.
Position the first bracket where it will be installed.
Using a pencil, mark the screw hole locations.
Using the appropriate screws for your mounting surface, securely fasten the first bracket.
Do not fully tighten the screws until you have confirmed the bracket is level and properly aligned.
Measure from the outside edge of the first bracket to the exact ordered width of the shade.
Mark the location for the second bracket.
Important: The bracket-to-bracket measurement determines the proper fit of the shade.
Use a carpenter’s level to ensure both brackets are perfectly level with one another.
A roller shade that is not level may:
Taking a few extra minutes to level the brackets will help ensure years of smooth, reliable operation.
Secure the second bracket using the appropriate mounting screws.
Verify both brackets are firmly attached and aligned before installing the shade.
Before inserting the shade:
Proper alignment prevents unnecessary wear and ensures smooth shade operation..
Insert the shade into the mounting brackets according to the installation instructions for your roller tube size and operating system.Once installed, test the shade several times to confirm:
Professional Installation Tips:
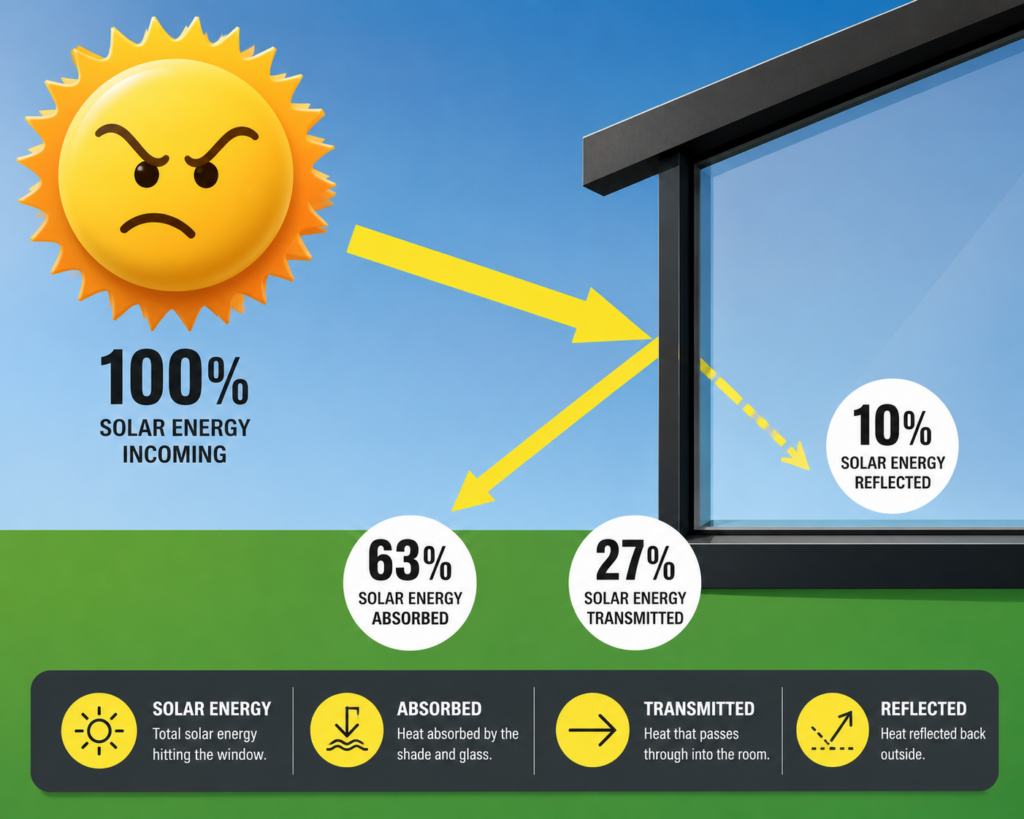
Properly installed mounting brackets provide the foundation for a smooth-operating, long-lasting Solar View roller shade system that delivers superior heat reduction, glare control, UV protection, and lasting performance.
Installing your Solar View Outside Mount roller shade is quick and easy when the mounting brackets are properly positioned and aligned. Outside Mount shades are installed on the wall, window trim, molding, ceiling, or other solid mounting surface, providing maximum window coverage, improved privacy, and superior heat and glare reduction.
Outside Mount bracket installation follows the same procedures as Inside Mount bracket installation. Refer to the “Installing Shade Brackets” section for complete step-by-step instructions on mounting and aligning the brackets.
The only difference is the mounting location. Outside Mount brackets are installed on the wall, window trim, molding, ceiling, or other solid mounting surface instead of inside the window frame.
Important: Position the brackets according to the ordered bracket-to-bracket width and use a carpenter’s level to ensure both brackets are perfectly aligned before installing the shade. Proper bracket alignment is essential for smooth operation, straight fabric tracking, and long-lasting performance.
Once the brackets are securely installed, follow the “Installing the Roller Shade” instructions to complete your installation.
To achieve a clean, built-in appearance, fully recessed window shades require adequate mounting depth within the window opening
Providing the recommended mounting depth ensures your retractable window shade is properly concealed within the window frame, allowing for smooth operation, a professional finished appearance, and optimal performance.
Tip: Before ordering your custom window shades, verify the available mounting depth to ensure your selected shade system will fit correctly within the window opening.
At Solar View, safety is an important part of every window shade installation. Child safety hold-down devices are included with every shade to help secure the operating chain and reduce potential hazards associated with loose or dangling shade components.
These safety devices are designed to help create a safer environment by keeping the shade chain properly positioned and secured, especially in homes, schools, offices, and other areas where children may be present.
Proper installation and use of child safety features help provide a safer window covering solution while maintaining the convenience and performance of your Solar View custom window shades.
Every Solar View custom window shade is manufactured with an integrated factory safety wrap to enhance durability, reliability, and long-term performance. During production, additional shade material of at least 8 inches is securely wrapped around the roller tube to create a strong, dependable attachment between the fabric and the tube.
This safety wrap remains on the roller tube even when the shade is fully extended to its ordered length. By maintaining continuous contact with the tube, it helps prevent fabric separation, improves shade stability, and ensures smooth, consistent operation over the life of the shade.
Engineered for both residential and commercial window shade systems, this built-in feature provides added strength and peace of mind, helping your custom roller shades deliver dependable performance for years to come.
Before Installing:
To Mount Shade:
Required
Child Safety Chain Hold‑Down (Standard)
Chain Stops (Standard)
Improper limits may detach fabric—not covered by warranty.
Optional
Chain Weights
Bracket Covers
Operation
Appearance (Mylar)
Cleaning
How it’s Made
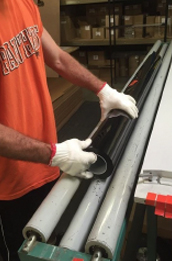
Our roller shades have little to no maintenance or repair compared to other types of shades or blinds. Painted baked enamel steel rollers add greater strength and are used to control warping or sagging. Available in 1 1/8” – 1 3/8” – 1 3/4″ diameter. Shade components have a limited lifetime warranty.
Troubleshooting
OPERATING A SHADE THAT IS TOO TIGHT CAN RESULT IN BENDING THE TUBE DURING OPERATION.
Solar View – Roll Shade Measurement Guidelines
All measurements must be recorded in inches, rounded down to the nearest 1/8 inch.
Round down to the nearest 1/8 inch.
Examples:
Tools Needed
Included Hardware
Mollies/toggles for plaster, drywall, or concrete are not included.
Bracket Notes:
Faber/Benthin universal brackets may be mounted left or right, inside, outside, or on the ceiling. Brackets must be installed perfectly level for proper shade operation.
Standard bracket length: 1 3/8″. Extended length: 2 3/8″.
Inside Measurement (IM) Guidelines
Inside Measurement refers to ordering a shade to be installed inside the window casement. When you provide an IM width, you are giving the exact space within the opening.
The factory will then take precise deductions to ensure the shade, brackets, and rotating control mechanism fit properly.
Round down to the nearest 1/8 inch.
Examples:
Because of these required deductions:
IM shades will ALWAYS have a gap of up to 5/8” on both sides
(± 1/8” depending on tolerances)
This gap is necessary so the shade can raise, lower, and rotate freely.
If you order a shade at:
The shade will be manufactured to fit within that 70” space.
However, due to bracket/mechanism allowances:
This remaining space is the functional “gap” required for operation.
When IM Gaps Are Not Acceptable
If the side gap is visually unacceptable or you need more complete coverage:
Consider an Outside Bracket Mount (OB)
Mounting the shade on the wall, trim, or mullion allows you to add width beyond the window opening and cover more area.
When IM Gaps Are Not Acceptable
If the side gap is visually unacceptable or you need more complete coverage:
Consider an Outside Bracket Mount (OB)
Mounting the shade on the wall, trim, or mullion allows you to add width beyond the window opening and cover more area
Important Ordering Rules
Outside Measurement (OM / OB) Guidelines
Outside Measurements—also referred to as Outside Bracket (OB) measurements—are used when mounting the shade outside the window casement. This includes mounting on:
When you provide an OM/OB measurement, you are giving the exact dimensions you want the shade to cover, based on where the brackets will be installed.
OB measurements are manufactured with NO factory deductions.
The shade will be made exactly to the width and height you order.
This gives you complete control over the final coverage area.
For Outside Mount installations, you can eliminate or reduce light gaps by:
Simply adding extra width to your bracket mounting measurement.
Because the shade sits outside the opening, you can widen the shade beyond the window frame to improve privacy and light control.
Golden Rule for OB Measurements
Always measure to and from the exact points where the brackets will be installed.
This ensures: