Mylar sun shades from Solar View are designed to provide exceptional heat, glare, and UV protection while preserving your view of the outdoors. Unlike traditional window coverings that block the view when lowered, Mylar Shades let you enjoy natural light and outdoor visibility while creating a more comfortable interior environment.
Our Mylar shade material is constructed from durable 4-mil polyester film with a heat-reflective aluminum layer laminated between dyed polyester layers. This specialized construction reflects solar energy away from the window, helping reduce heat buildup and uncomfortable glare.
One of the greatest advantages of Solar View Mylar Shades is the ability to control intense sunlight without completely covering your windows. When lowered, the reflective Mylar material helps reduce solar heat and glare while maintaining visibility to the outside.
This makes Mylar Shades an excellent solution for homes, offices, retail storefronts, commercial buildings, drive-up windows, control rooms, and other spaces where heat and glare reduction are important but maintaining an exterior view is essential.
For decades, Solar View has provided Mylar Shades as a practical and durable solution for demanding residential and commercial applications.
Solar View Mylar Shades provide:
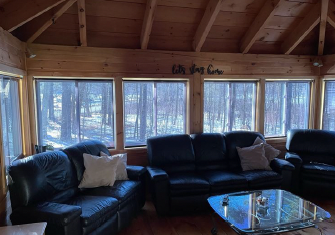
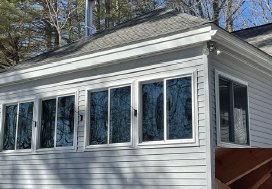
Every Solar View Mylar Shade is custom-made to the exact measurements the customer provides. From material preparation to shipment, we individually measure, cut, assemble, and handle each shade with care.
Careful Handling
Mylar requires special care during fabrication. Our team uses microfiber gloves when handling the material to help protect the surface from fingerprints, scratches, and other damage. We carefully lay the material out on a clean work surface before measuring and cutting.
Measured & Cut for Your Window
We measure each shade individually based on the dimensions provided with the order. When needed, we calculate the proper factory deductions to accommodate the shade’s operating mechanism and mounting system, helping ensure the finished shade is manufactured to the correct dimensions.
The Mylar material is then precisely cut and prepared for assembly.
Mounted & Secured to the Roller Tube
After cutting, the Mylar is carefully aligned and mounted to the appropriate roller tube. The material is securely attached and checked for proper alignment so the shade can roll smoothly and evenly during operation.
Bottom Bar Installation
Once we mount the Mylar to the roller and verify the finished shade dimensions, we measure, cut, and install the bottom bar. The bottom bar provides weight and stability to the shade and helps the Mylar hang properly when lowered.
Individually Made with Care
Each Solar View Mylar Shade is made specifically for the customer’s order. Careful measuring, precise cutting, proper assembly, and attention to the Mylar surface are all part of our fabrication process.
Custom-measured. Carefully fabricated. Made for your windows.
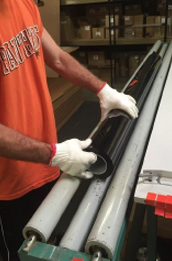
Careful Material Handling — Microfiber gloves help protect the Mylar surface from scratches and marks.
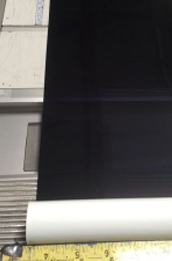
Preparing the Roller Tube — Components are measured and prepared for each custom shade.
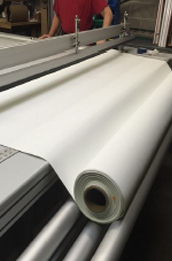
Measuring the Mylar — Mylar material is carefully measured according to the required dimensions.
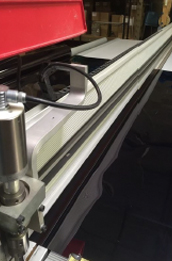
Cutting the Material — Mylar is precisely cut and prepared for assembly.
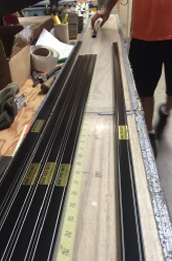
Bottom Bar Preparation — The bottom bar is measured and cut to fit the finished shade.
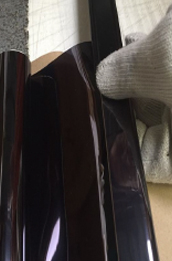
Bottom Bar Wrap— Mylar material is carefully wrapped and secured around the bottom bar to create a clean, finished appearance.
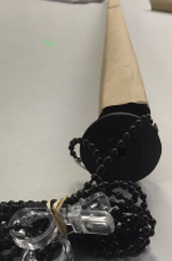
Final Assembly — The shade, bottom bar, operating mechanism, and chain are assembled to complete the custom shade.
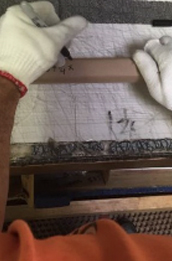
Labeling & Preparing for Shipment — Each completed shade is wrapped for protection and labeled with its measurements for identification
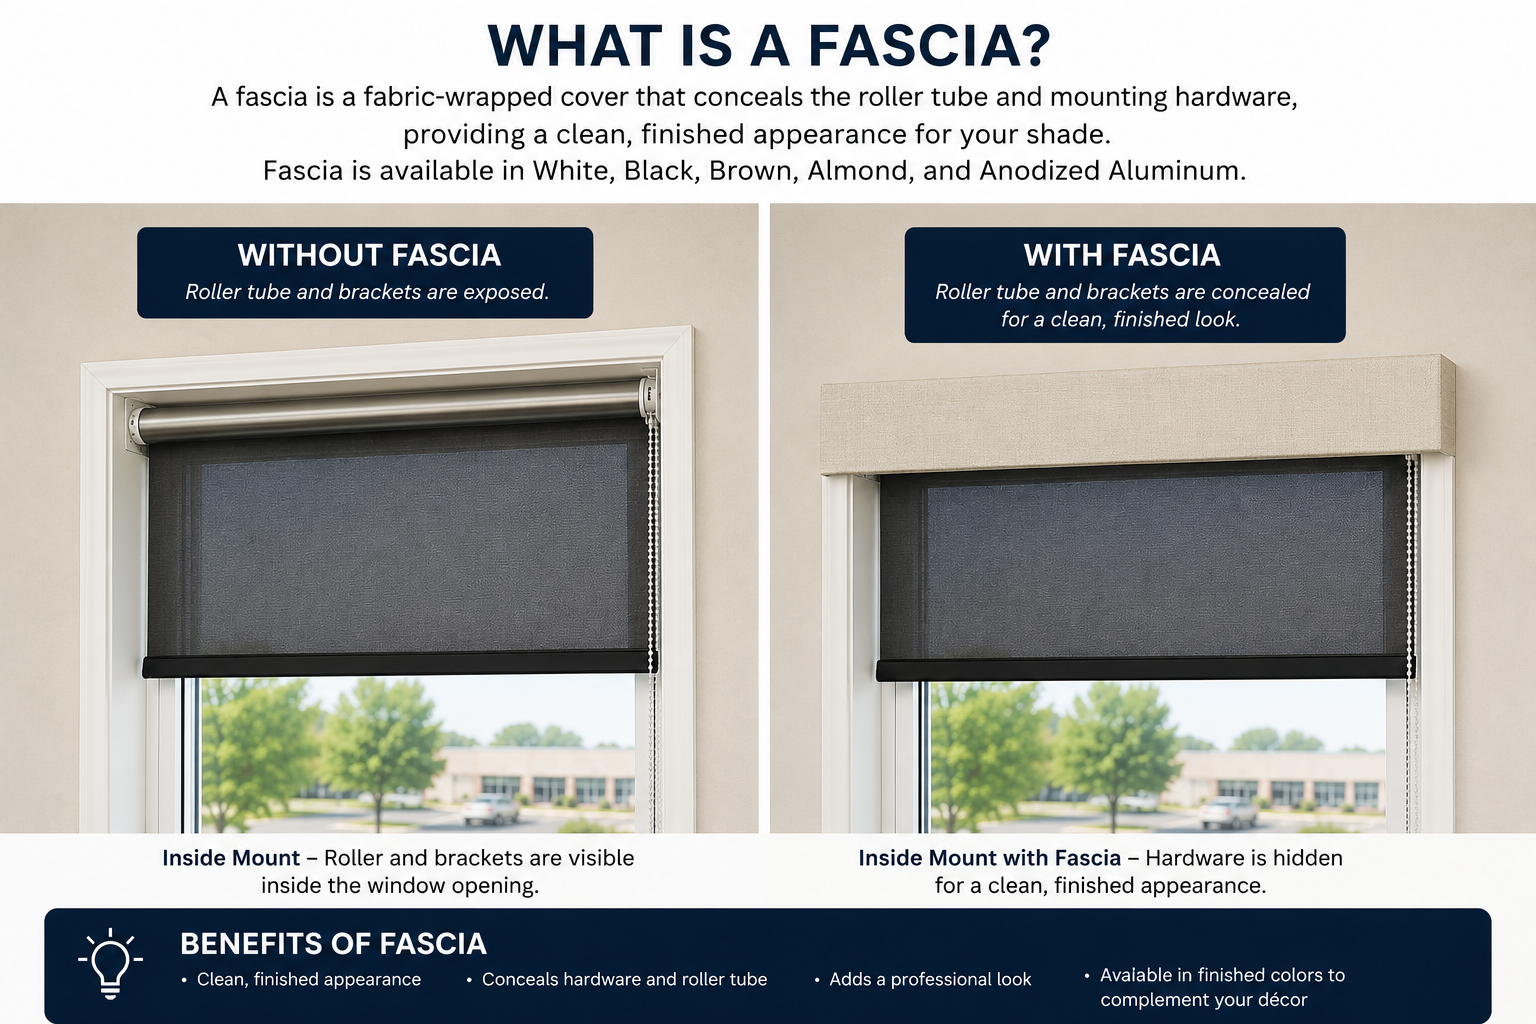
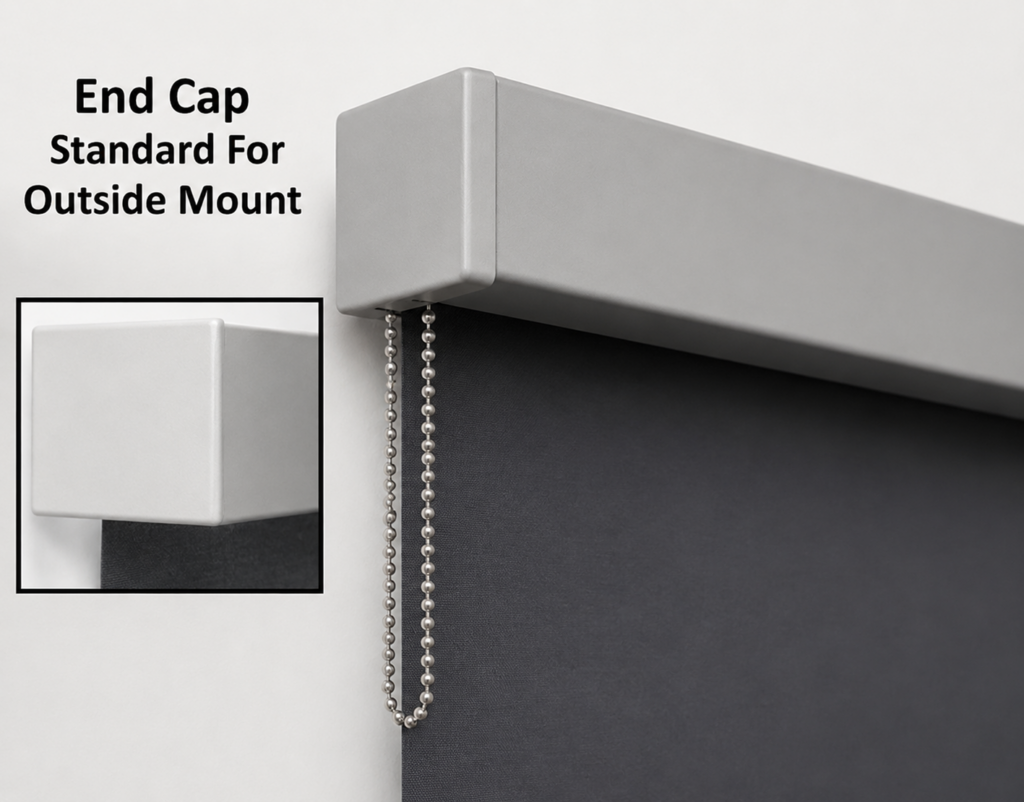
A fabric-wrapped fascia conceals the roller tube and mounting hardware, creating a clean, finished appearance. The fascia is wrapped in coordinating fabric to match your shade for a seamless, professional look. It is recommended for outside-mounted shades or any installation where the roller is visible.
Solar View – Roll Shade Measurement Guidelines
All measurements must be recorded in inches, rounded down to the nearest 1/8 inch.
Round down to the nearest 1/8 inch.
Examples:
Tools Needed
Included Hardware
Mollies/toggles for plaster, drywall, or concrete are not included.
Bracket Notes:
Faber/Benthin universal brackets may be mounted left or right, inside, outside, or on the ceiling. Brackets must be installed perfectly level for proper shade operation.
Standard bracket length: 1 3/8″. Extended length: 2 3/8″.
Inside Measurement (IM) Guidelines
Inside Measurement refers to ordering a shade to be installed inside the window casement. When you provide an IM width, you are giving the exact space within the opening.
The factory will then take precise deductions to ensure the shade, brackets, and rotating control mechanism fit properly.
Round down to the nearest 1/8 inch.
Examples:
Because of these required deductions:
IM shades will ALWAYS have a gap of up to 5/8” on both sides
(± 1/8” depending on tolerances)
This gap is necessary so the shade can raise, lower, and rotate freely.
If you order a shade at:
The shade will be manufactured to fit within that 70” space.
However, due to bracket/mechanism allowances:
This remaining space is the functional “gap” required for operation.
When IM Gaps Are Not Acceptable
If the side gap is visually unacceptable or you need more complete coverage:
Consider an Outside Bracket Mount (OB)
Mounting the shade on the wall, trim, or mullion allows you to add width beyond the window opening and cover more area.
When IM Gaps Are Not Acceptable
If the side gap is visually unacceptable or you need more complete coverage:
Consider an Outside Bracket Mount (OB)
Mounting the shade on the wall, trim, or mullion allows you to add width beyond the window opening and cover more area
Important Ordering Rules
Outside Measurement (OM / OB) Guidelines
Outside Measurements—also referred to as Outside Bracket (OB) measurements—are used when mounting the shade outside the window casement. This includes mounting on:
When you provide an OM/OB measurement, you are giving the exact dimensions you want the shade to cover, based on where the brackets will be installed.
OB measurements are manufactured with NO factory deductions.
The shade will be made exactly to the width and height you order.
This gives you complete control over the final coverage area.
For Outside Mount installations, you can eliminate or reduce light gaps by:
Simply adding extra width to your bracket mounting measurement.
Because the shade sits outside the opening, you can widen the shade beyond the window frame to improve privacy and light control.
Golden Rule for OB Measurements
Always measure to and from the exact points where the brackets will be installed.
This ensures: