How to Install Custom Window Shades

Quick Links

Measuring Instructions

Installation Instructions

Tools Needed

  • Cordless drill or screwdriver
  • ¼” hex drive attachment
  • Tape measure
  • Pencil & level
  • Possibly a 3/32″ drill bit
  • Specific wall anchors when needed

Included Hardware:

  • 2 universal brackets
  • 4 × #6 × ¾” self‑tapping screws (for wood, sheet metal, aluminum)
  • 2 flat‑head screws for clutch side (inside/jamb mount)

Mollies/toggles for plaster, drywall, or concrete are not included.

Bracket Notes:

Faber/Benthin universal brackets may be mounted left or right, inside, outside, or on the ceiling. Brackets must be installed perfectly level for proper shade operation.

Standard bracket length: 1 3/8″. Extended length: 2 3/8″.

Installing Brackets

Inside/Jamb Mount

Installing your Solar View roller shade mounting brackets correctly is the first step toward ensuring smooth shade operation, long-lasting performance, and a professional finished appearance. Follow these simple installation steps for a secure and accurate installation.

Clearance Requirement: The hex screw will keep the chain mechanism 1/8″ from the bracket.

Step 1: Determine the Mounting Location

Choose where the shade will be installed:

  • Inside Mount (IM): Brackets install inside the window frame (jamb).
  • Outside Mount (OM): Brackets install on the wall, window trim, molding, ceiling, or other solid mounting surface.

Ensure the mounting surface is flat, solid, and capable of supporting the weight of the shade.

Step 2: Mark the First Bracket Location

Position the first bracket where it will be installed.

Using a pencil, mark the screw hole locations.

Before fastening the bracket, verify it is square and properly positioned.

Step 3: Install the First Bracket

Using the appropriate screws for your mounting surface, securely fasten the first bracket.

Do not fully tighten the screws until you have confirmed the bracket is level and properly aligned.

Step 4: Measure for the Second Bracket

Measure from the outside edge of the first bracket to the exact ordered width of the shade.

Mark the location for the second bracket.

Important: The bracket-to-bracket measurement determines the proper fit of the shade.

Step 5: Level the Brackets

Use a carpenter’s level to ensure both brackets are perfectly level with one another.

A roller shade that is not level may:

  • Track to one side (telescoping)
  • Operate roughly
  • Wear unevenly over time

Taking a few extra minutes to level the brackets will help ensure years of smooth, reliable operation.

Step 6: Install the Second Bracket

Secure the second bracket using the appropriate mounting screws.

Verify both brackets are firmly attached and aligned before installing the shade.

Step 7: Check Bracket Alignment

Before inserting the shade:

  • Ensure the brackets are not bent inward or outward.
  • Confirm both brackets are installed at the same height.
  • Verify there is adequate clearance for the roller tube and operating mechanism.

Proper alignment prevents unnecessary wear and ensures smooth shade operation..

Step 8: Install the Shade

Insert the shade into the mounting brackets according to the installation instructions for your roller tube size and operating system.Once installed, test the shade several times to confirm:

  • Smooth operation
  • Proper alignment
  • Straight tracking
  • Secure bracket engagement

Professional Installation Tips:

  • Always measure twice before drilling.
  • Install brackets into solid wood or use appropriate wall anchors when mounting to drywall.
  • Never force the shade into brackets that are too close together.
  • Verify all screws are tight before operating the shade.
  • If the shade does not roll straight, check bracket alignment and use a level before making additional adjustments.

Properly installed mounting brackets provide the foundation for a smooth-operating, long-lasting Solar View roller shade system that delivers superior heat reduction, glare control, UV protection, and lasting performance.

Outside Mount (Surface, Wall, Ceiling) Install

Installing your Solar View Outside Mount roller shade is quick and easy when the mounting brackets are properly positioned and aligned. Outside Mount shades are installed on the wall, window trim, molding, ceiling, or other solid mounting surface, providing maximum window coverage, improved privacy, and superior heat and glare reduction.

Outside Mount bracket installation follows the same procedures as Inside Mount bracket installation. Refer to the “Installing Shade Brackets” section for complete step-by-step instructions on mounting and aligning the brackets.

The only difference is the mounting location. Outside Mount brackets are installed on the wall, window trim, molding, ceiling, or other solid mounting surface instead of inside the window frame.

Important: Position the brackets according to the ordered bracket-to-bracket width and use a carpenter’s level to ensure both brackets are perfectly aligned before installing the shade. Proper bracket alignment is essential for smooth operation, straight fabric tracking, and long-lasting performance.

Once the brackets are securely installed, follow the “Installing the Roller Shade” instructions to complete your installation.

Owner’s Information

Operation

  • New chain systems may require two-hand operation initially.

Appearance (Mylar)

  • Ripples/dimples are normal and typically settle.
  • Edge curls are a characteristic of Mylar.

Cleaning

  • Light dusting with cotton or lambswool duster.
  • Mylar: use ammonia‑free or alcohol‑based cleaner only.
  • Do not use dry paper towels.
  • For deep cleaning, remove shade and unroll on clean surface using gloves.

How it’s Made

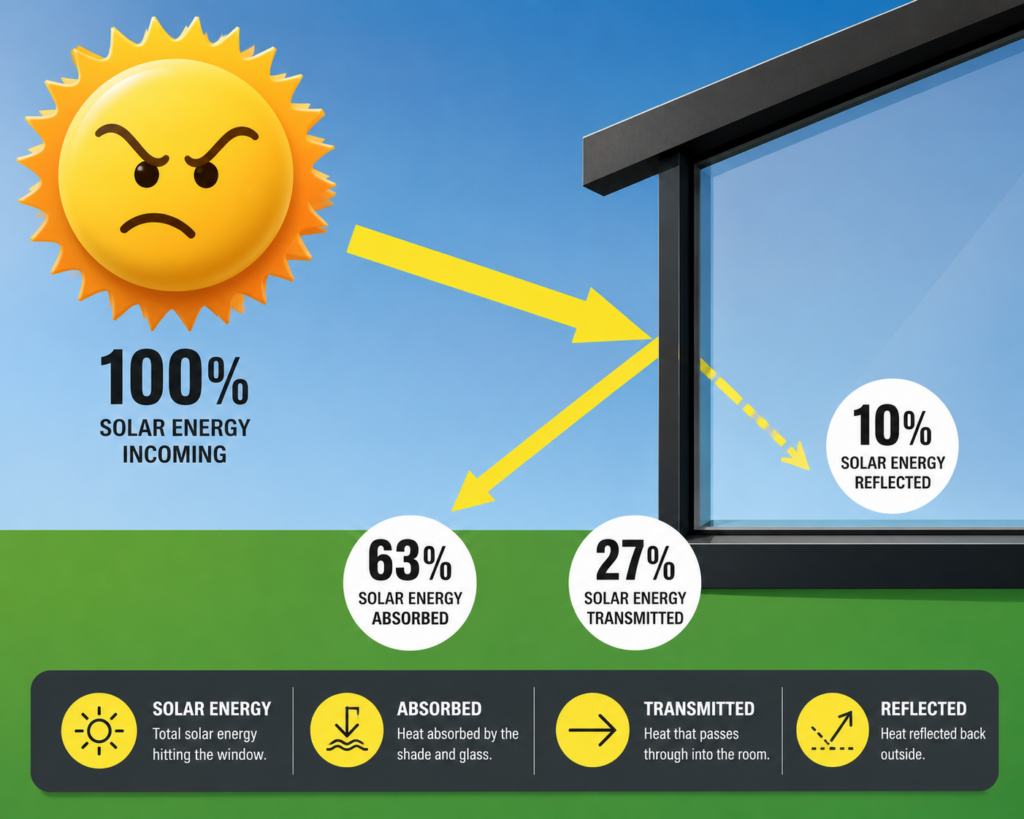
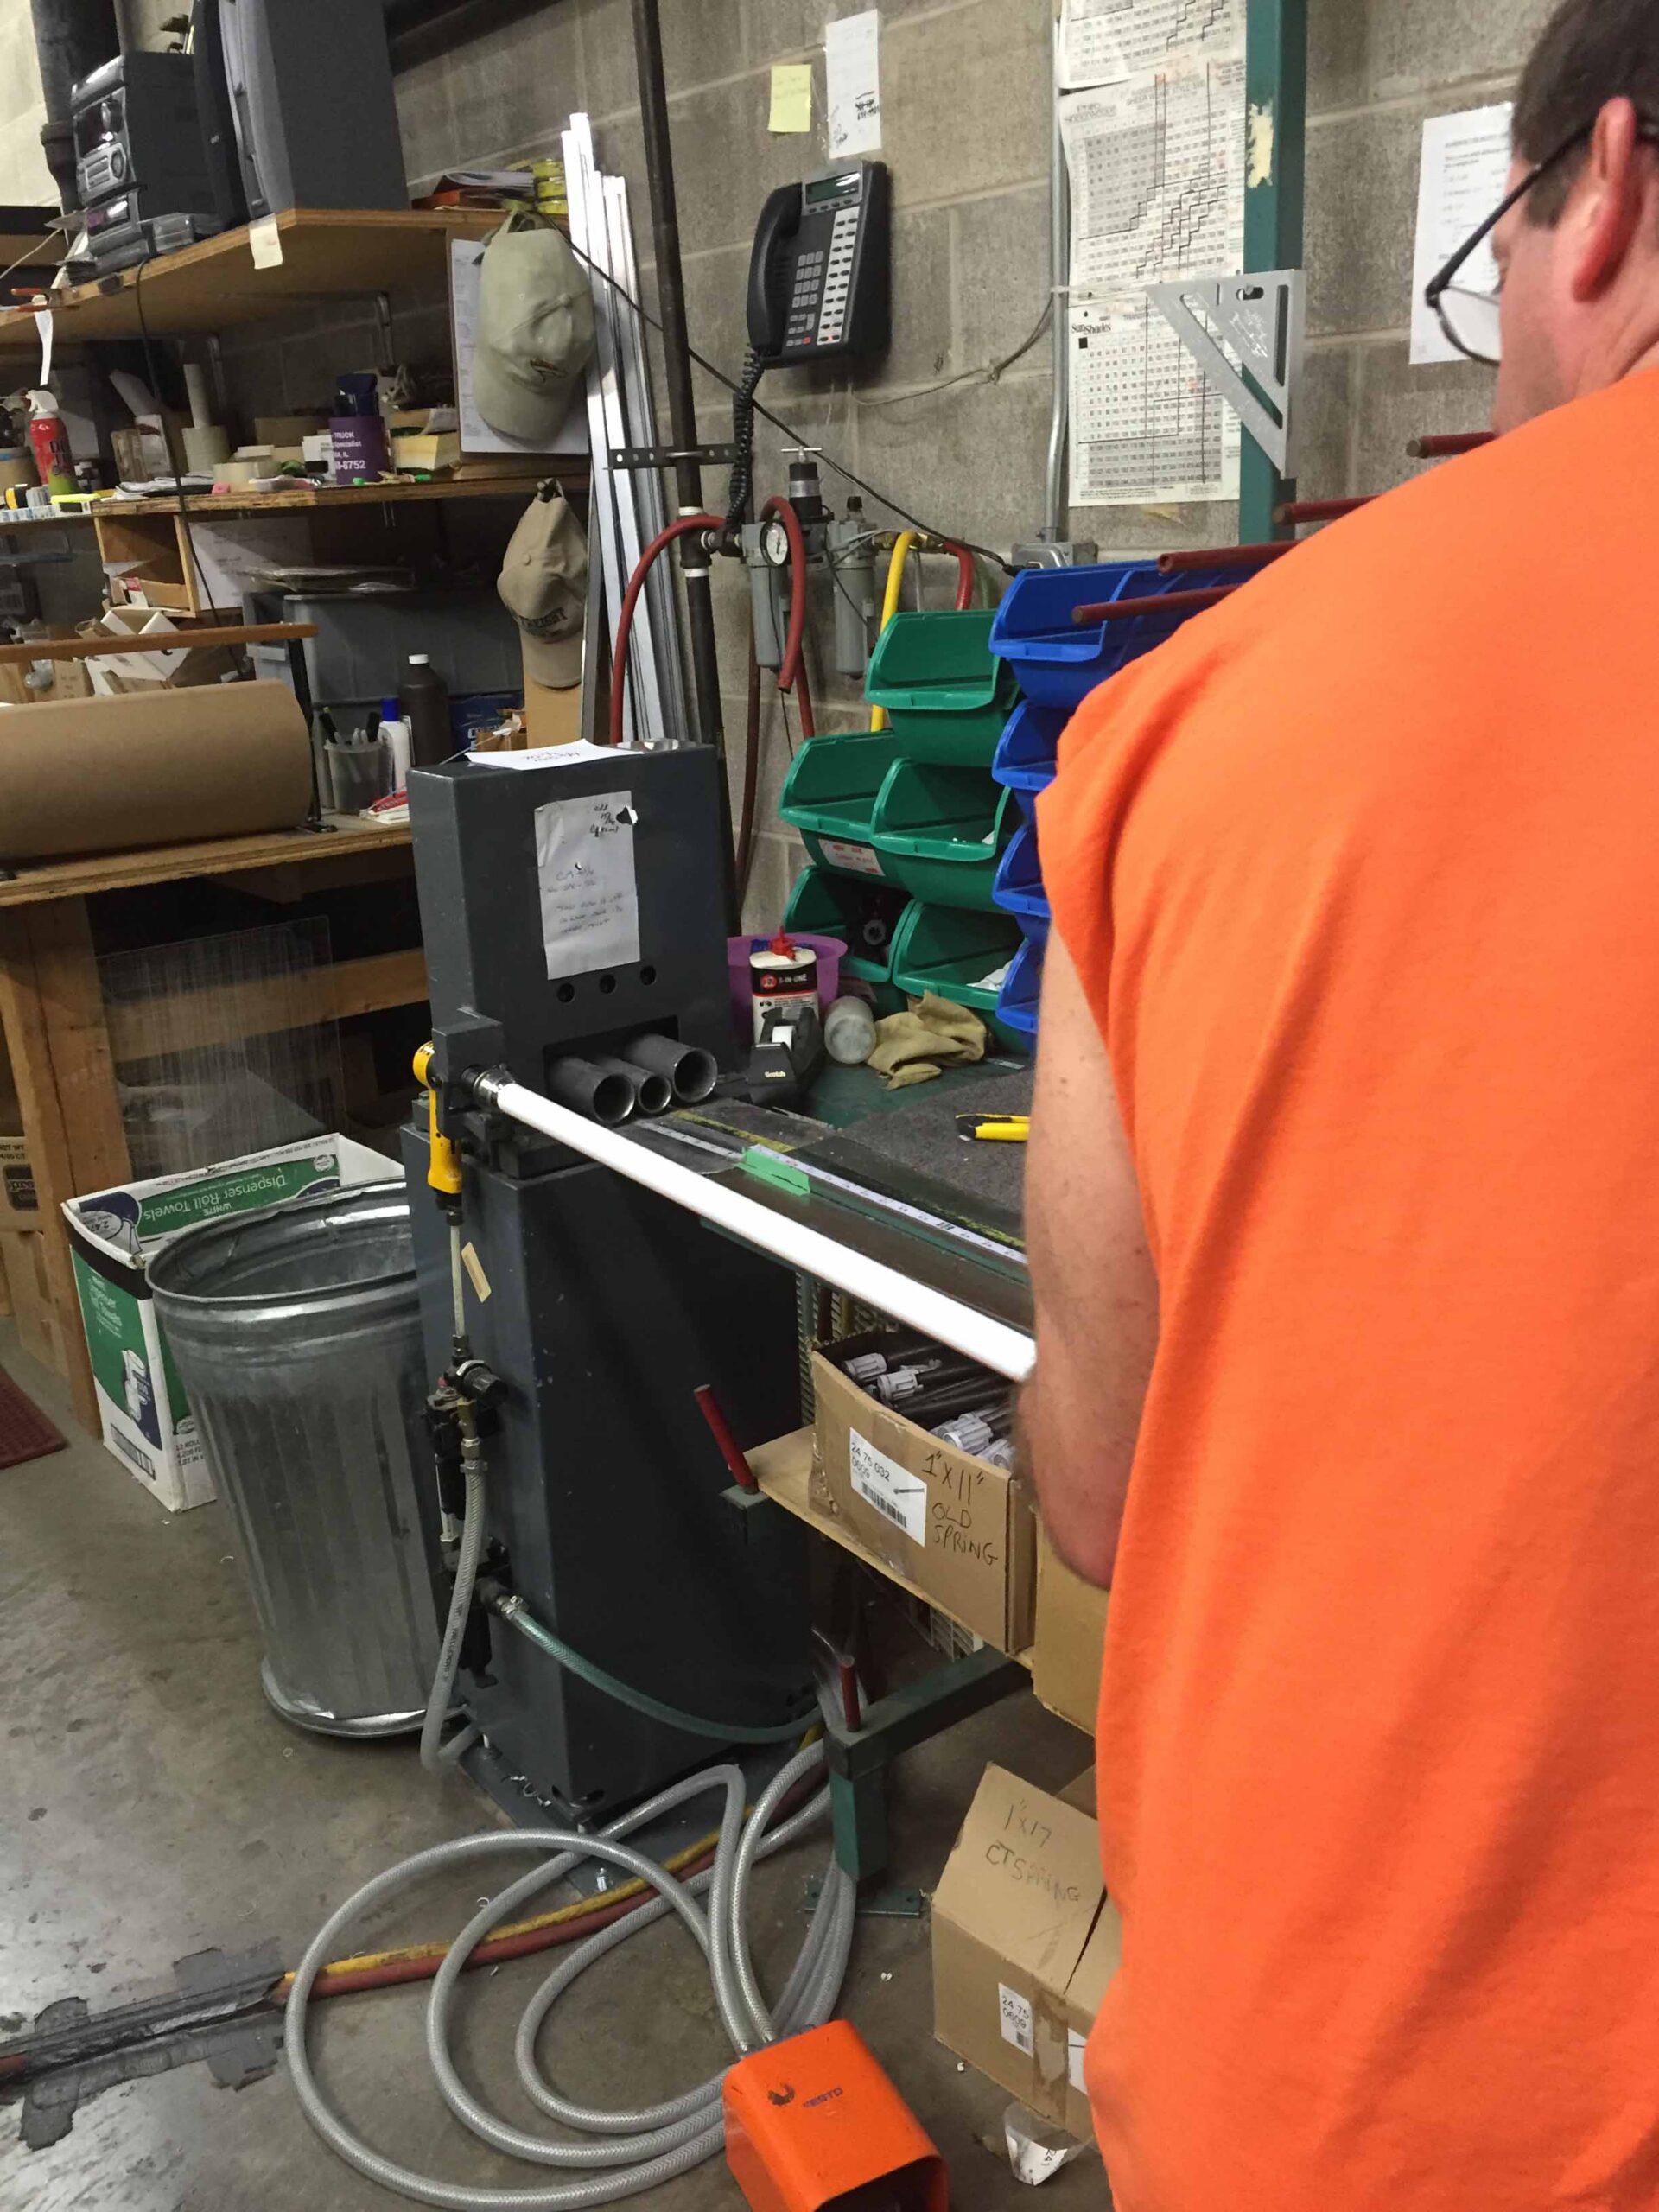
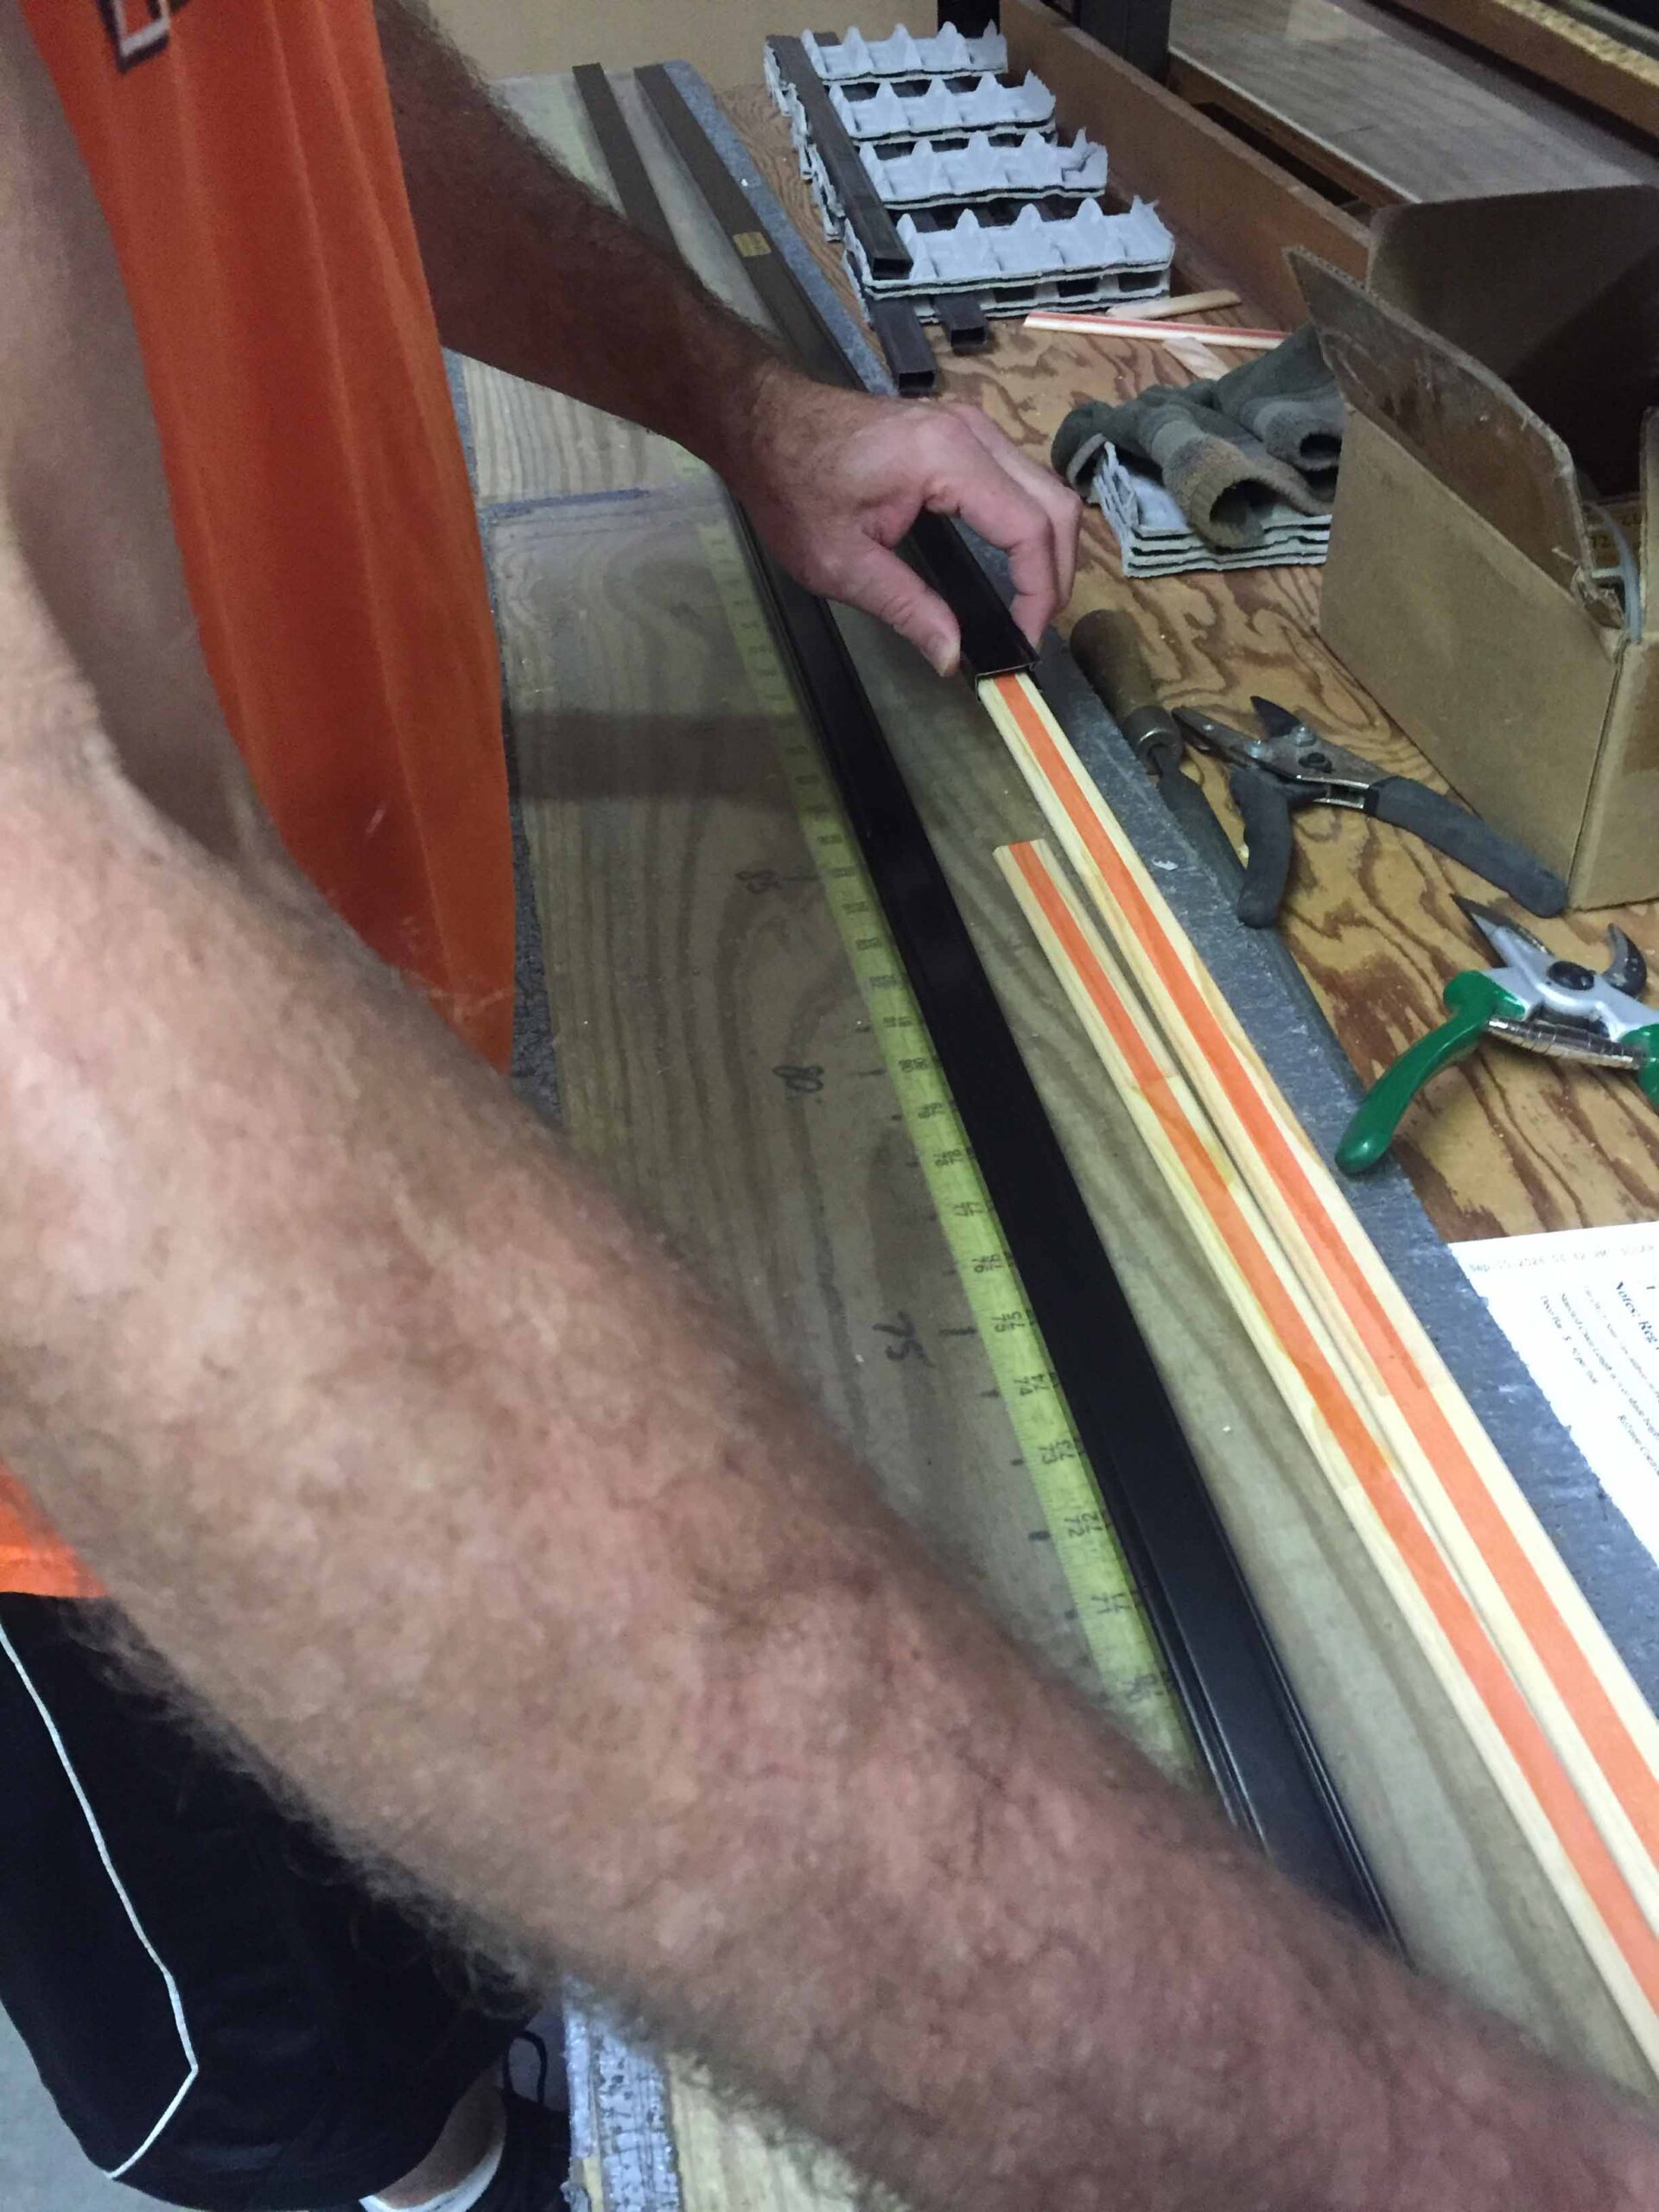
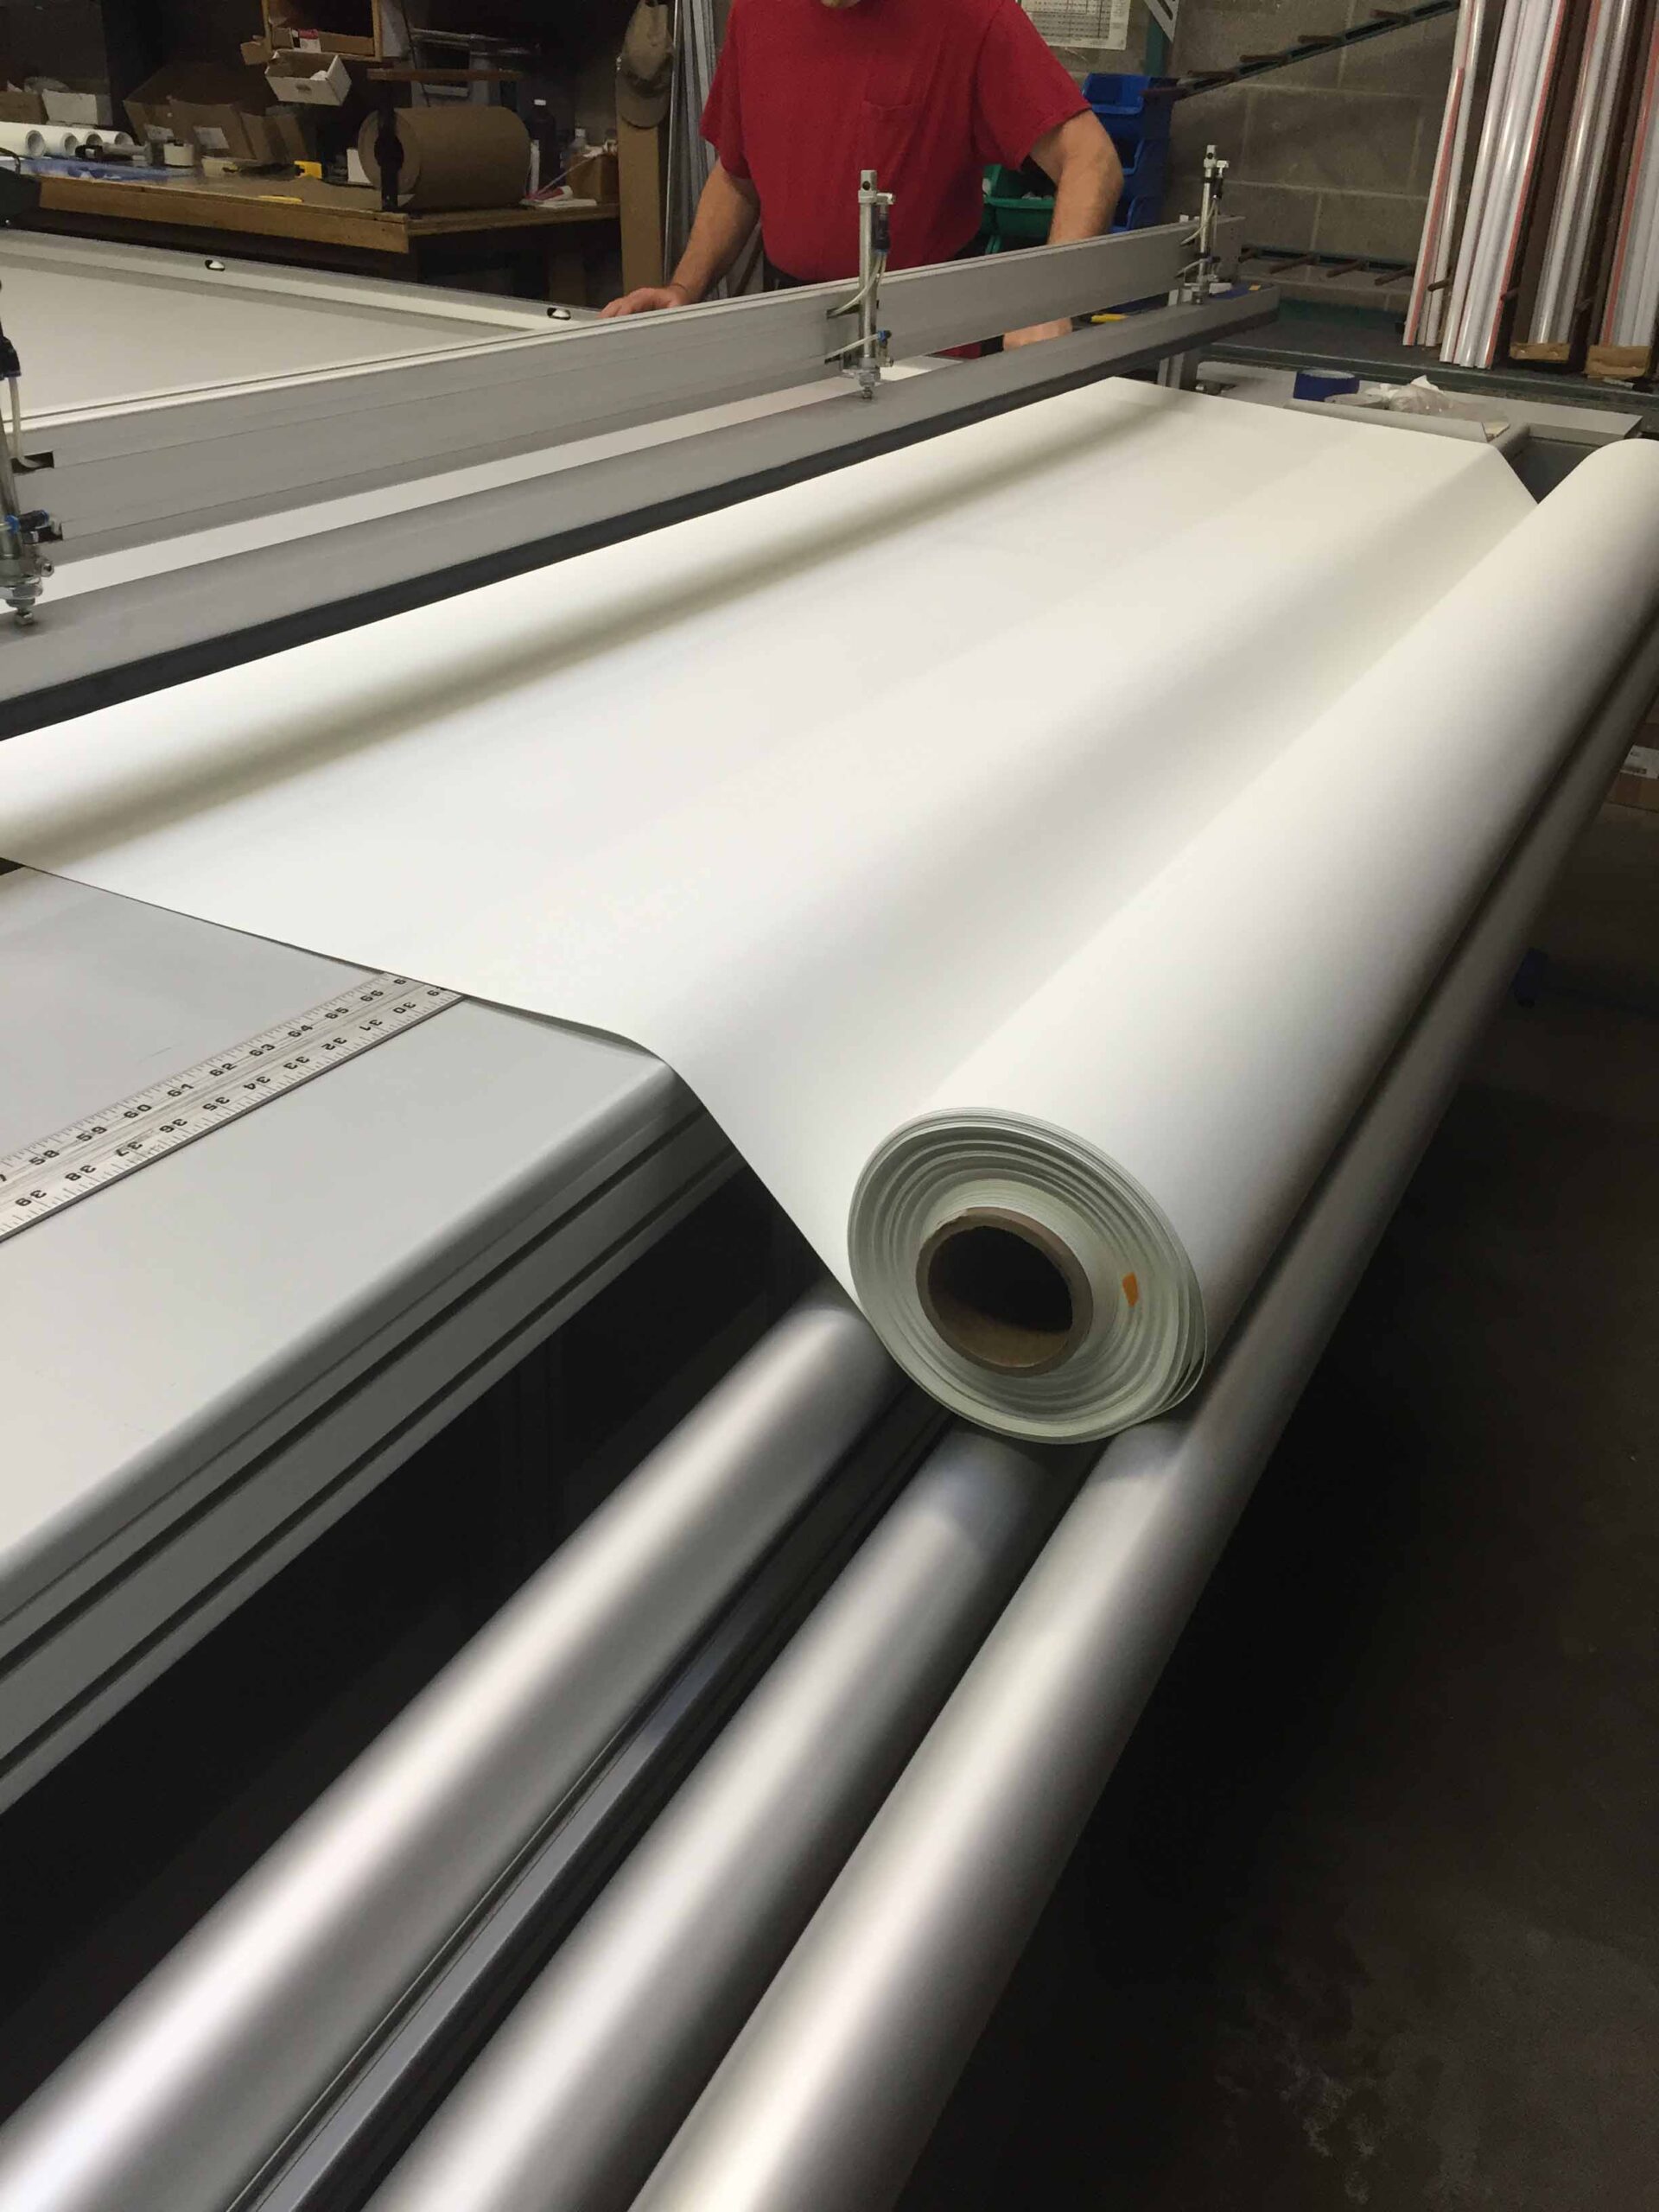
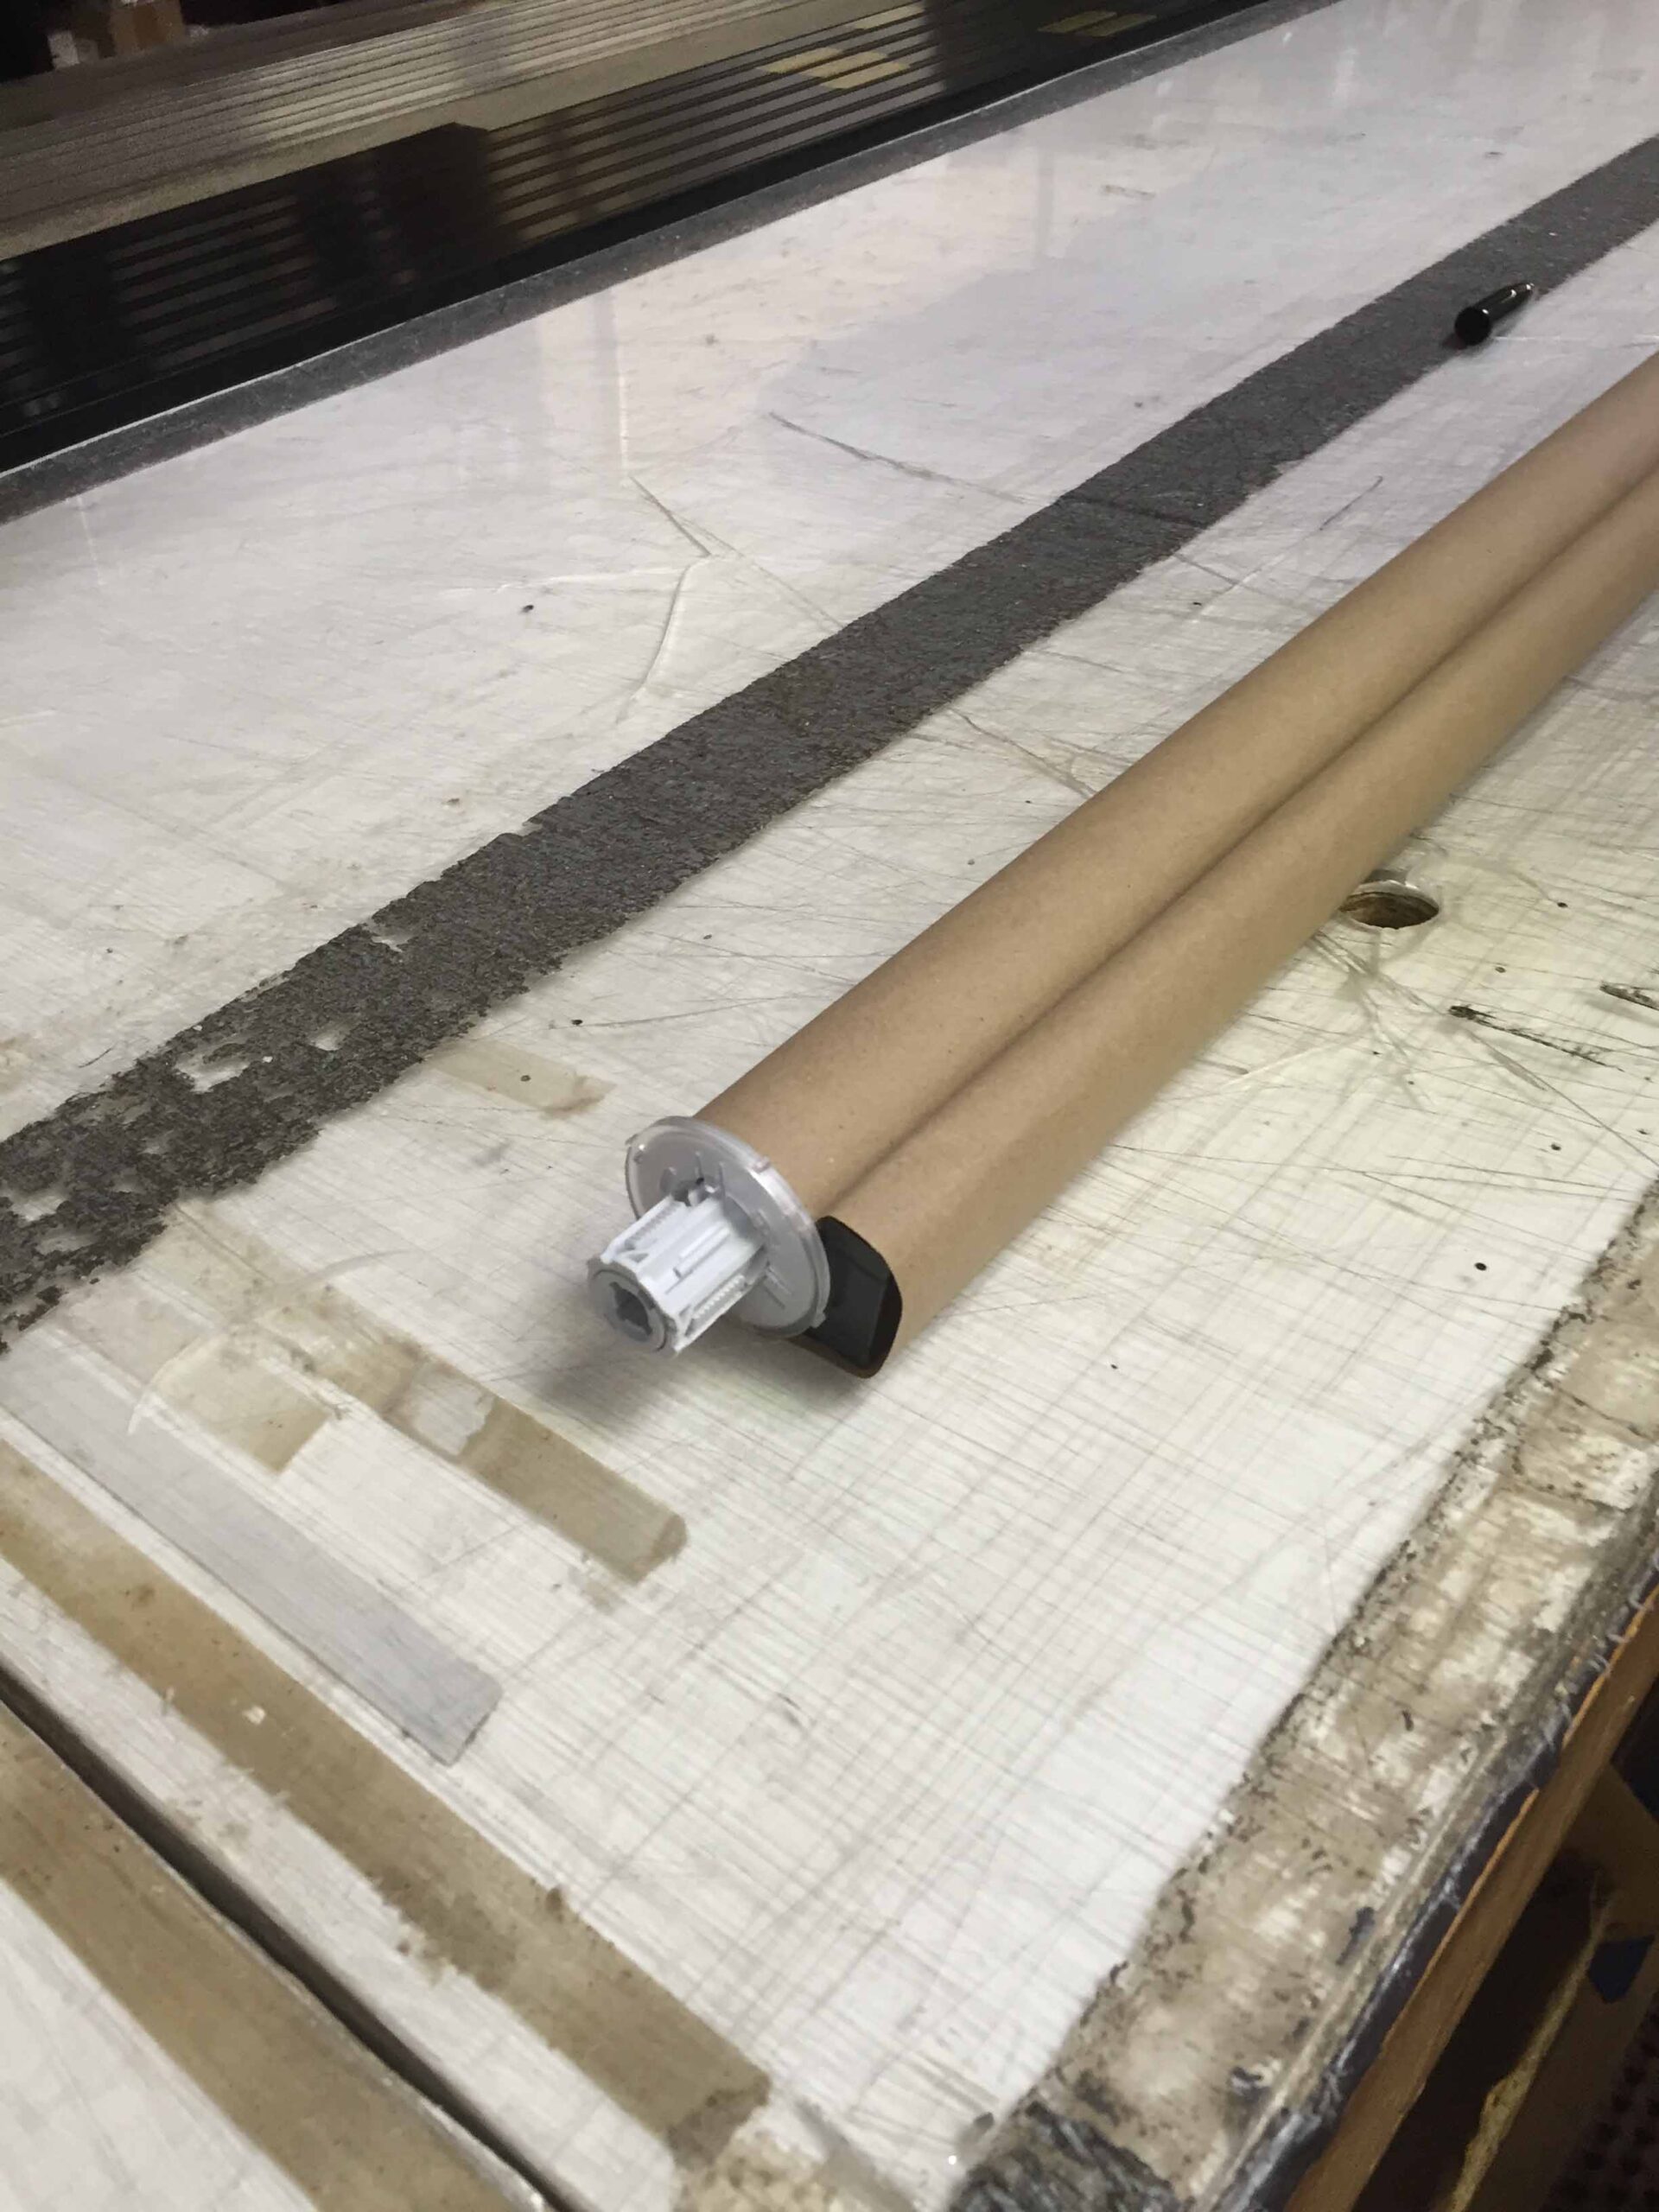
Our roller shades have little to no maintenance or repair compared to other types of shades or blinds. Painted baked enamel steel rollers add greater strength and are used to control warping or sagging. Available in 1 1/8” – 1 3/8” – 1 3/4″ diameter. Shade components have a limited lifetime warranty. 

Mylar Gallery
RESIDENTIAL
Mylar Gallery

Woven Gallery

RESIDENTIAL

Woven Gallery

COMMERCIAL

Troubleshooting

Shade Is Too Narrow (Inside/Jamb Mount)
If the shade is slightly too narrow for the opening, try one of the following adjustments:
  1. The round steel pin in the end plug is designed to be pulled out up to1/8” using pliers.  
  2. For in-jamb installation, the brackets can be moved closer together with the use of a wood shim, penny, or washer behind the brackets.
  3. Change the universal brackets and mounting locations from in jamb to outside, wall, or ceiling mount.
Shade Is Too Wide (Inside/Jamb Mount)
    1. The steel tube should be exposed about 1/8” – Fabric should be narrower than the tube. Tube my be filed or trimmed down to the proper

    OPERATING A SHADE THAT IS TOO TIGHT CAN RESULT IN BENDING THE TUBE DURING OPERATION.

    1. Reposition the brackets to a ceiling or outside mount. DO NOT FILE THE PINS.
    2. To return a shade to the manufacturer for a cut-down, a RETURN AUTHORIZATION NUMBER must be assigned before the shade will be accepted back. If the cutdown is not the manufacturer’s fault, a service charge will be added.
Shade Does Not Track Straight (“Telescoping”)
  1. Check That the Shade Is Level
    Always use a carpenter’s bubble level to verify that the roller shade is level. The shade does not necessarily need to be parallel to the window frame or appear level to the eye.
  2. Adjust Tracking with Tape Shims
    If the roller tube is level but the fabric continues to track to one side:
    • Lower the shade until the roller tube is exposed.
    • Apply several layers of masking tape, electrical tape, or similar material (avoid thin Scotch tape) to the roller tube.
    • Position the tape shim approximately 3–4 inches long on the side opposite the direction the fabric is tracking.
    • Test the shade and add additional layers if needed until proper tracking is achieved.
SHADES NOT OPERATE OR ARE HARD TO OPERATE
  • Are the brackets tight against the roller?
  • Is the shade tight against the window return?
  • Are your brackets bent in or out?
  • You should have 1/16” – 1/18” side-to-side shade movement.
  1. Spring rollers – check for tension or proper spring tension.
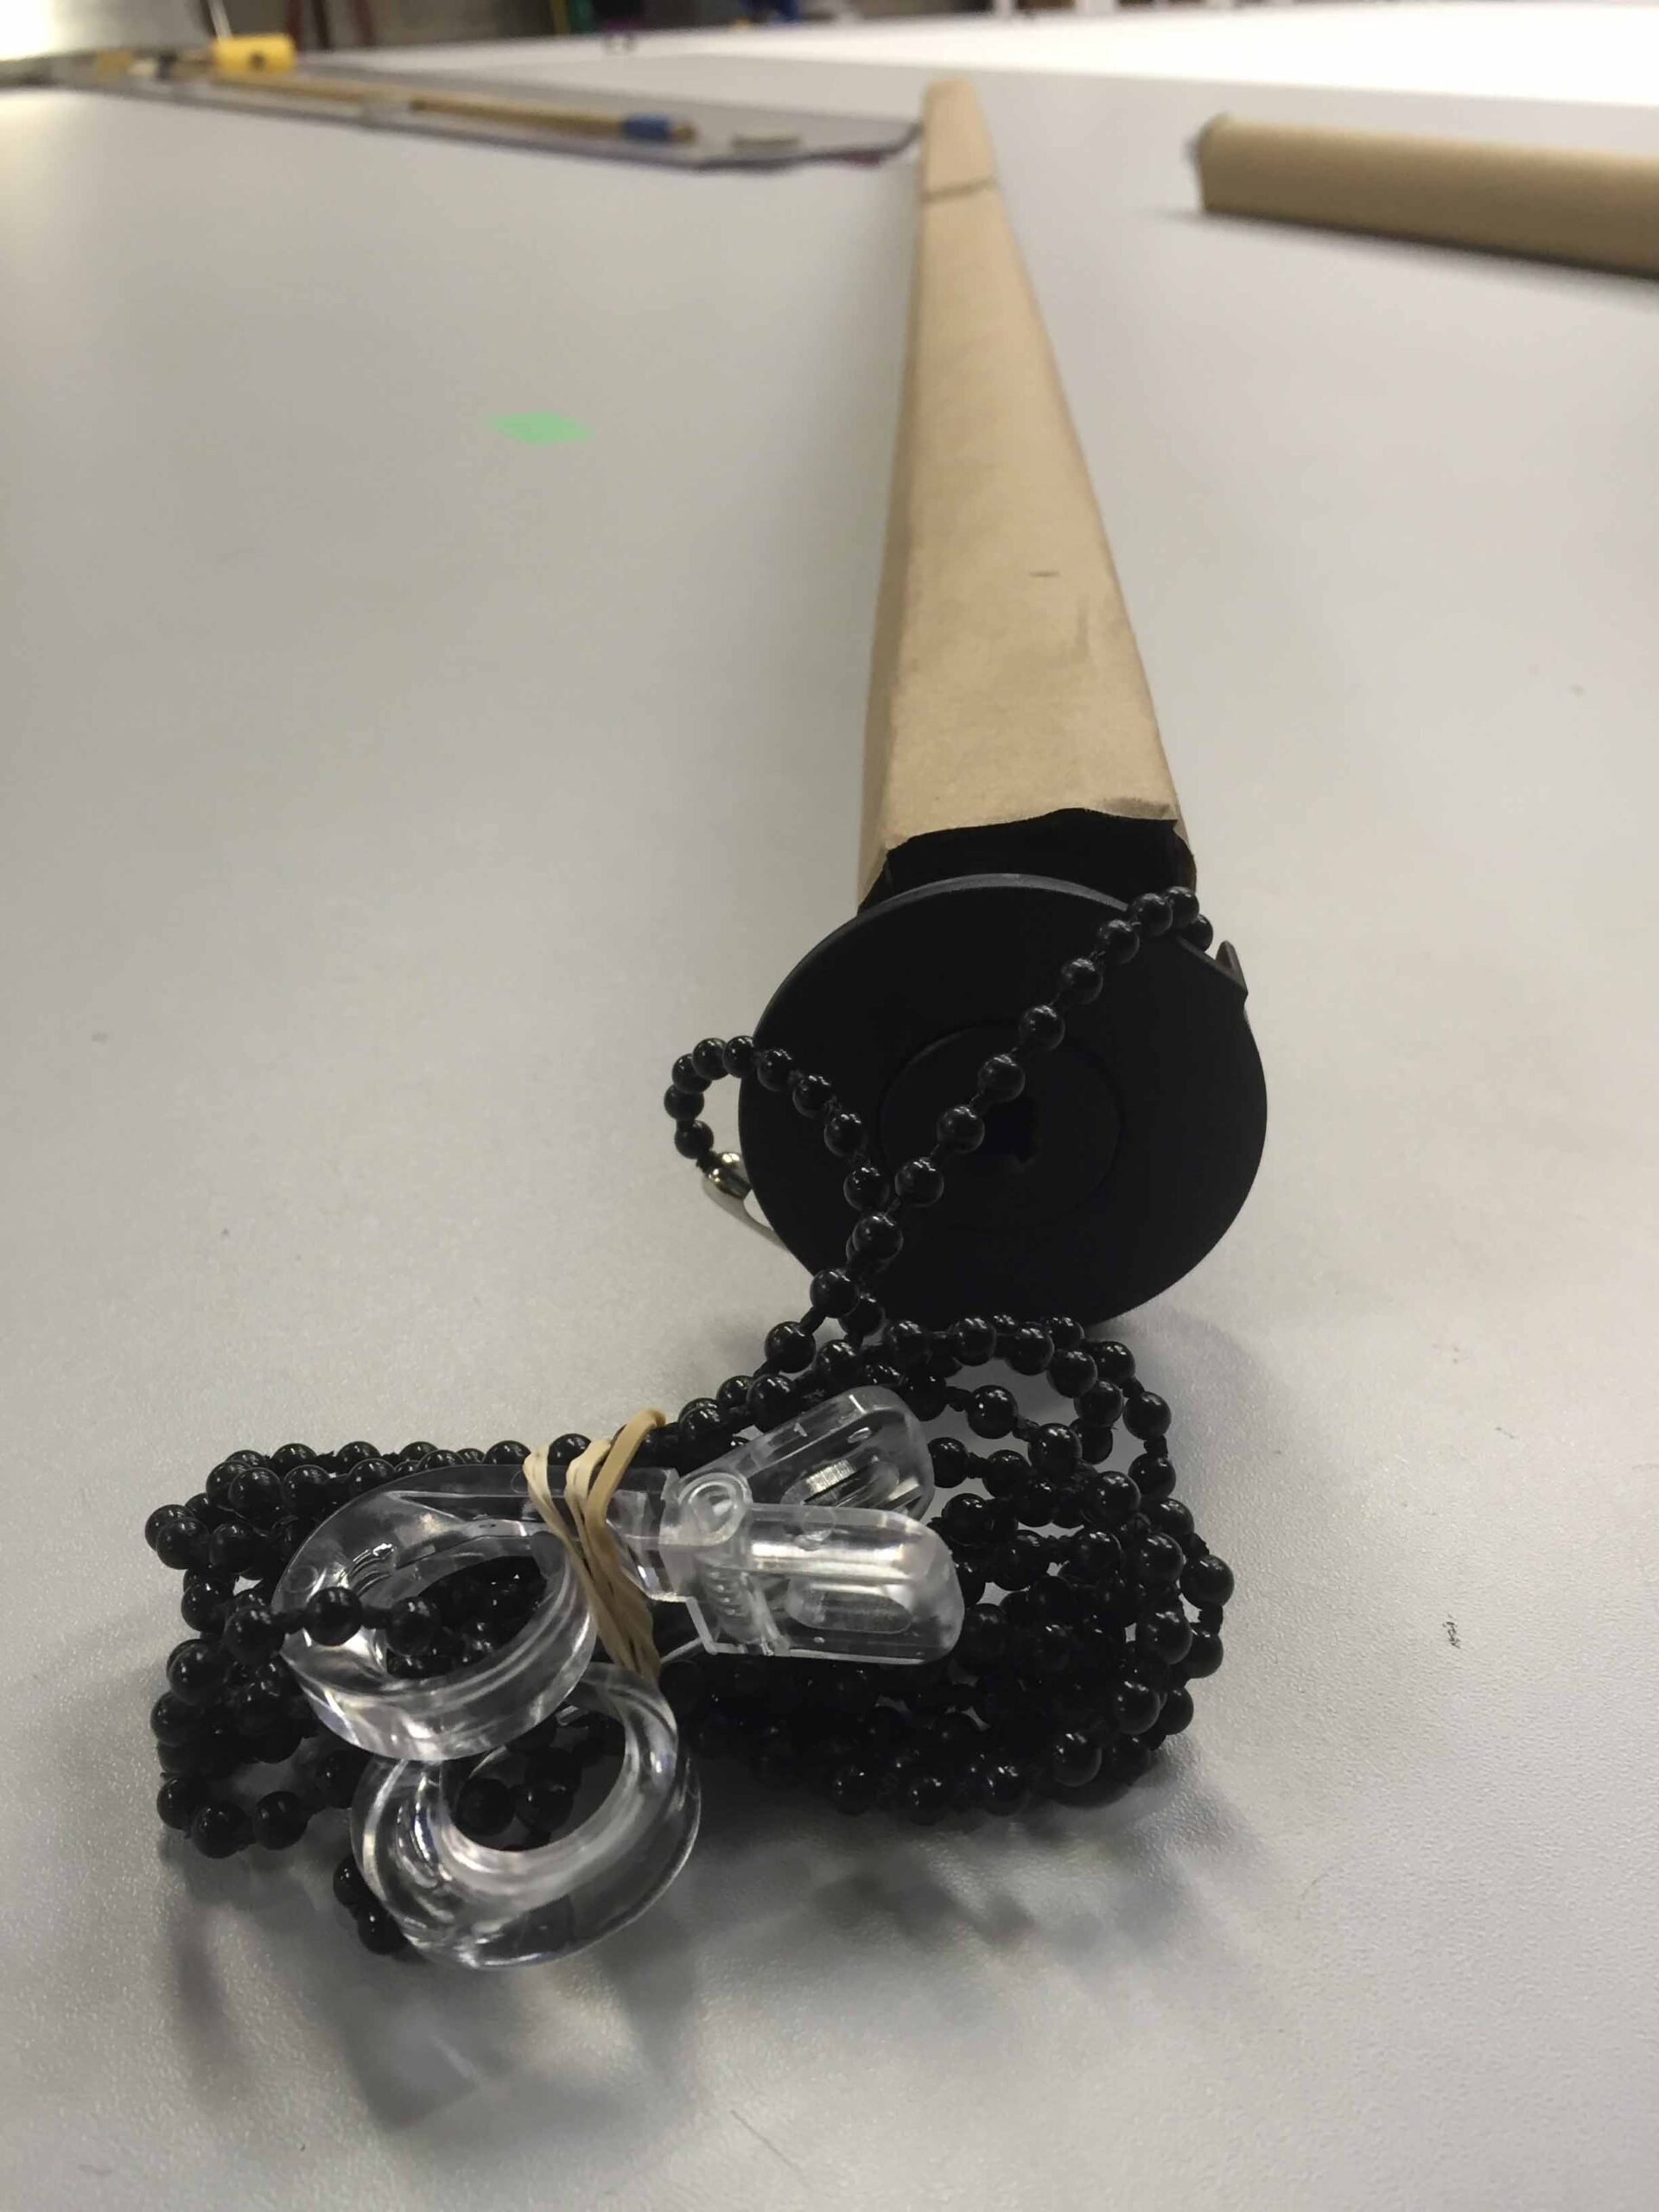
  2. Chain mechanism – Is the chain connector being pulled into the sprocket?  If so, remove the sprocket cap that holds the chain on and readjust the chain.  Or remove the shade from the brackets and hand-roll up or down to align the connector.  When the shade is up, the connector should be at the end and to the rear (side closest to the window).
  3. Is the chain long enough to allow the connector to travel the full length?  Does the connector start at the top-rear and finish at the top-front?  The chain should be at least ½ the shade height.
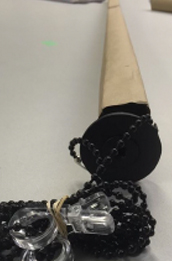
  4. The chain mechanism may not be moving freely.  Remove the shade from the brackets, pull the chain mechanism out of the tube, hold the outer rim with your hand, and pull the chain.  Does it rotate?  To reorder, measure across tube – 1 3/8” (size of a half dollar).
  5. Are the white plastic bracket inserts matched with the shade ends properly (C-2 mechanism)? Wide opening for the end plug (idler) and narrow opening for flat chain mechanism end.  The wide side of the chain sprocket cap will be at the top (C-2 mechanism).
  6. The chain should go over the top of the chain mechanism sprocket.

Solar View – Roll Shade Measurement Guidelines

SolarView will provide custom roll shades made to the measurements that the customer records.

1. Understanding Measurements

  • All measurements must be recorded in inches, rounded down to the nearest 1/8 inch.

    • Width = Left to right
    • Height = Top to bottom
    • Depth = Front to back (inside the window casement)

2. Important Requirements

    • Measure at the bracket installation points.
      The width must be taken at the exact location where the brackets will be mounted.
      Do NOT measure based on the desired shade fabric size.
    • Use a steel measuring tape only.
      Cloth or flexible tapes are not accurate enough.
    • Accepted units: Inches with fractions (rounded down to nearest 1/8″).
      Feet, decimals, and metric measurements will not be accepted.
    • Record exact window measurements.
      Do not add or subtract anything—Solar View will make appropriate manufacturing adjustments.

3. Rounding Instructions

  • Round down to the nearest 1/8 inch.
    Examples:

    • 35 3/16″ → record 35 1/8″
    • 27 5/32″ → record 27 1/8″
    • 42 7/16″ → record 42 3/8″

Tools Needed

Included Hardware

  • Cordless drill or screwdriver
  • ¼” hex drive attachment
  • Tape measure
  • Pencil & level
  • Possibly a 3/32″ drill bit
  • Specific wall anchors when needed
  • 2 universal brackets
  • 4 × #6 × ¾” self‑tapping screws (for wood, sheet metal, aluminum)
  • 2 flat‑head screws for clutch side (inside/jamb mount)

Mollies/toggles for plaster, drywall, or concrete are not included.

Bracket Notes:

Faber/Benthin universal brackets may be mounted left or right, inside, outside, or on the ceiling. Brackets must be installed perfectly level for proper shade operation.

Standard bracket length: 1 3/8″. Extended length: 2 3/8″.

Inside Measurement (IM) Guidelines

What is an Inside Measurement (IM)?

  • Inside Measurement refers to ordering a shade to be installed inside the window casement. When you provide an IM width, you are giving the exact space within the opening.
    The factory will then take precise deductions to ensure the shade, brackets, and rotating control mechanism fit properly.

Factory Deductions & Side Gaps

  • Round down to the nearest 1/8 inch.
    Examples:

    • 35 3/16″ → record 35 1/8″
    • 27 5/32″ → record 27 1/8″
    • 42 7/16″ → record 42 3/8″
  • Because of these required deductions:

  • IM shades will ALWAYS have a gap of up to 5/8” on both sides

  • (± 1/8” depending on tolerances)

    This gap is necessary so the shade can raise, lower, and rotate freely.

Example

  • If you order a shade at:

    • IM Width: 70”

    The shade will be manufactured to fit within that 70” space.
    However, due to bracket/mechanism allowances:

    • Approximate material width (including bottom bar): 68 ¾”

    This remaining space is the functional “gap” required for operation.

When IM Gaps Are Not Acceptable

If the side gap is visually unacceptable or you need more complete coverage:

Consider an Outside Bracket Mount (OB)

Mounting the shade on the wall, trim, or mullion allows you to add width beyond the window opening and cover more area.

When IM Gaps Are Not Acceptable

If the side gap is visually unacceptable or you need more complete coverage:

Consider an Outside Bracket Mount (OB)

Mounting the shade on the wall, trim, or mullion allows you to add width beyond the window opening and cover more area

Important Ordering Rules

  • Do NOT use fabric/material width or bottom bar width as measurements.
    These are not accepted for ordering and will result in incorrect shade sizing.
  • Record only true window opening dimensions.
    The manufacturing team will apply all appropriate deductions.
  • Check for obstructions.
    Trim, molding, handles, sensors, and other protrusions must be measured and accounted for before ordering.
  • Photos or additional measurements may be required to ensure a proper custom fit.

Outside Measurement (OM / OB) Guidelines

What Is an Outside Measurement (OM)?

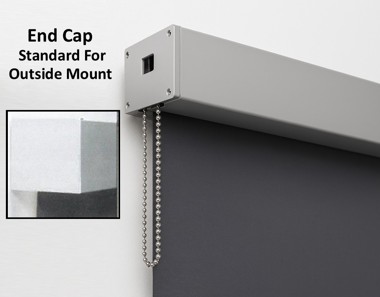
  • Outside Measurements—also referred to as Outside Bracket (OB) measurements—are used when mounting the shade outside the window casement. This includes mounting on:

    • The outer window casing
    • Wall surface
    • Ceiling
    • Trim or molding
    • Mullions
  • When you provide an OM/OB measurement, you are giving the exact dimensions you want the shade to cover, based on where the brackets will be installed.

Factory Deductions

  • OB measurements are manufactured with NO factory deductions.

    The shade will be made exactly to the width and height you order.

    This gives you complete control over the final coverage area.

Improved Light Gap Coverage

  • For Outside Mount installations, you can eliminate or reduce light gaps by:

     Simply adding extra width to your bracket mounting measurement.

    Because the shade sits outside the opening, you can widen the shade beyond the window frame to improve privacy and light control.

Golden Rule for OB Measurements

Always measure to and from the exact points where the brackets will be installed.

This ensures:
  • Correct overall width
  • Proper bracket alignment
  • Accurate shade fit